I LOVE a good farmer’s market! And by “farmer’s market”, I mean the markets that are run by the family that owns and works the land the products are from, and you can usually hear chickens in the background. I’m not really into these suburban craft and pre-made products markets, although they do have some good things and they are usually much closer to my house. I’m always on the lookout for a new spot to try. This past weekend I took my mom and auntie on a quest to a new one about 30 minutes away. Lots of fresh corn grown on their farm, along with berries, grapes, melons, onions, tomatoes and some yummy Amish baked goods. Bonus – we also checked out a family run butcher that was close by. They have been in business for 102 years so you know they know what’s up with all things meat. They do ALL the processing on site and you can get lots of cuts to order. Plus they make soups, deli salads, sausages, etc. that you can buy too. Good day for finding new places for sure. Look for these types of places around where you live and give them a try.
I got some peppers last weekend at a market and I was wondering what to do with them before they started to go bad. I decided to roast them to keep them around a little longer. It’s easy to do, and you can keep them in the fridge longer. Here’s the rundown on roasted peppers.
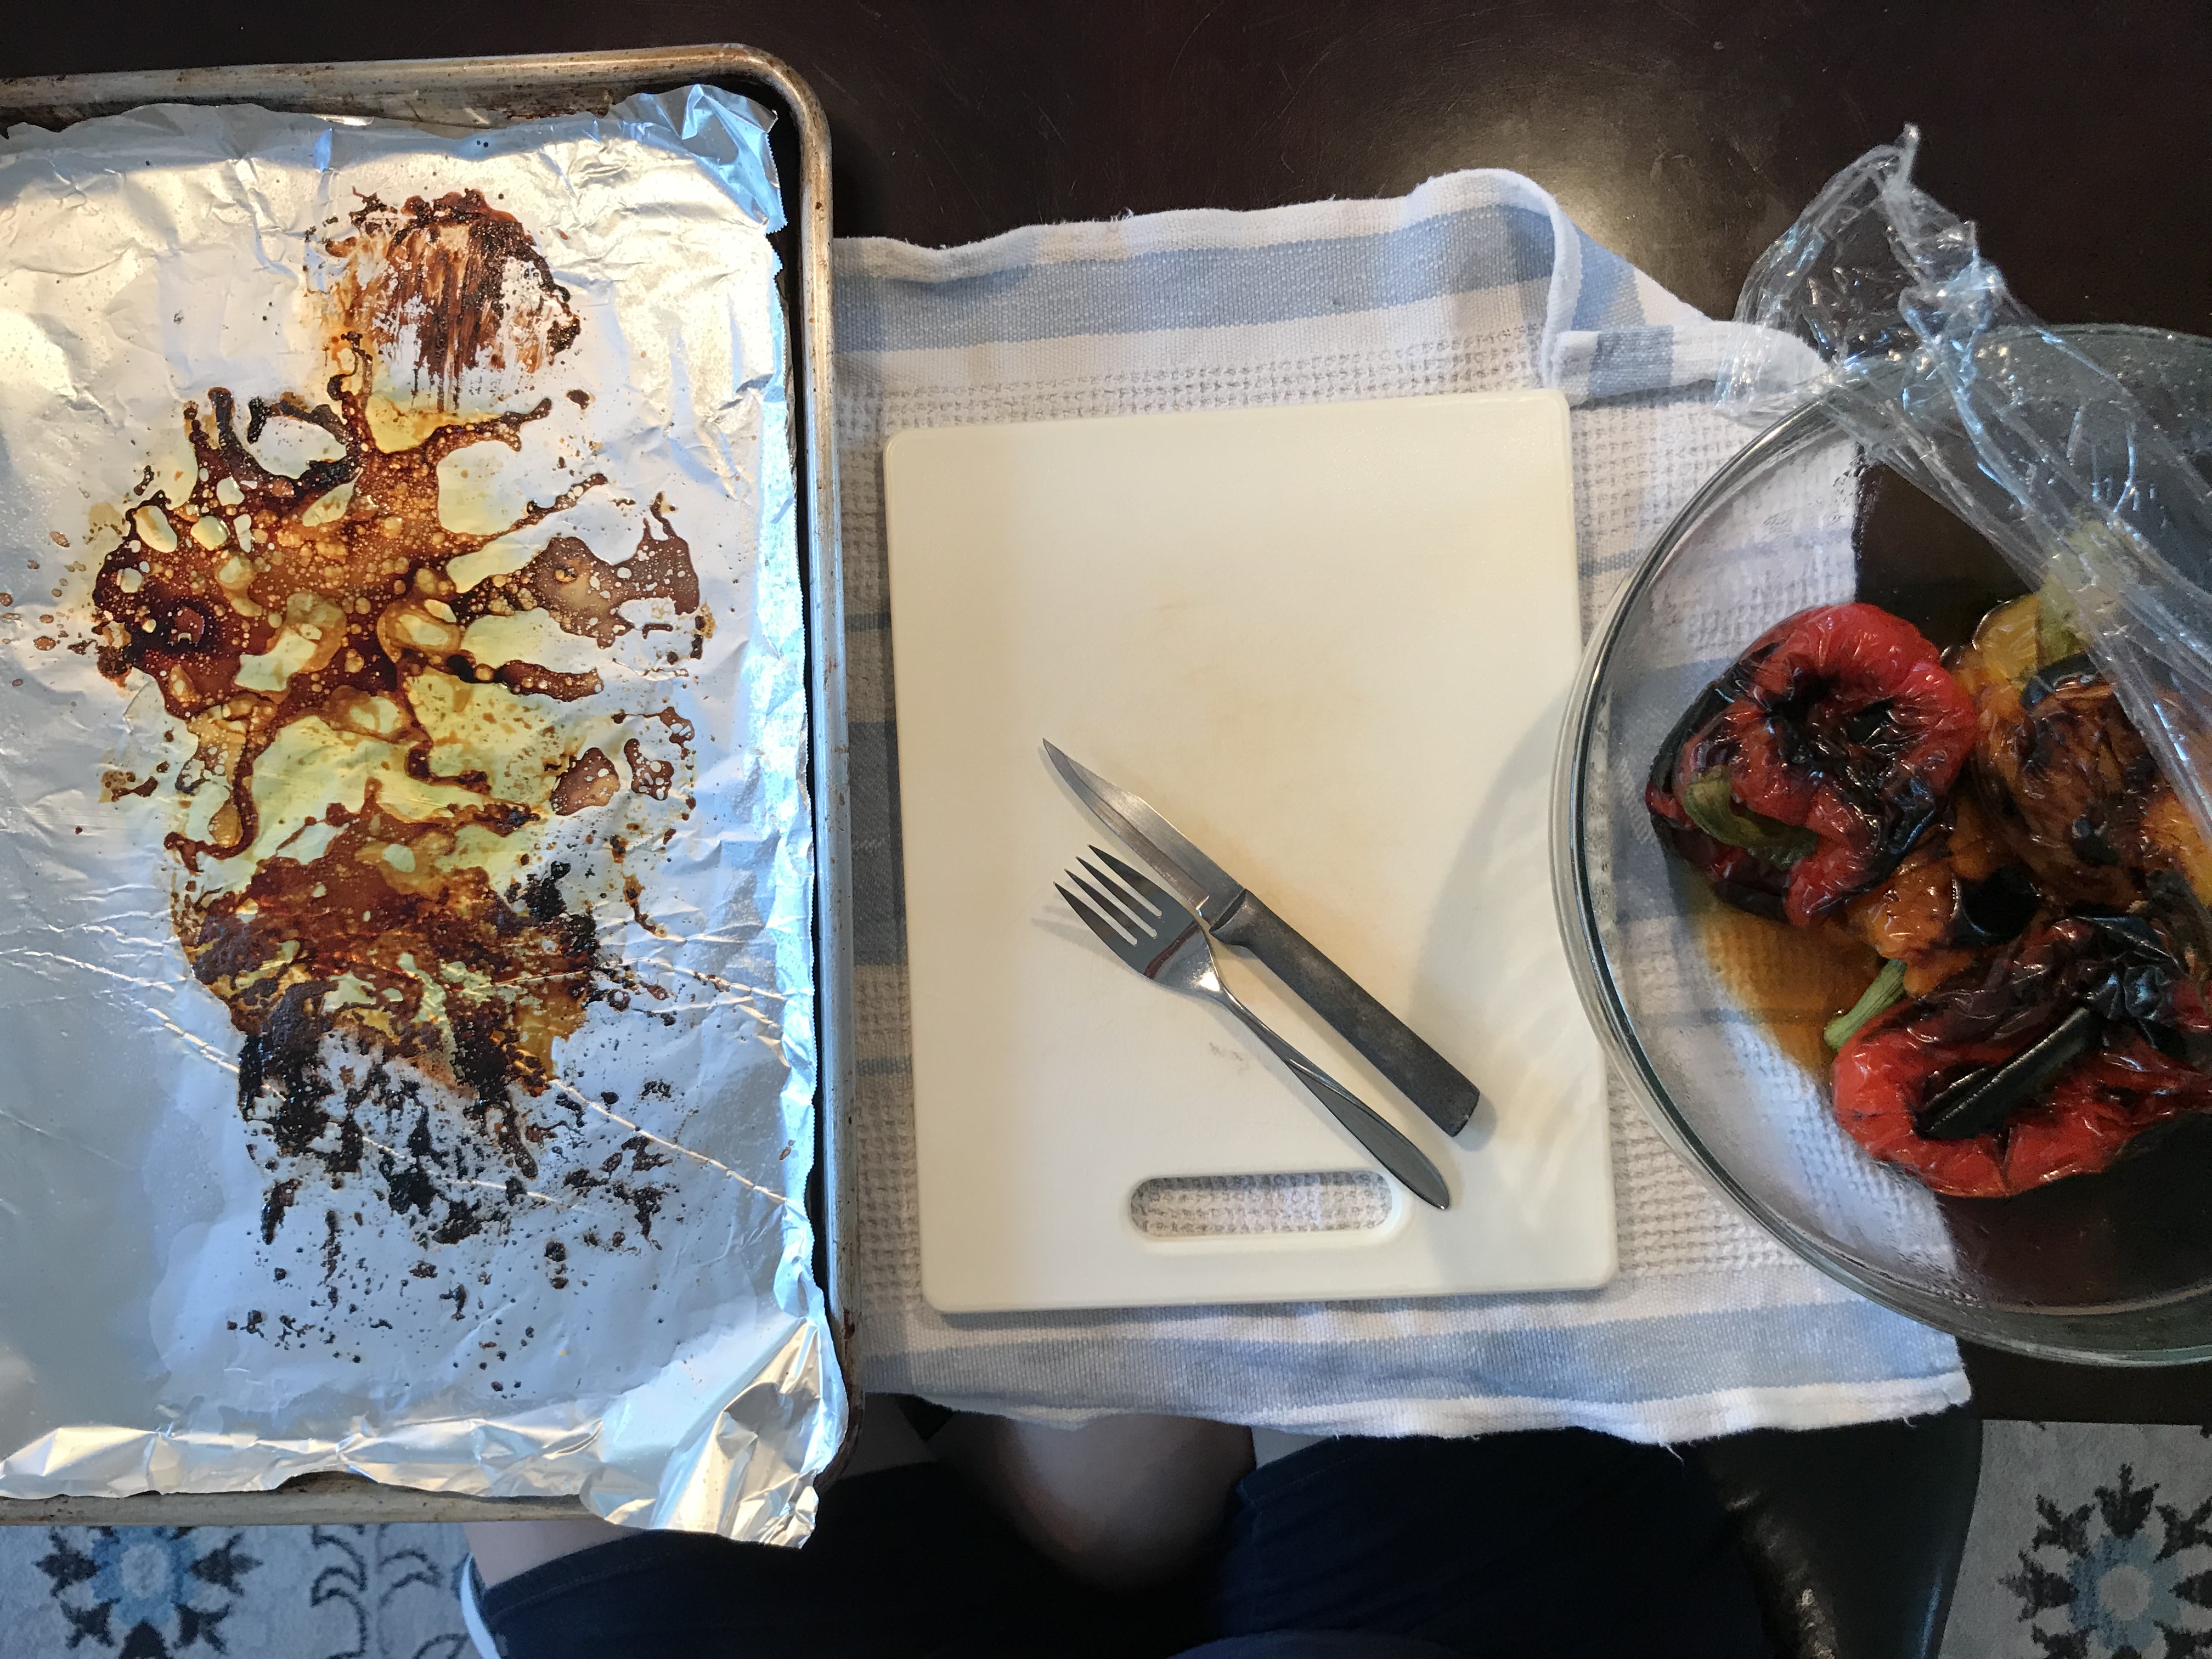
I give them a quick wash and dry and put them in a large bowl. I drizzle them with some olive oil and put them on a sheet pan lined with aluminum foil. This helps with clean up later.
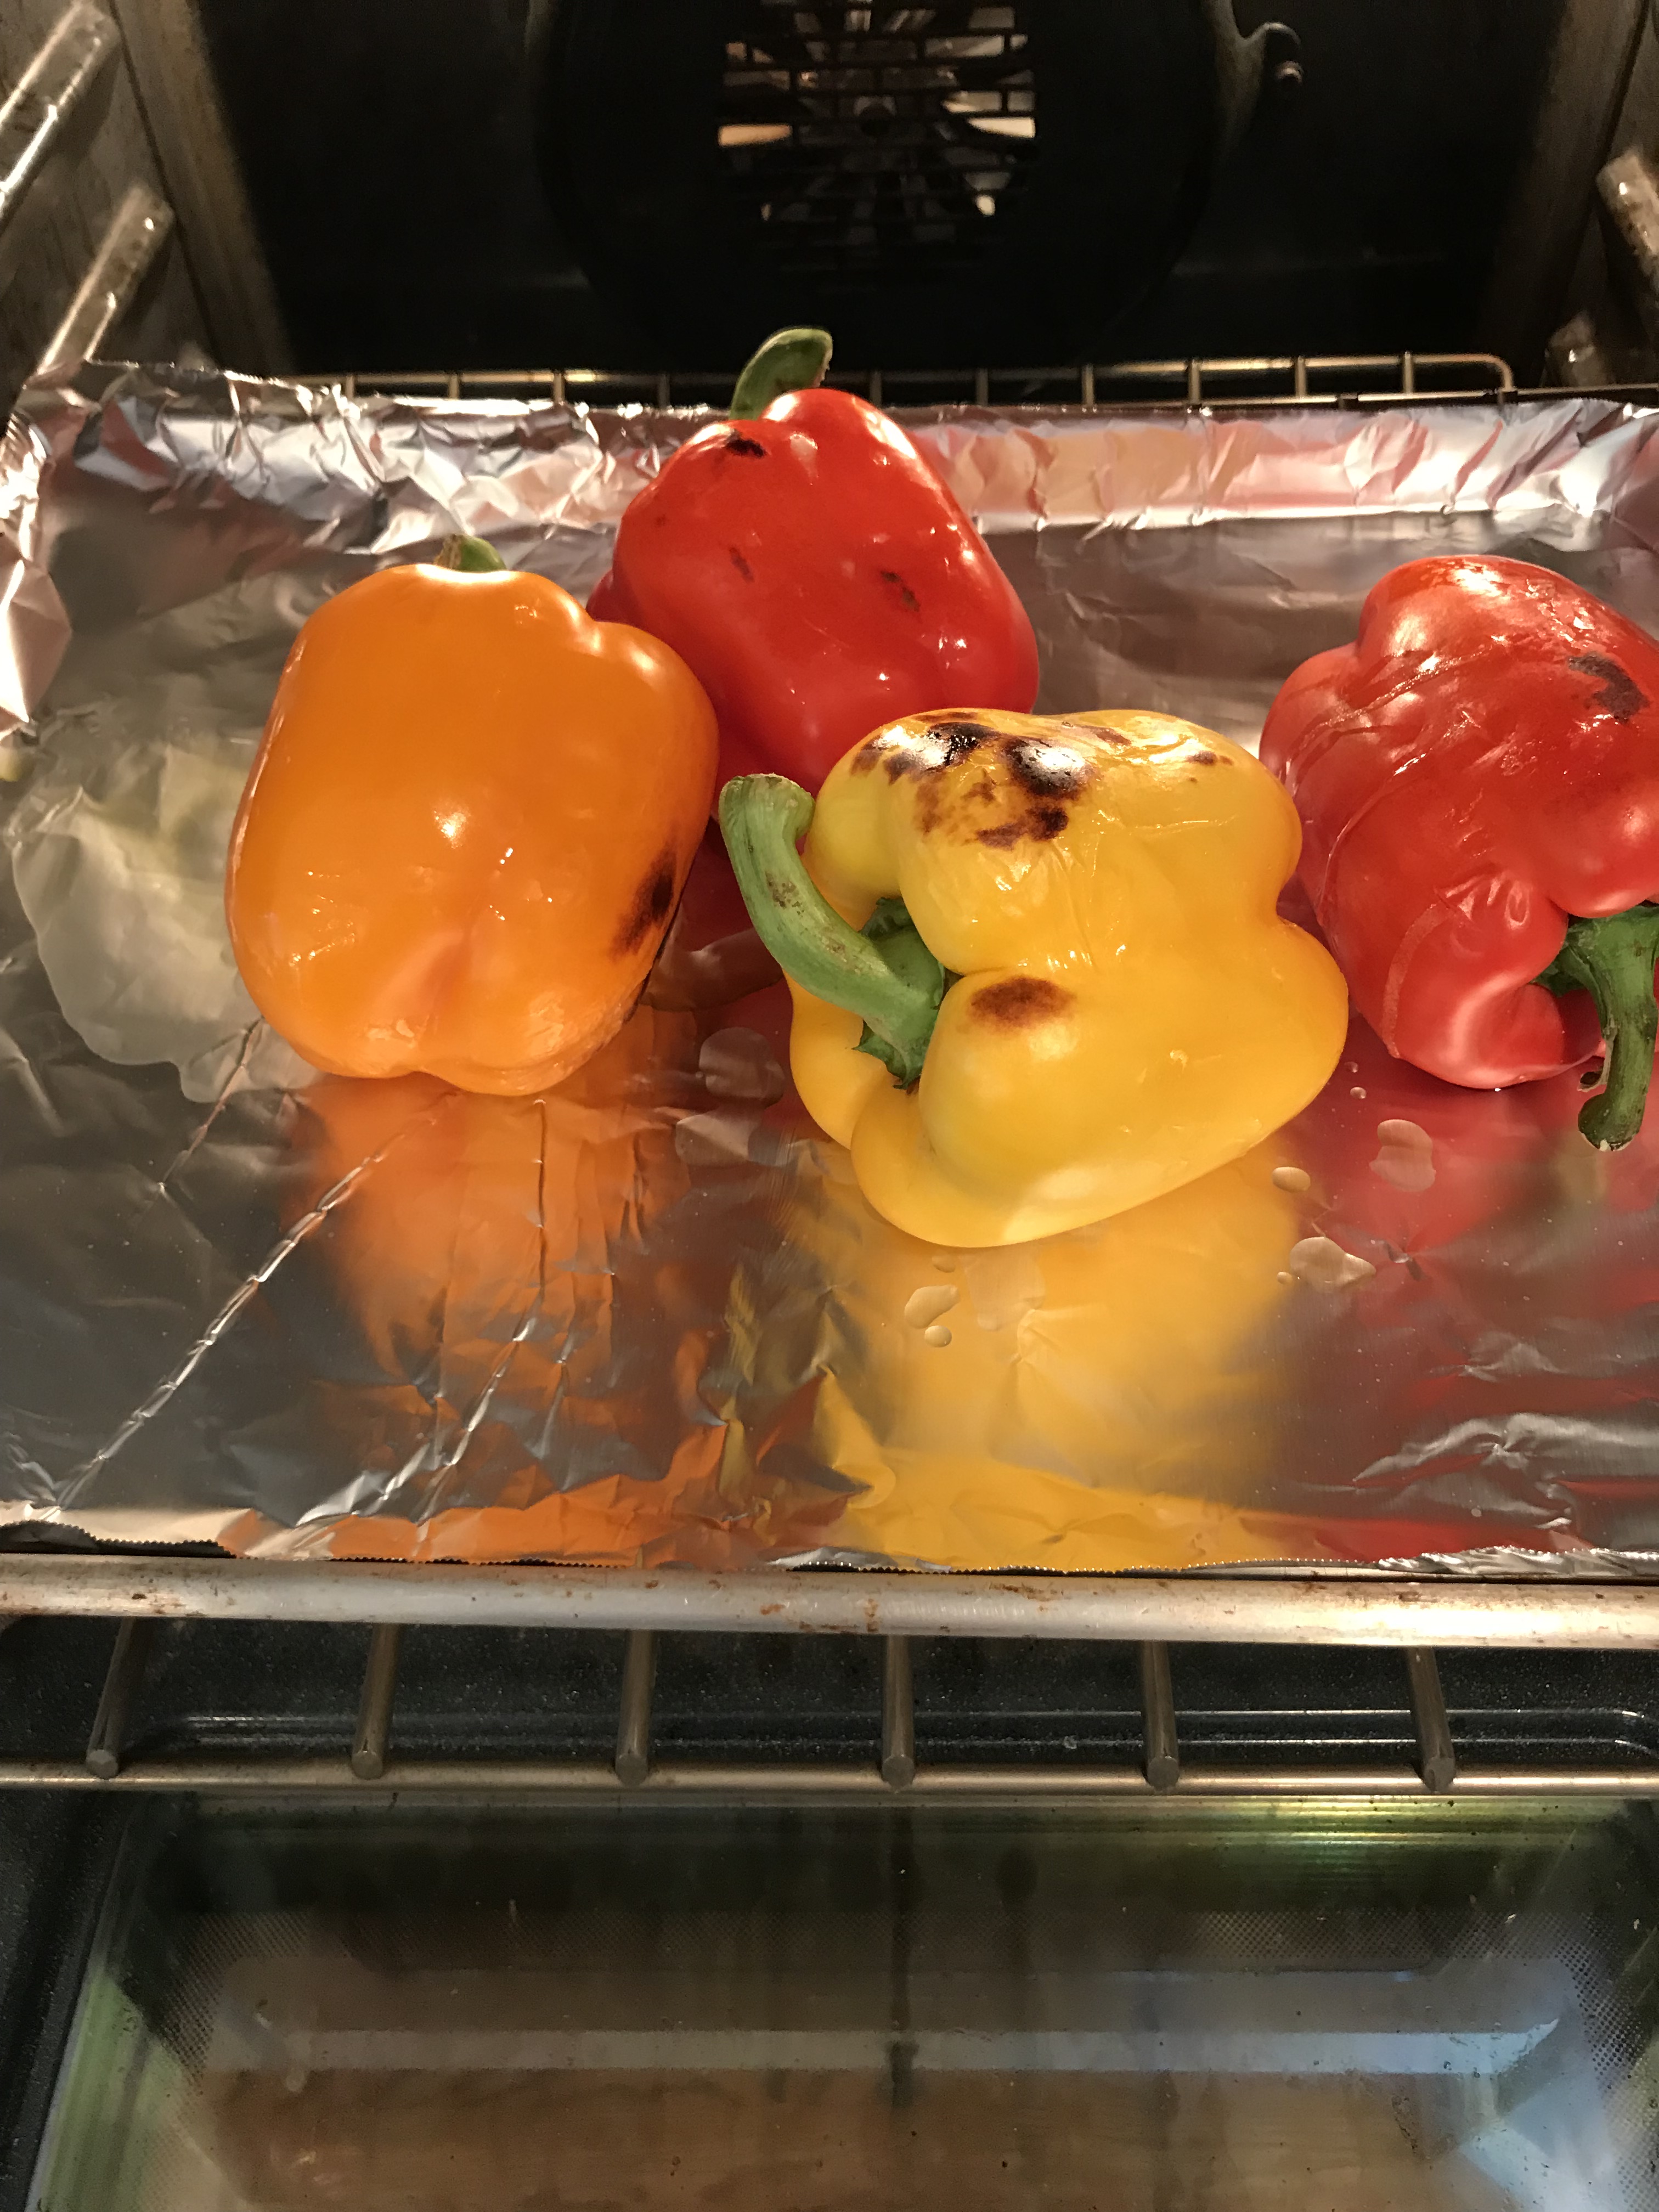
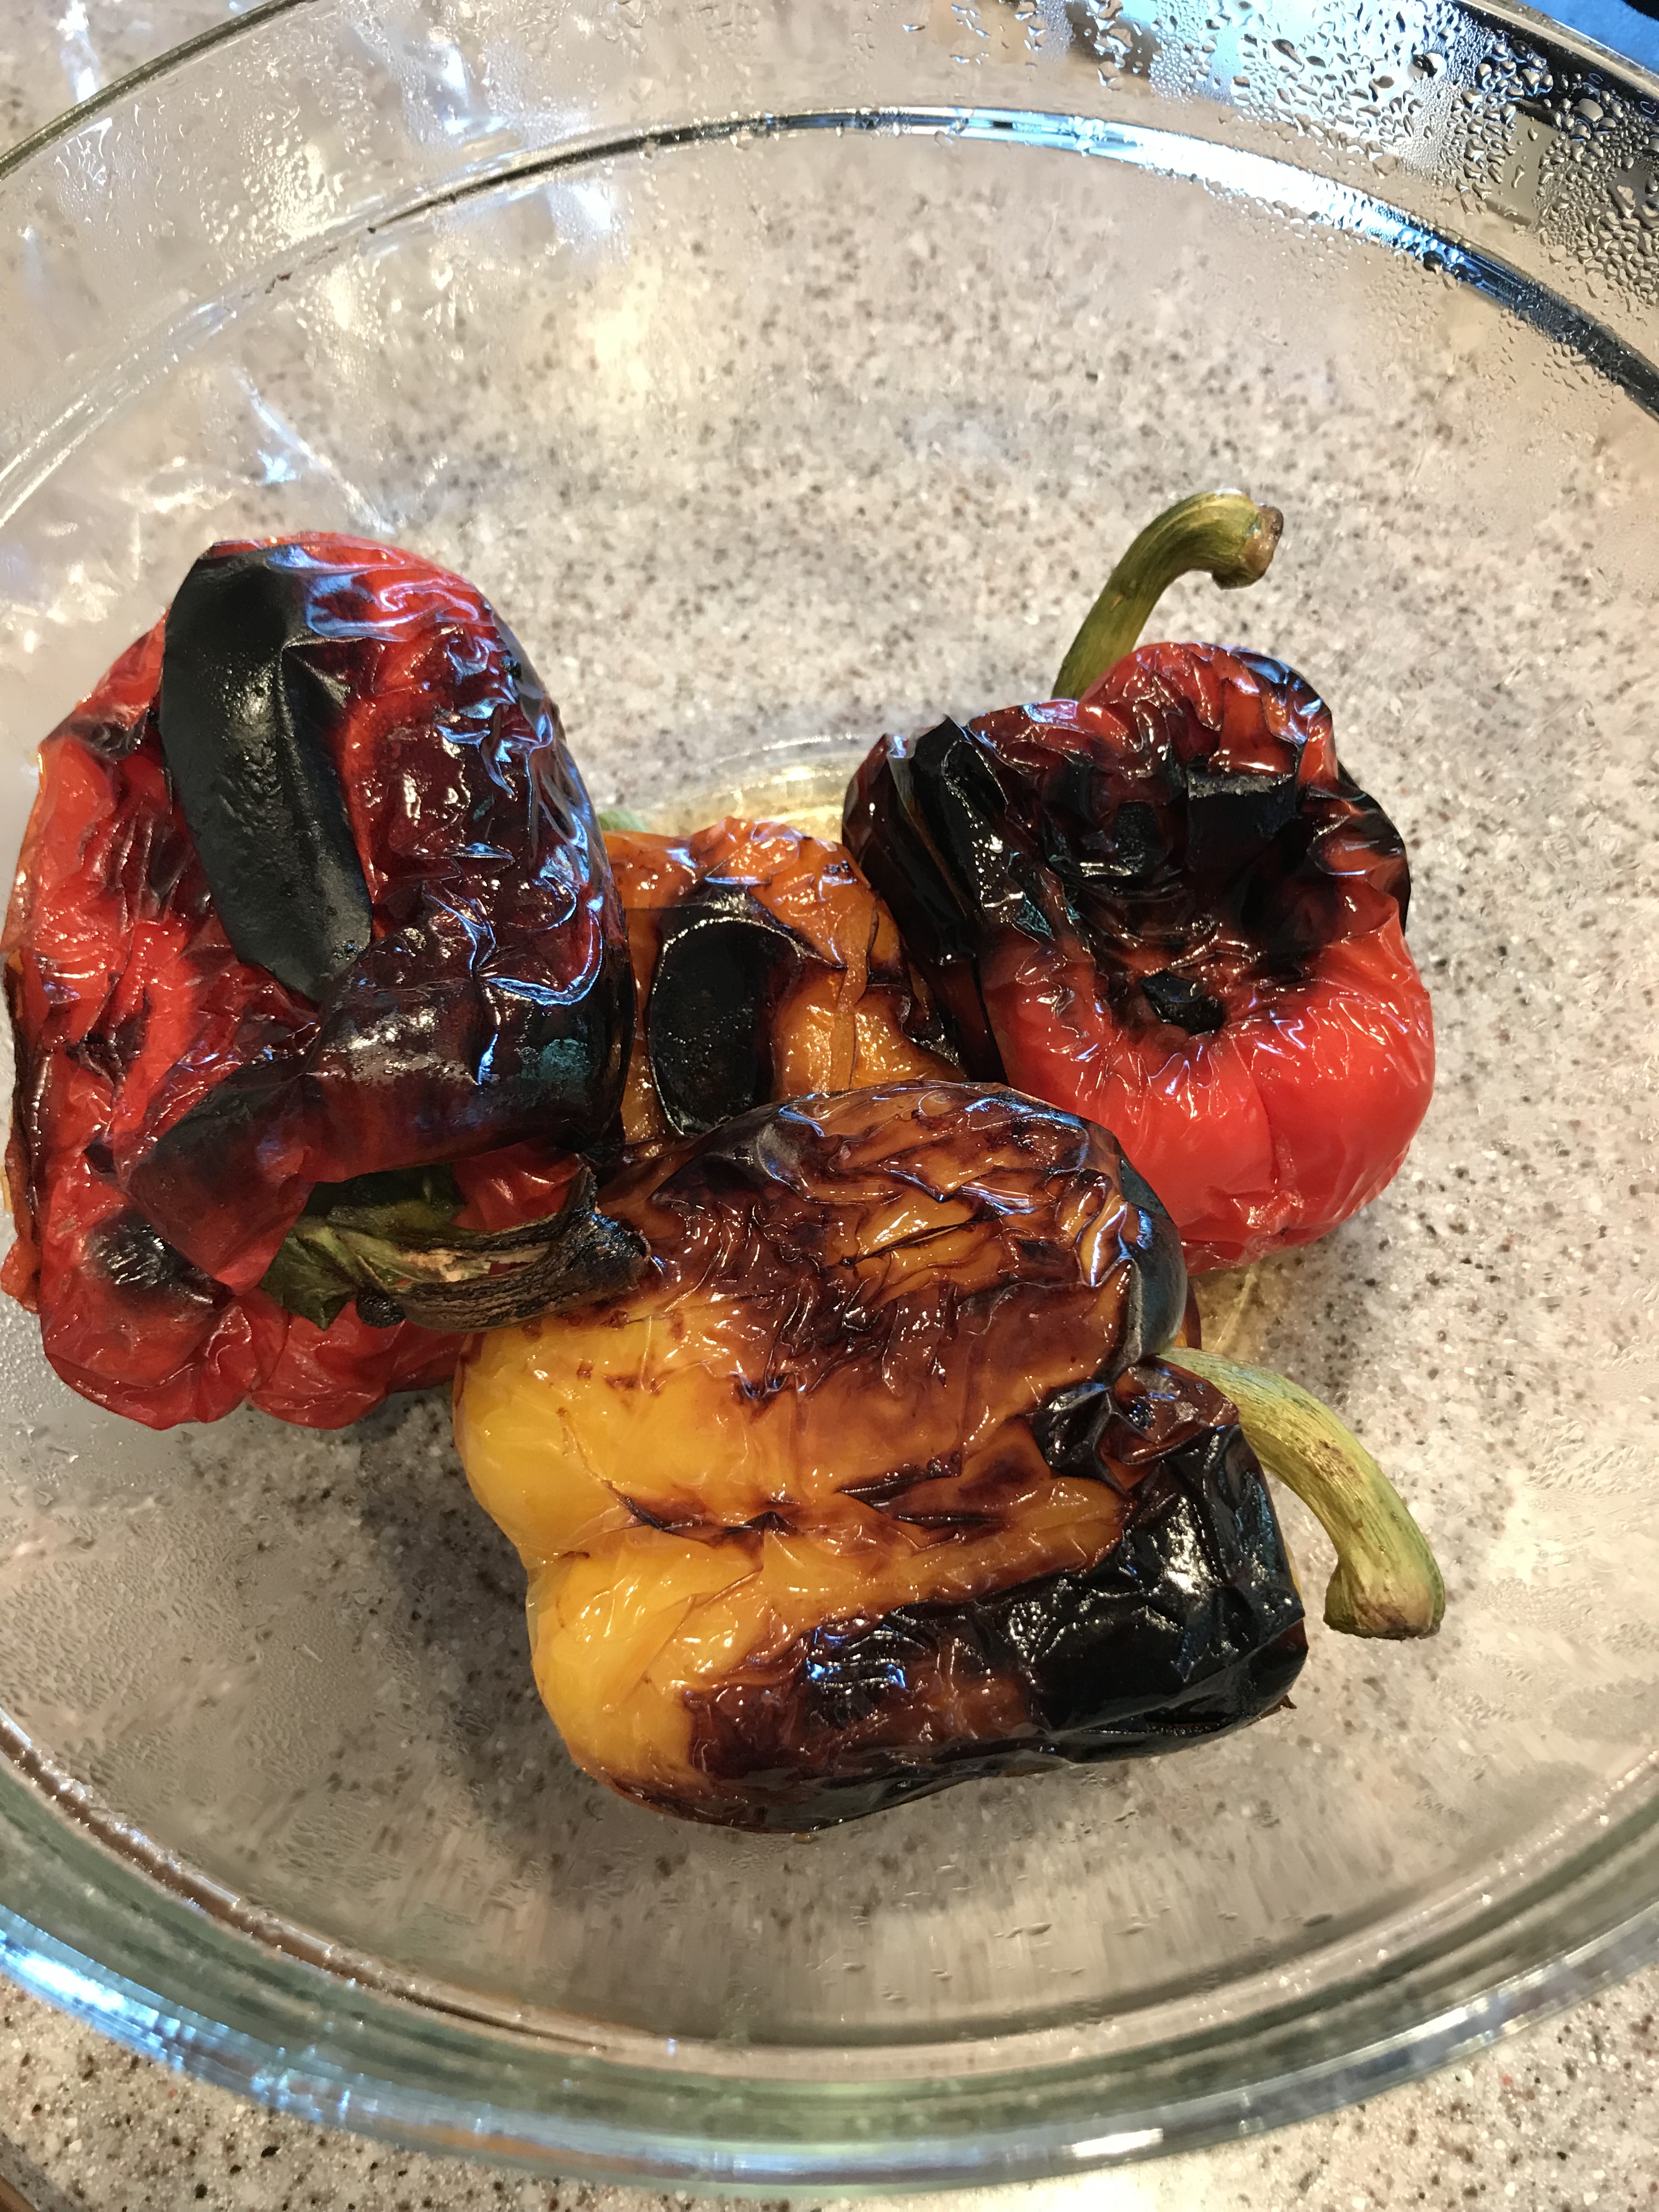
I turn the broiler on a few minutes before I put them in the oven, and I keep the oven door propped open to make sure it stays on while I’m roasting them. As the peppers start to char, I pull them out from under the broiler (and use long tongs to stay safe) to turn them over on all sides. Keep a close eye on them. This is not the time to go clean out your closet, since they can take off and char pretty fast. 🙂 Once they are charred and blistered on all sides, remove them back to the bowl that you oiled them in (less clean up!) and cover with plastic wrap to let them steam and cool down so you can handle them. NOTE: They may be done charring at different times depending on the size of the peppers. Just take them out and drop them in the bowl and cover them up as they are done charring.
Once the peppers are cool enough to handle, it’s time to seed and remove the skins. I use the sheet tray with the foil so that I can just clean it all up at once without making any more of a mess.

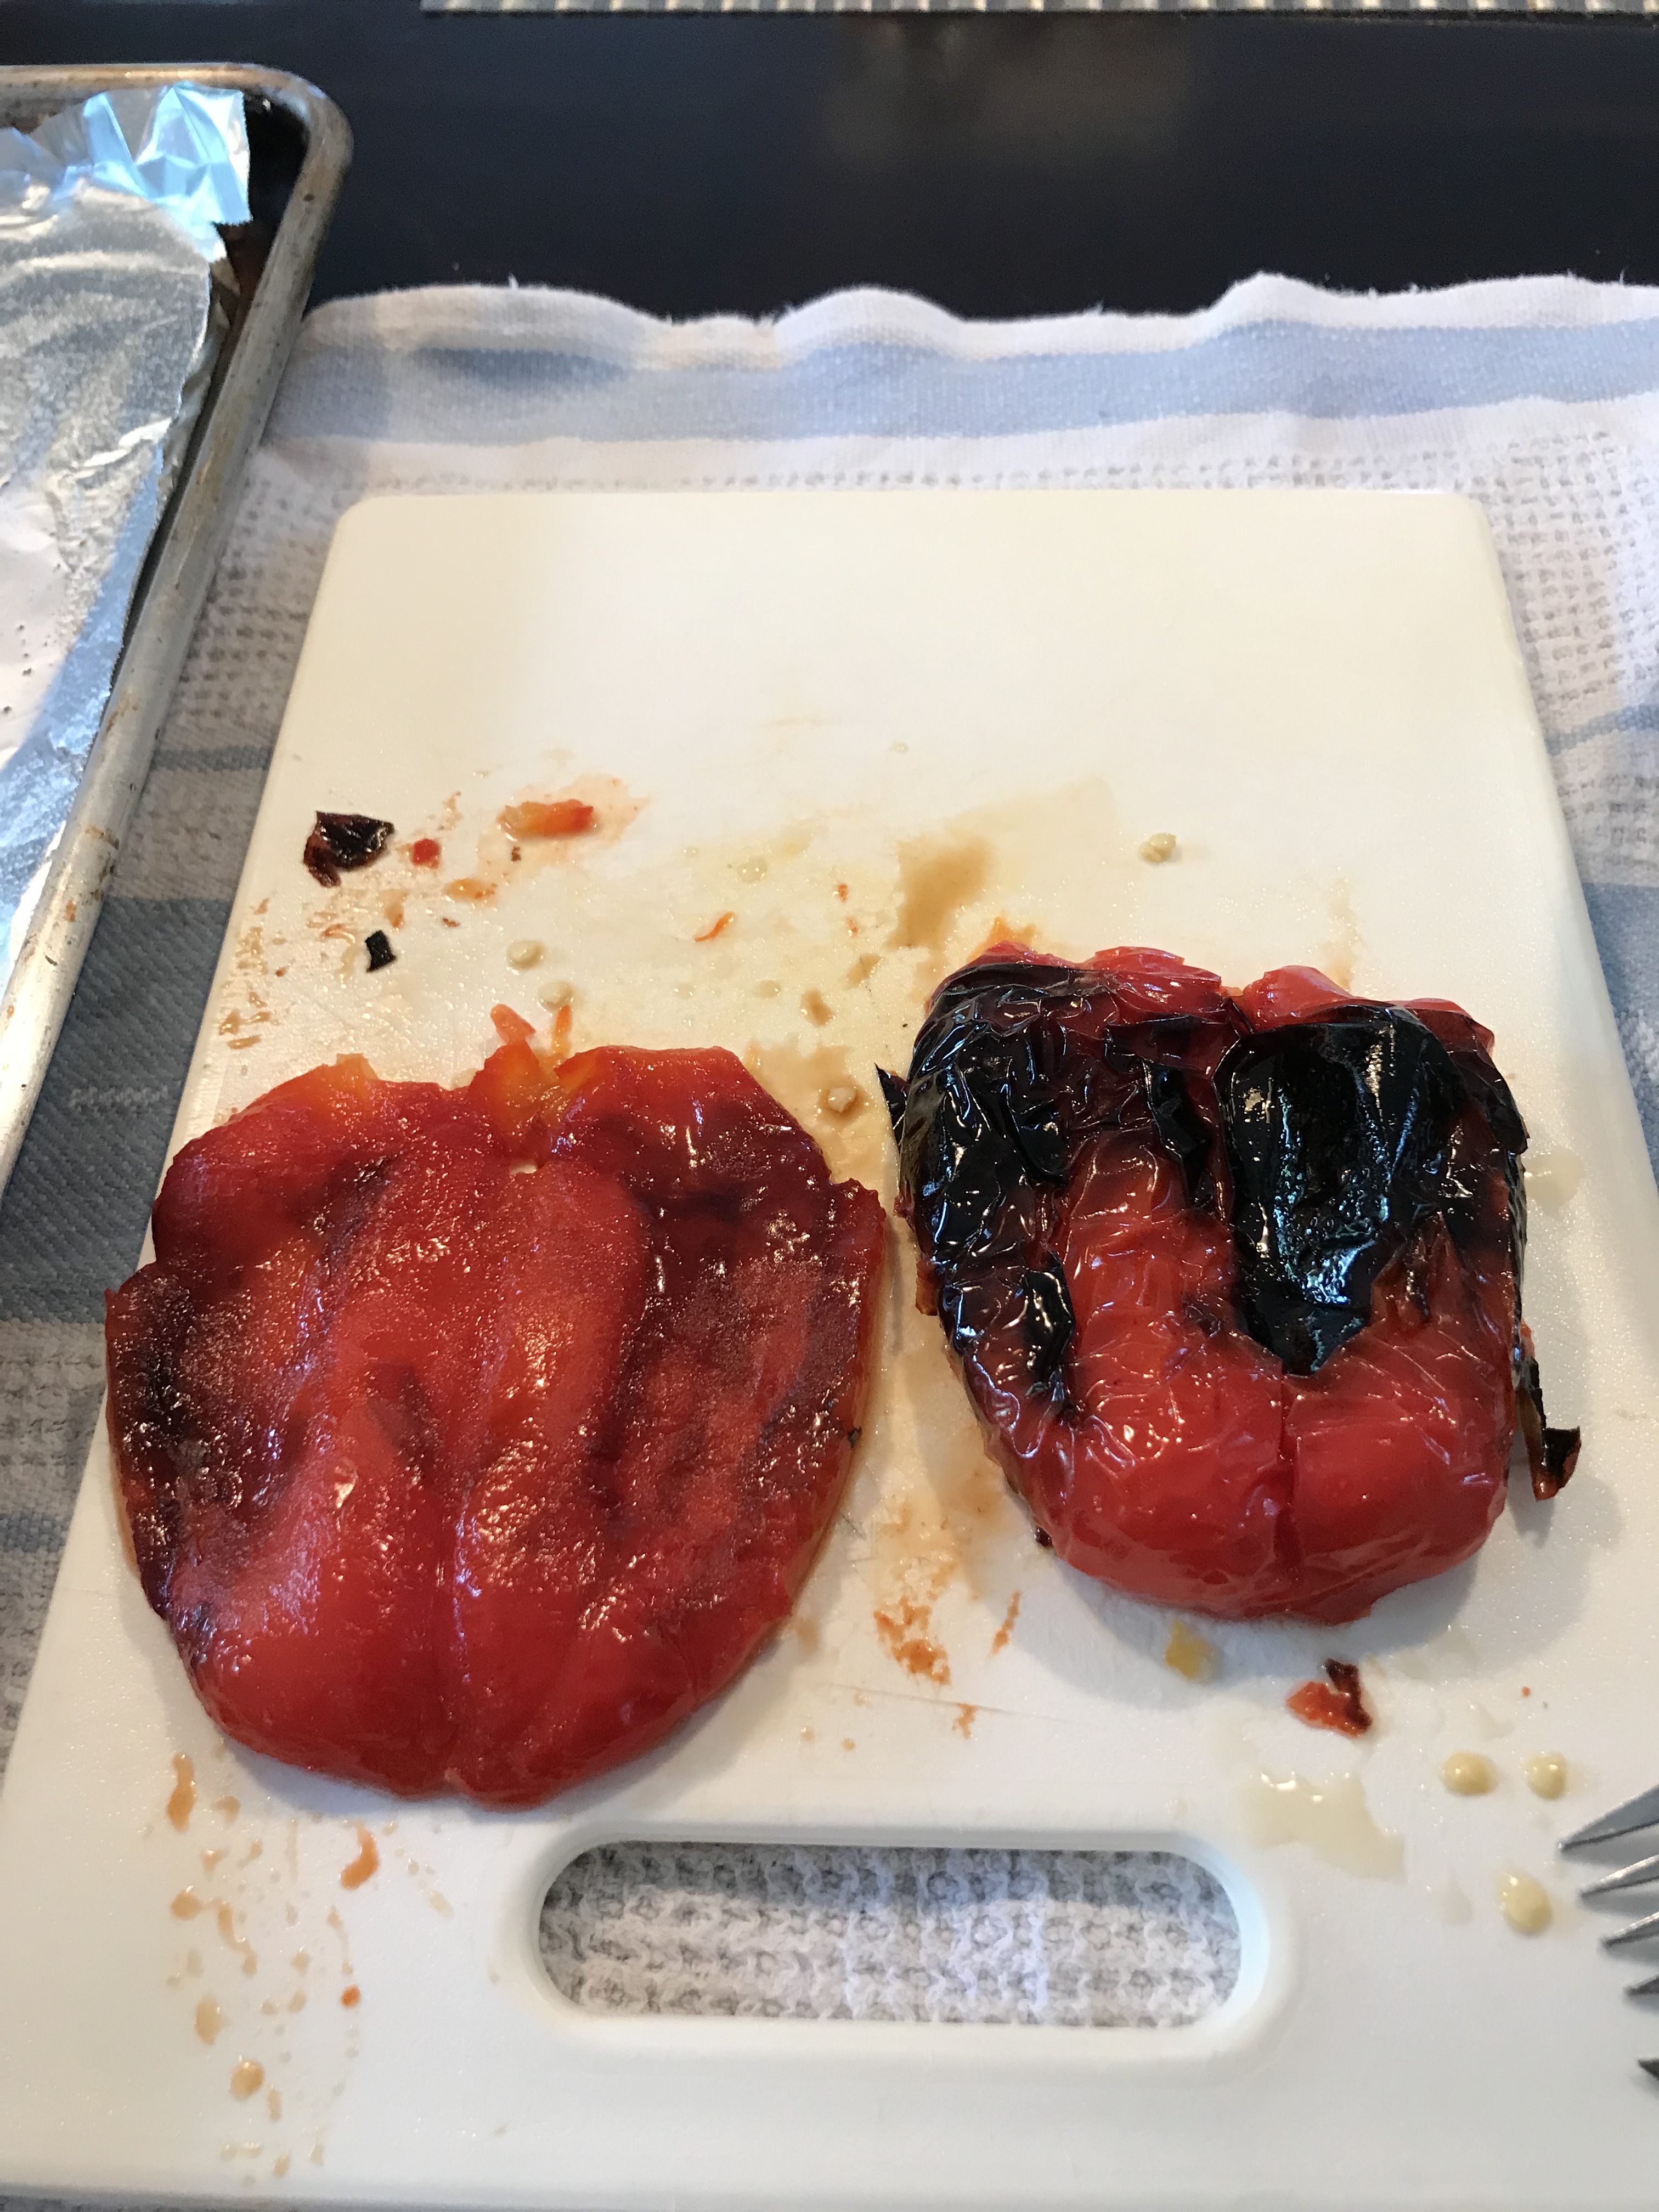
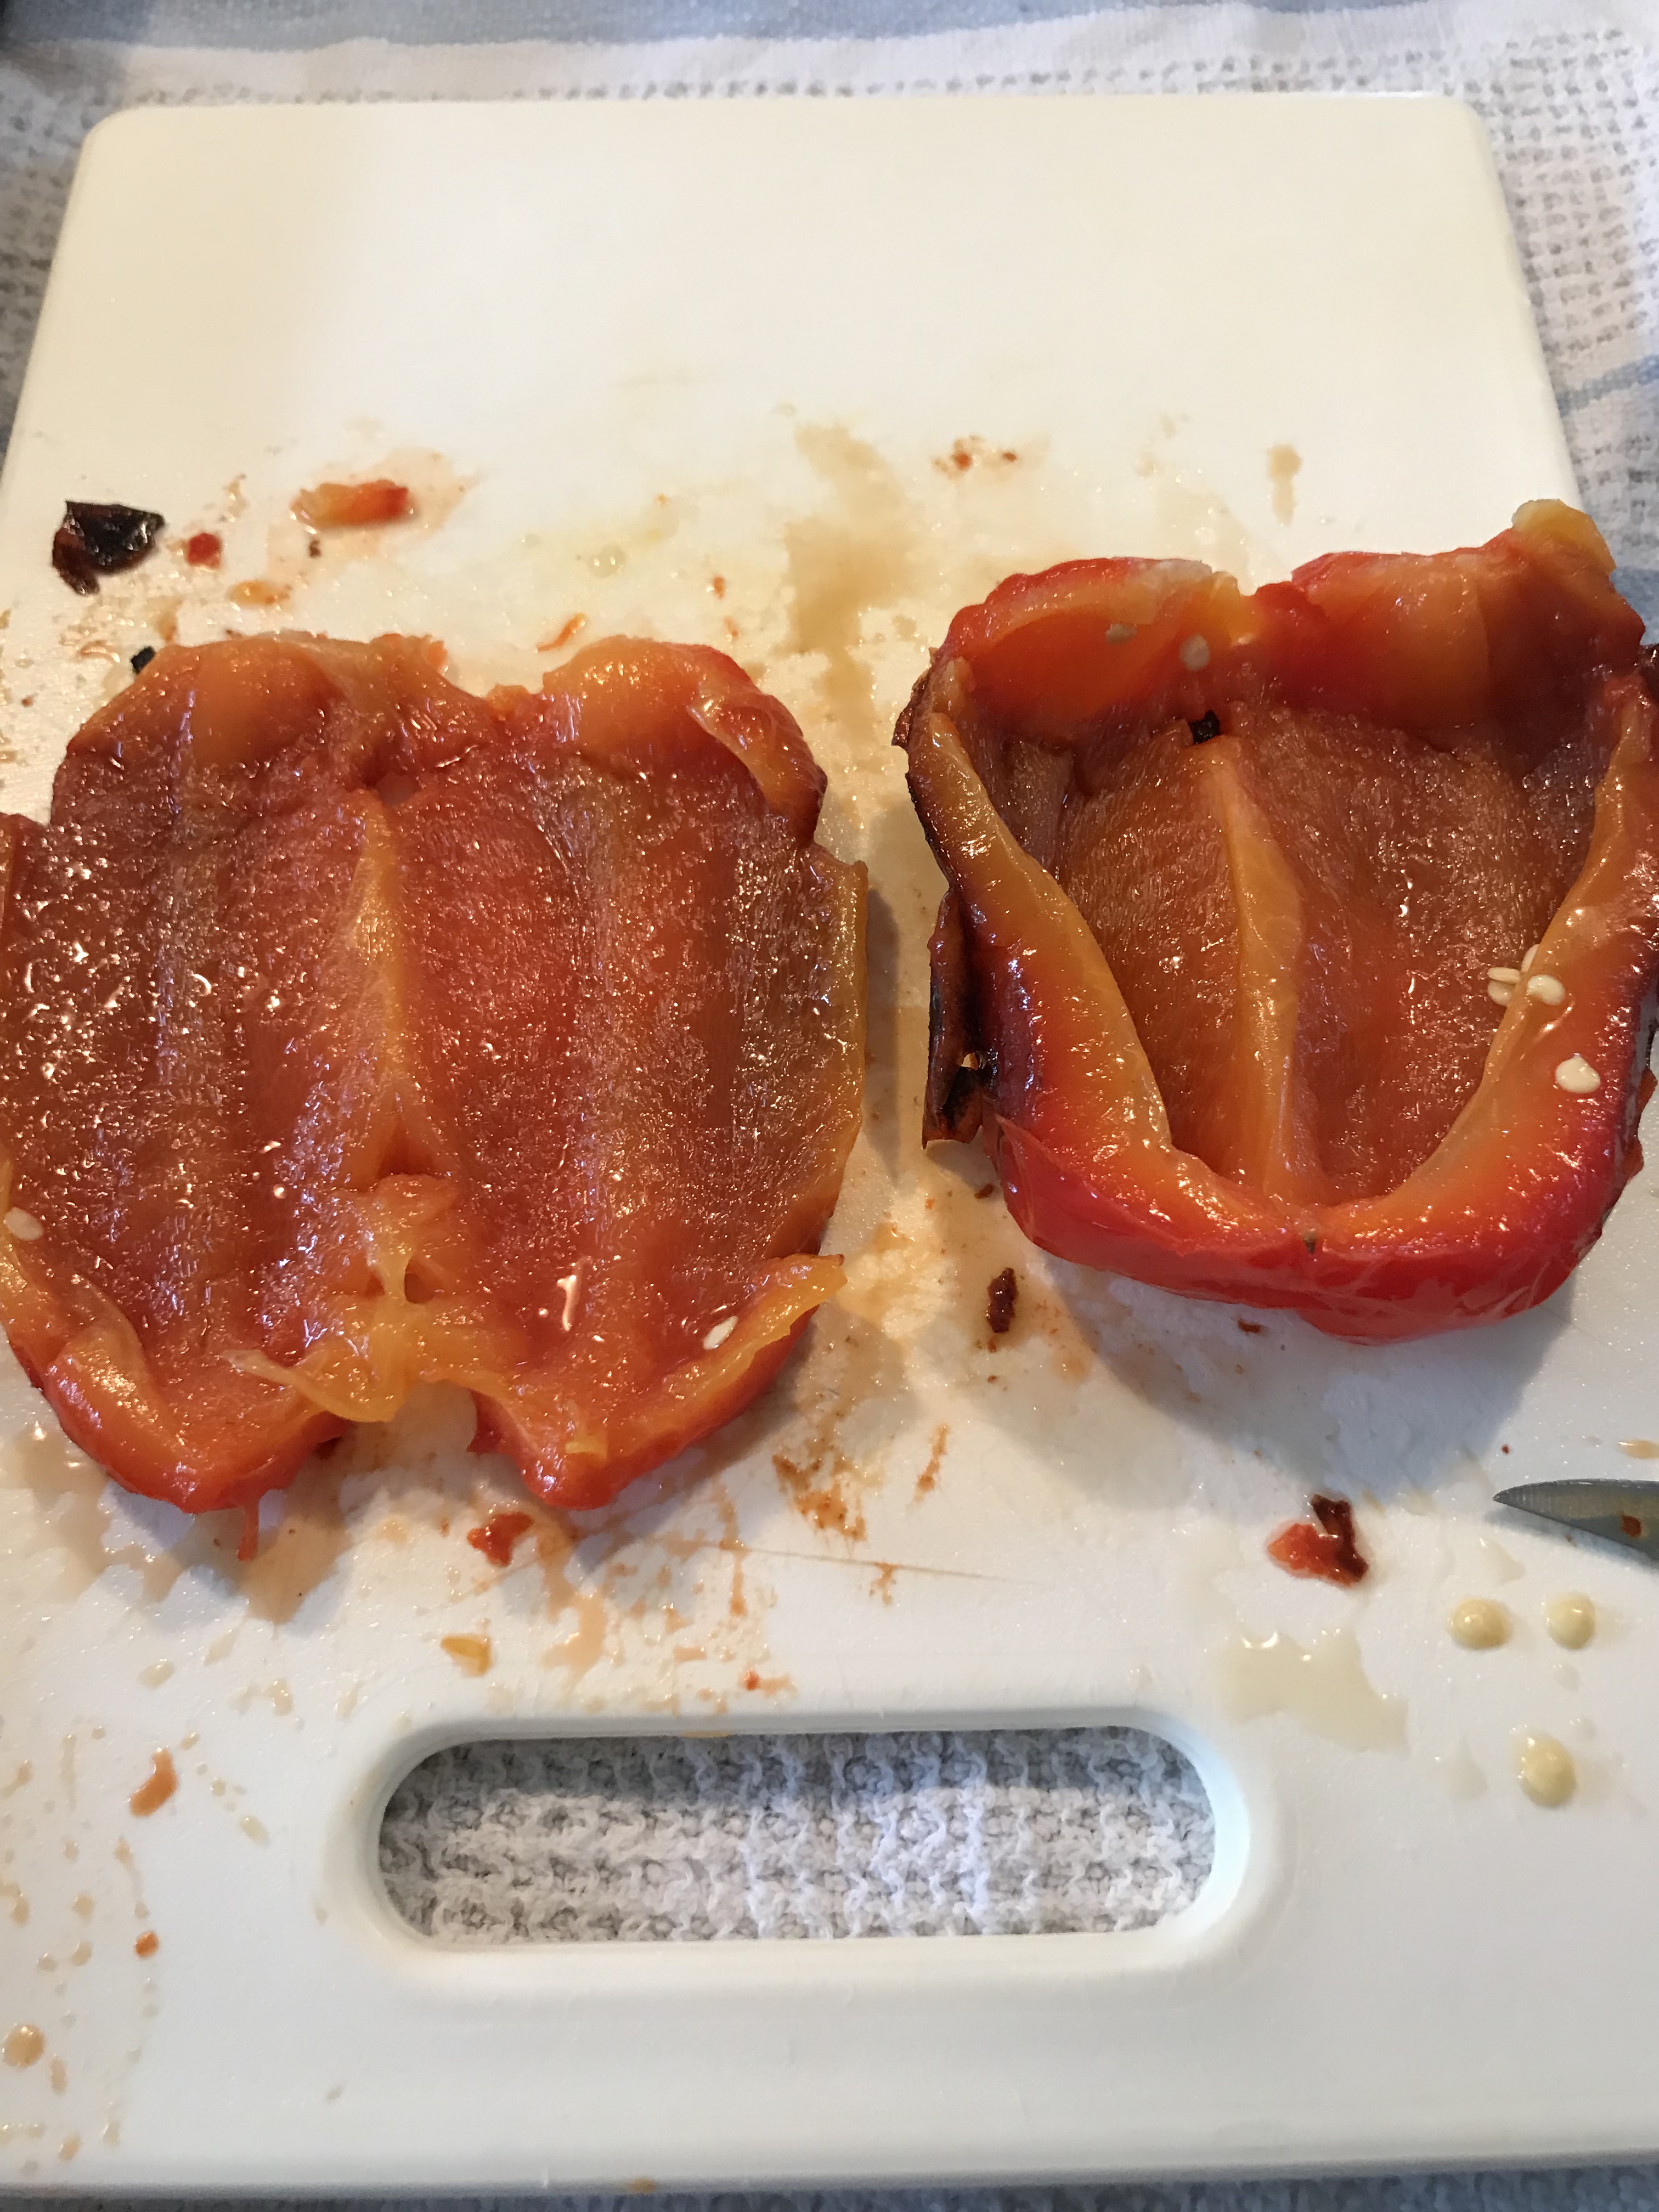
First remove the stem and cut the pepper in half. Scrape out the seeds and white membrane, since that can get a little bitter. Turn the pepper over and scrap off the skins using a small paring knife. They should slip off pretty easy by now. You can cut them into strips or leave them whole depending on how you plan to use them. I tend to leave them as whole so I can then cut them up as I need them. You can store them in the fridge for about 2 weeks if you store them in an airtight jar with some olive oil. If you have a mix of hot and sweet peppers you might want to store them separately, otherwise you may end up with all hot peppers.

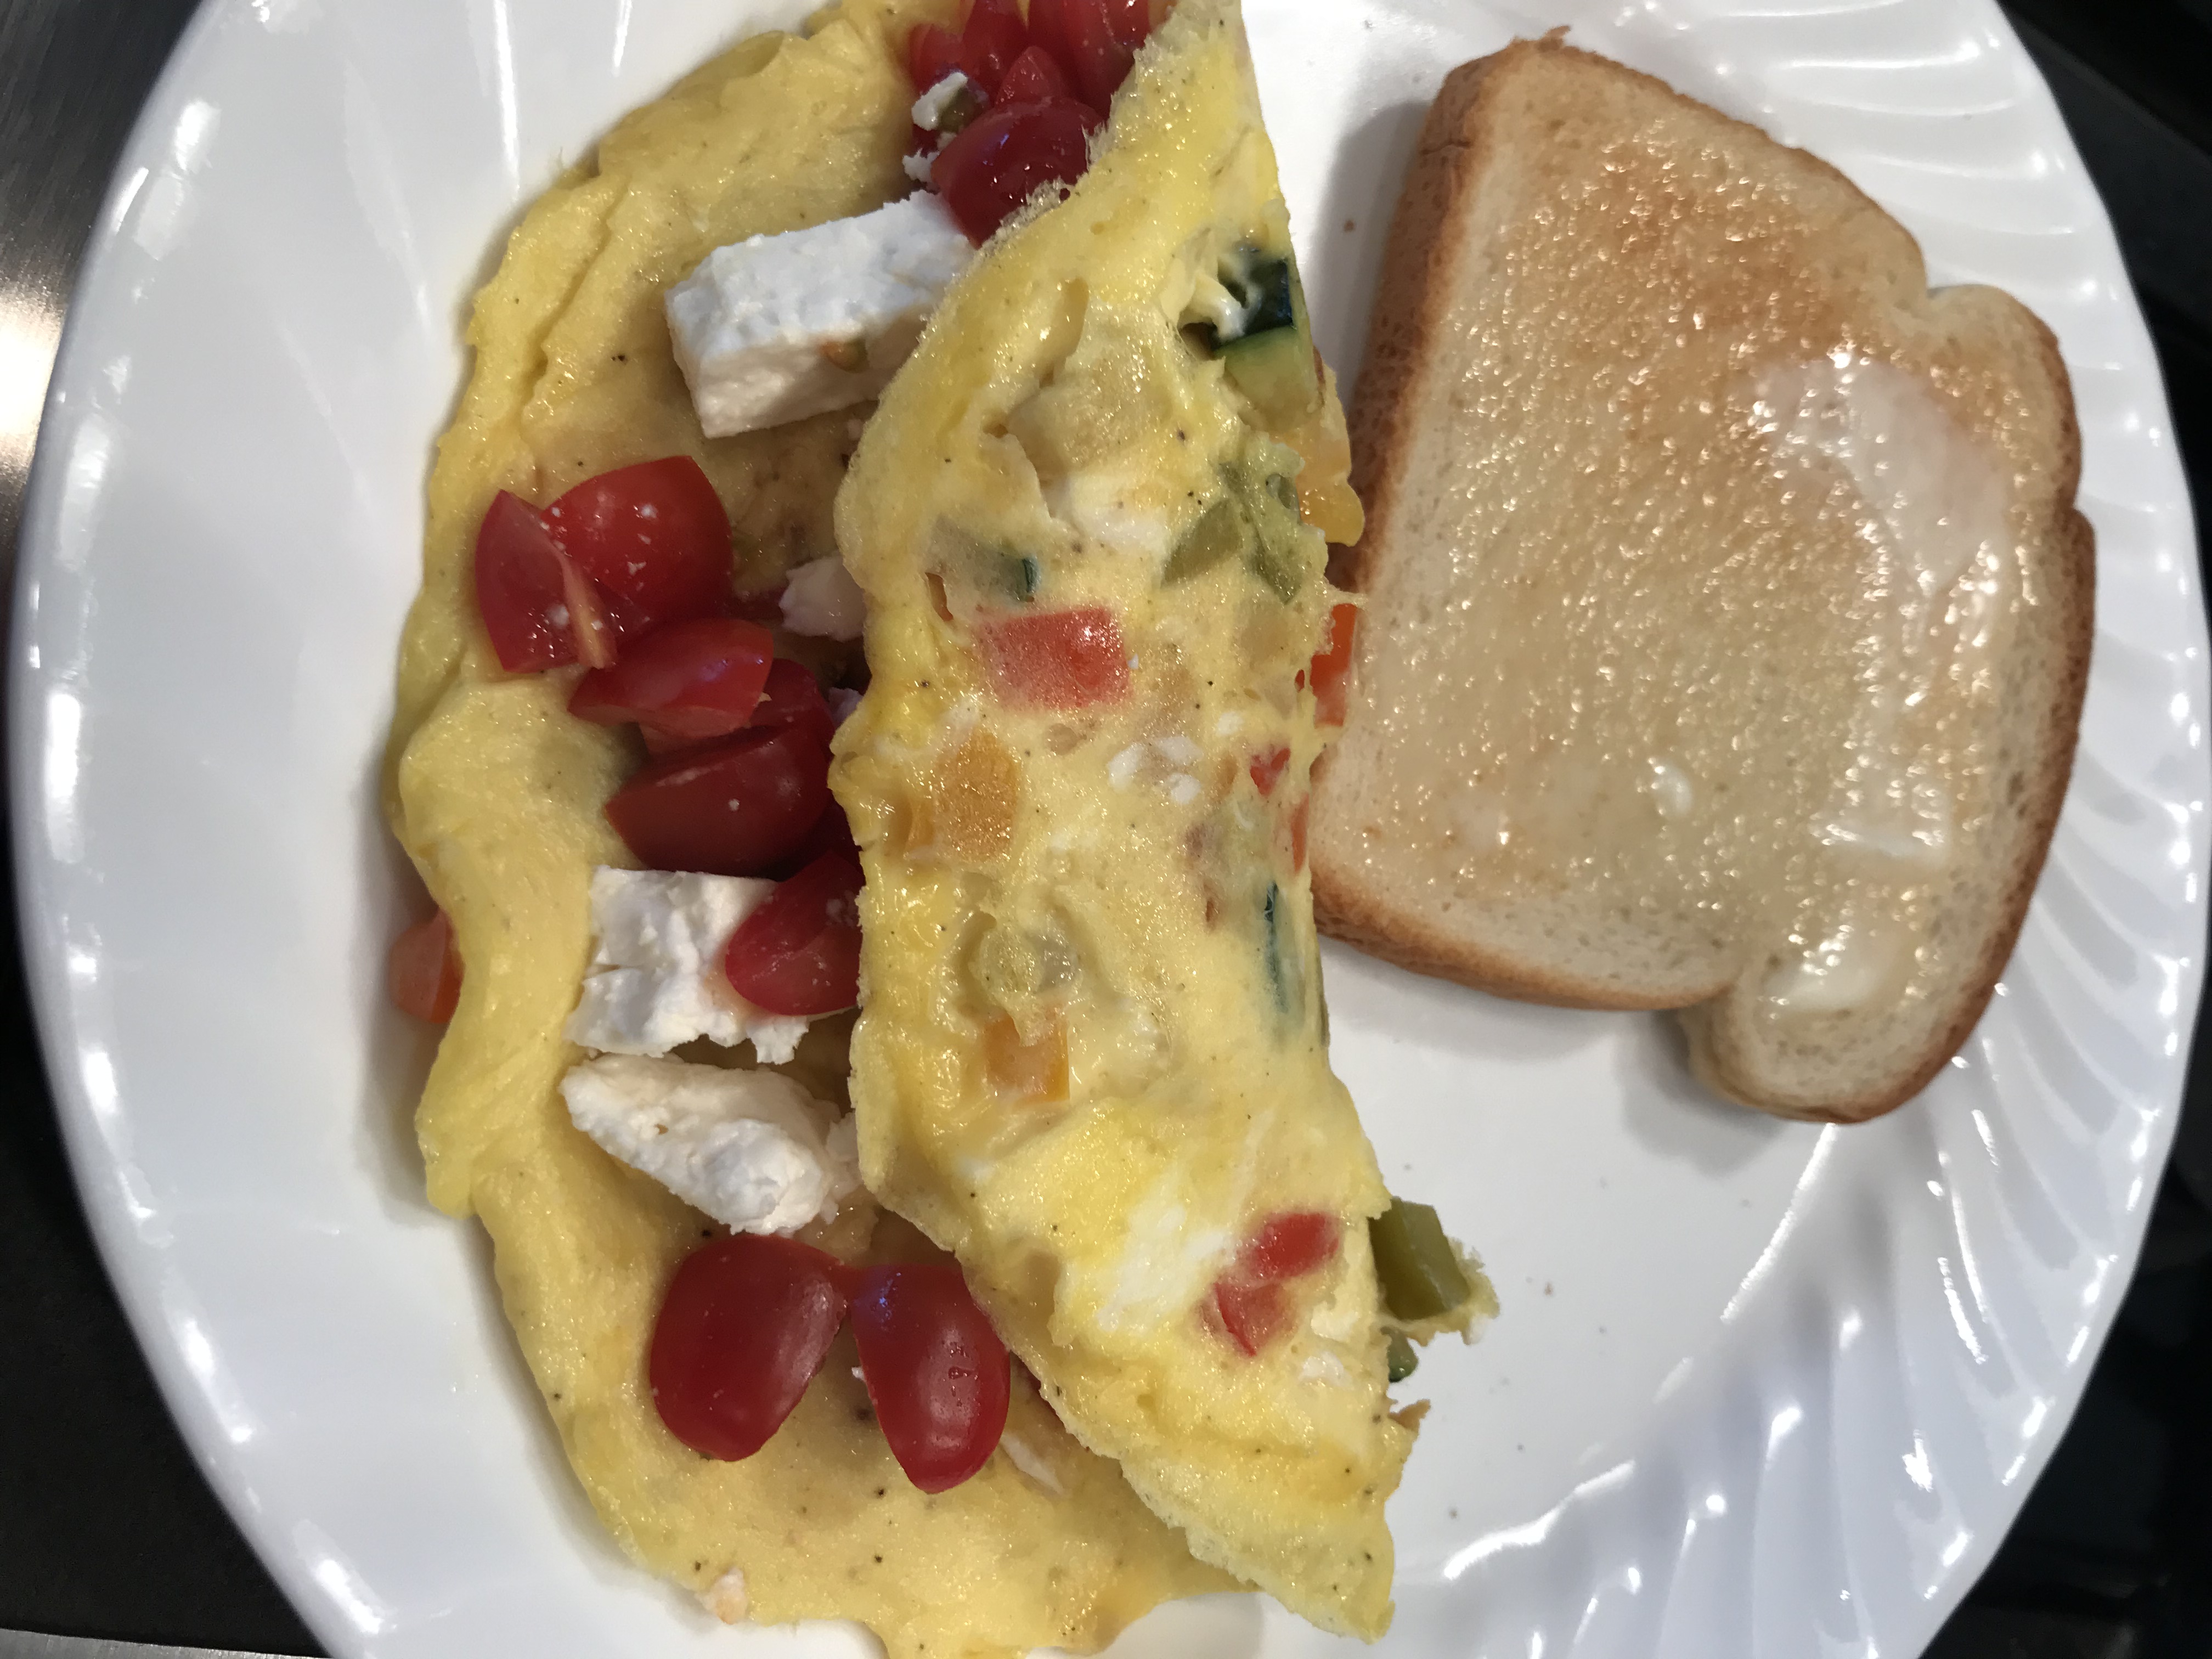
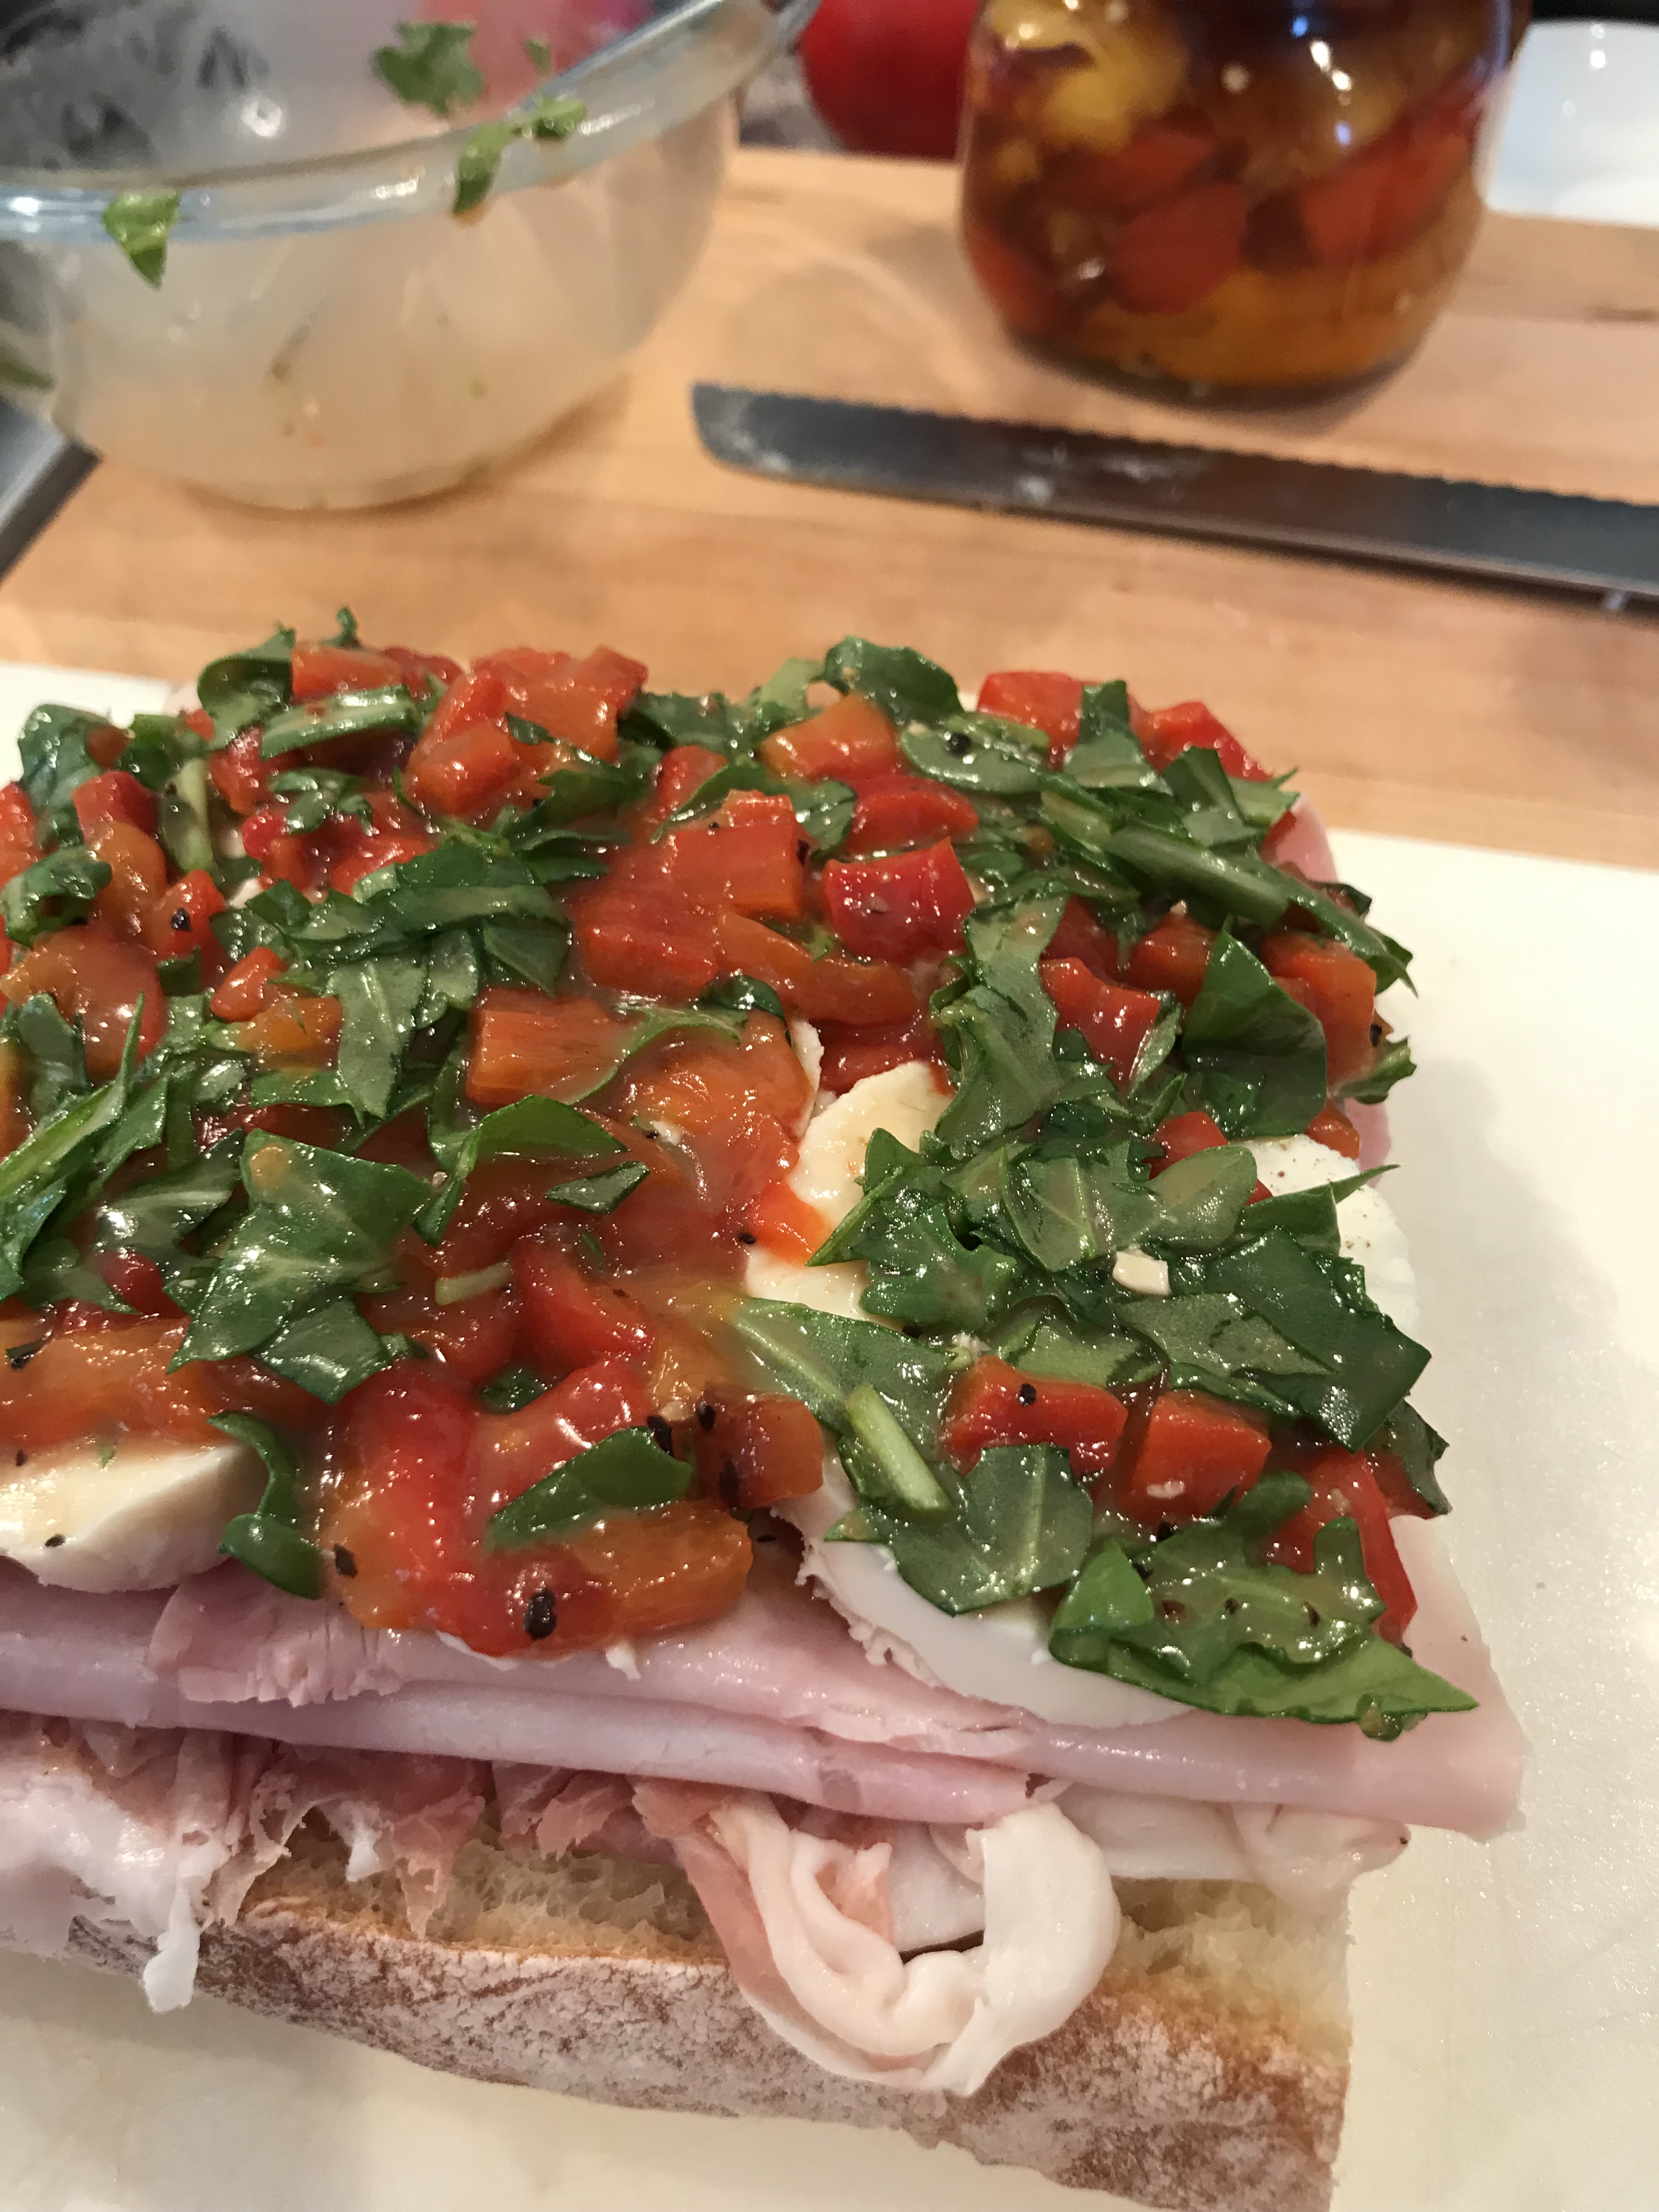
To use them up: I like to blend them up with some alfredo sauce and toss with pasta with some parmesan cheese and basil. Here are a couple more ways to use them up – Add to an omelet with zucchini, tomato and feta cheese. They also make a great sandwich topper mixed with arugula and balsamic vinaigrette! Enjoy!