I have a favorite place to get my corn during the summer. I use it for all the usual stuff…corn on the cob, cream corned, corn and tomato salad, corn fitters, etc. I also put some in the freezer for those times when you need a taste of summer to get you through the cold, dark days of winter. It’s the easiest of all the things I do to preserve foods and I am always glad I did when the holidays come around and I can share it with everyone for dinner. This is the process my family has been doing since I can remember so I know it works for me. Some people don’t do the blanching step, so use this as you see fit. Here’s the rundown:
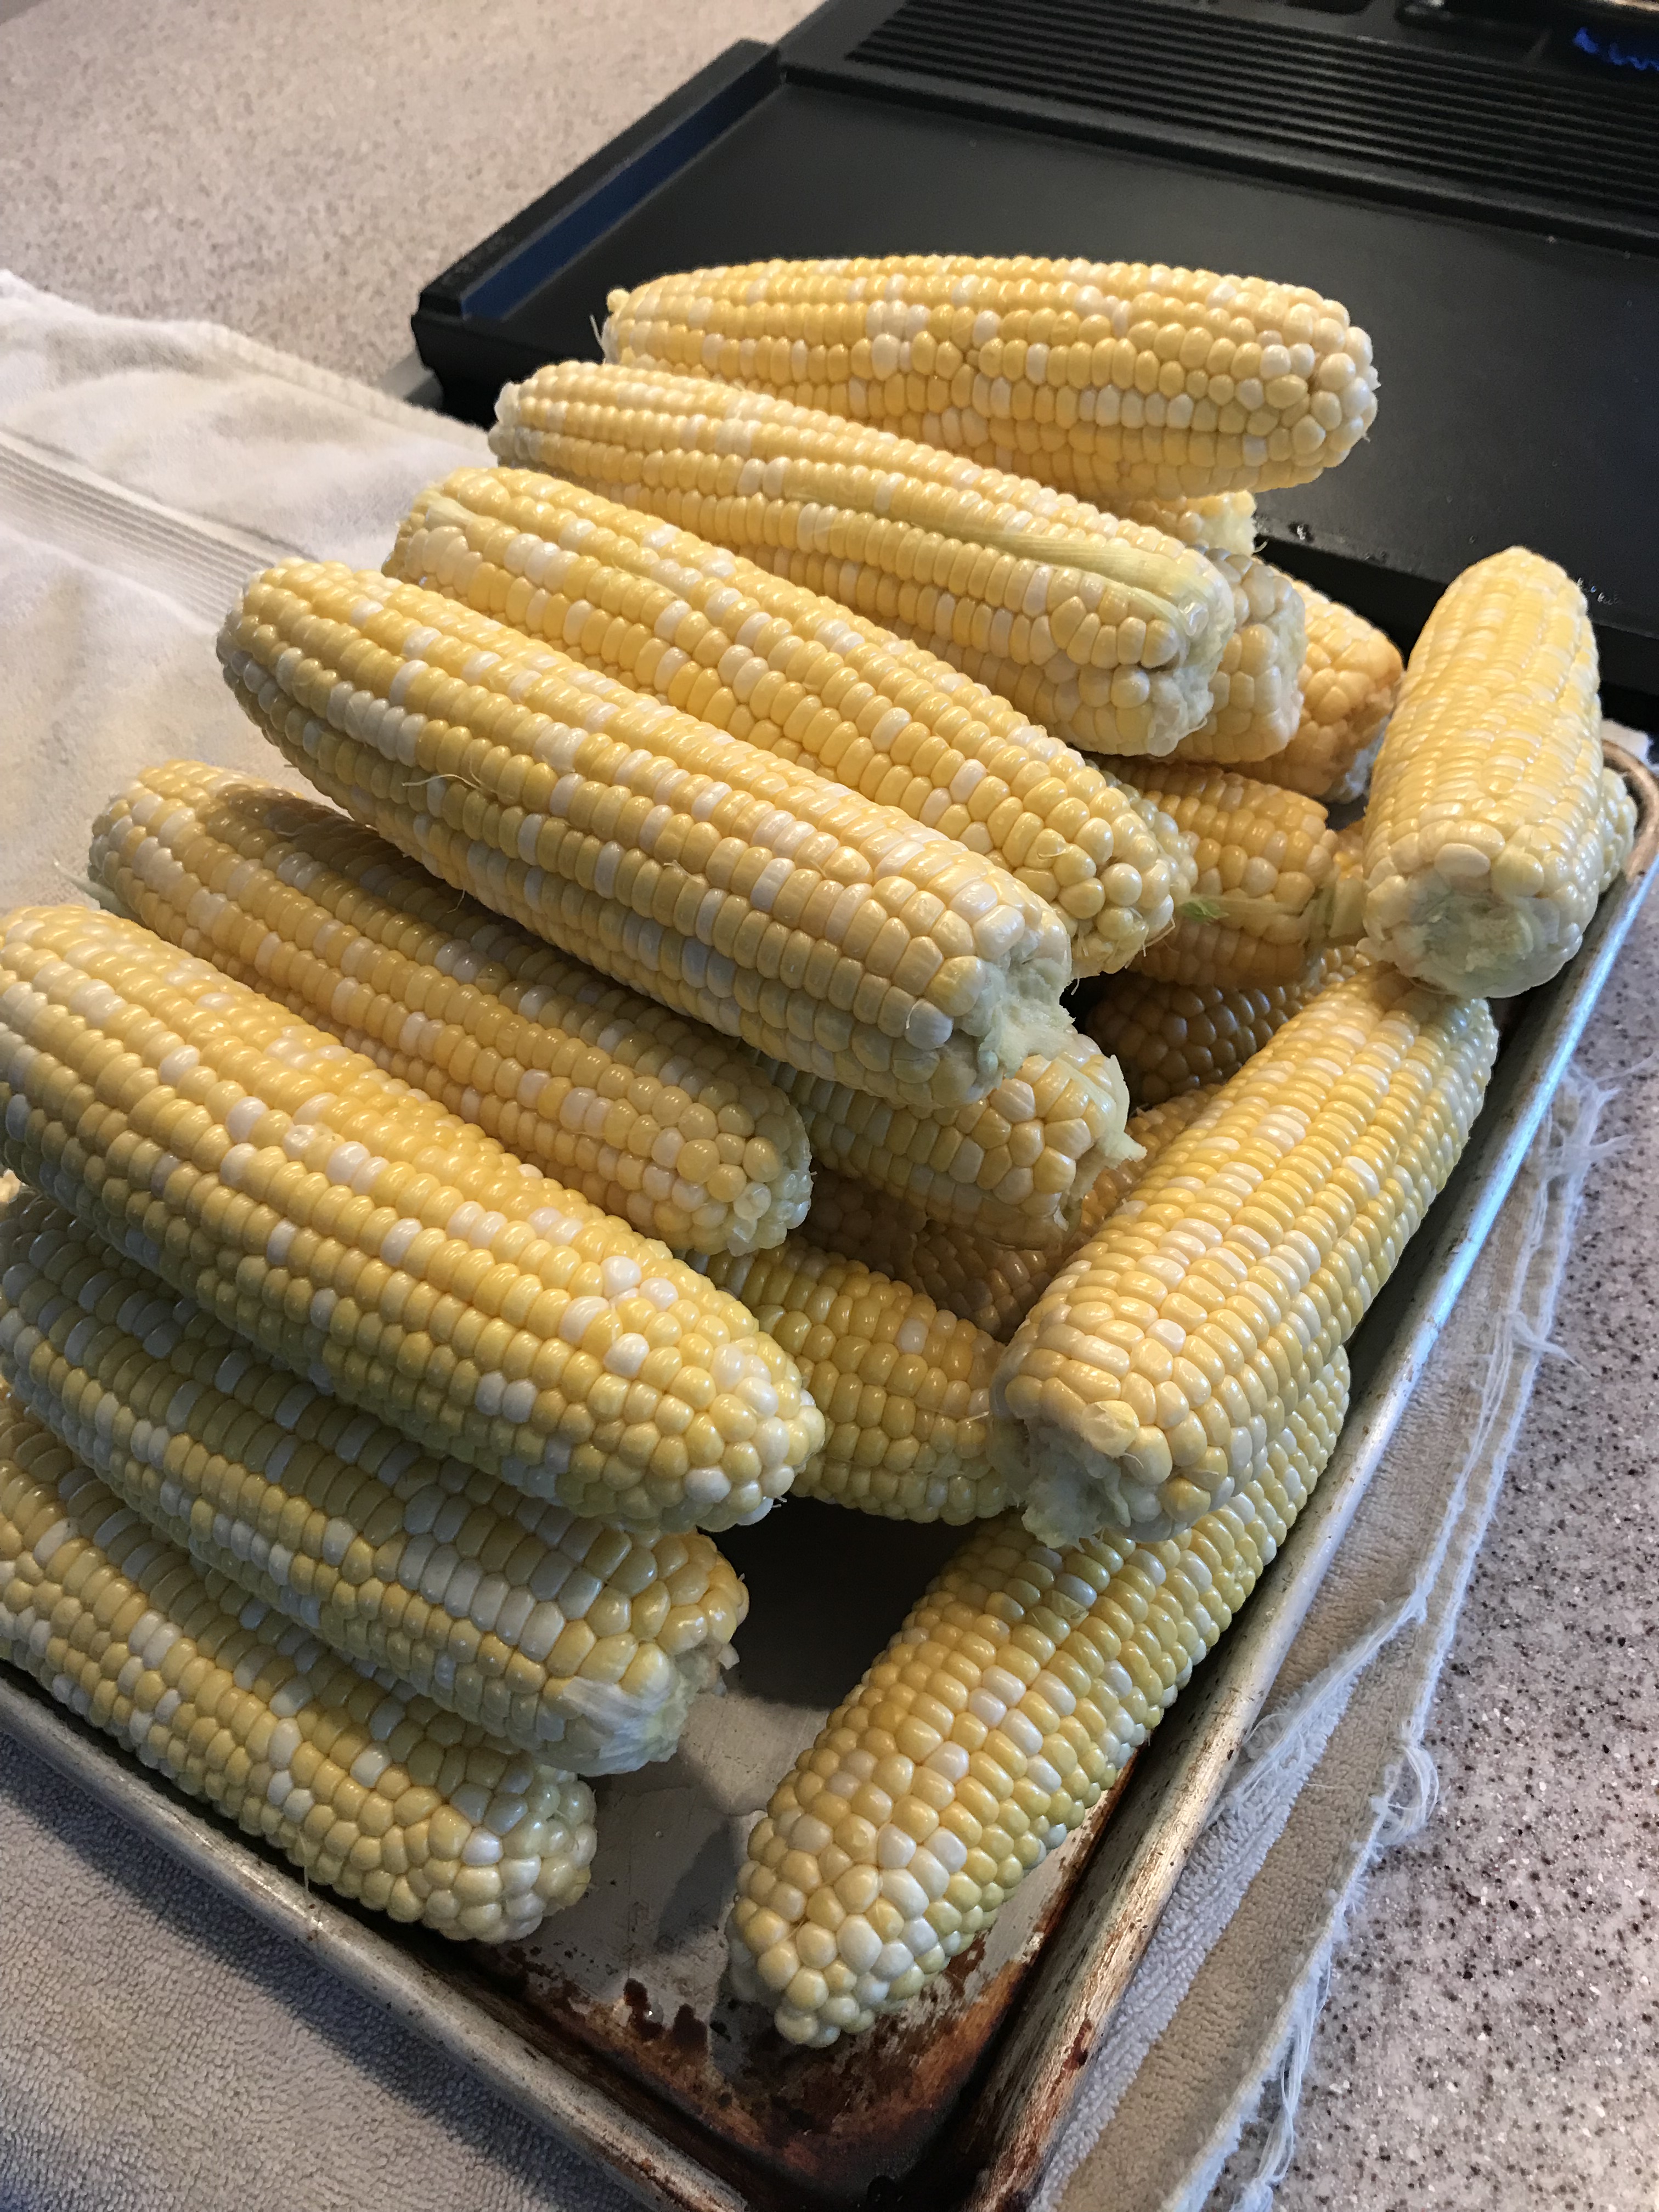
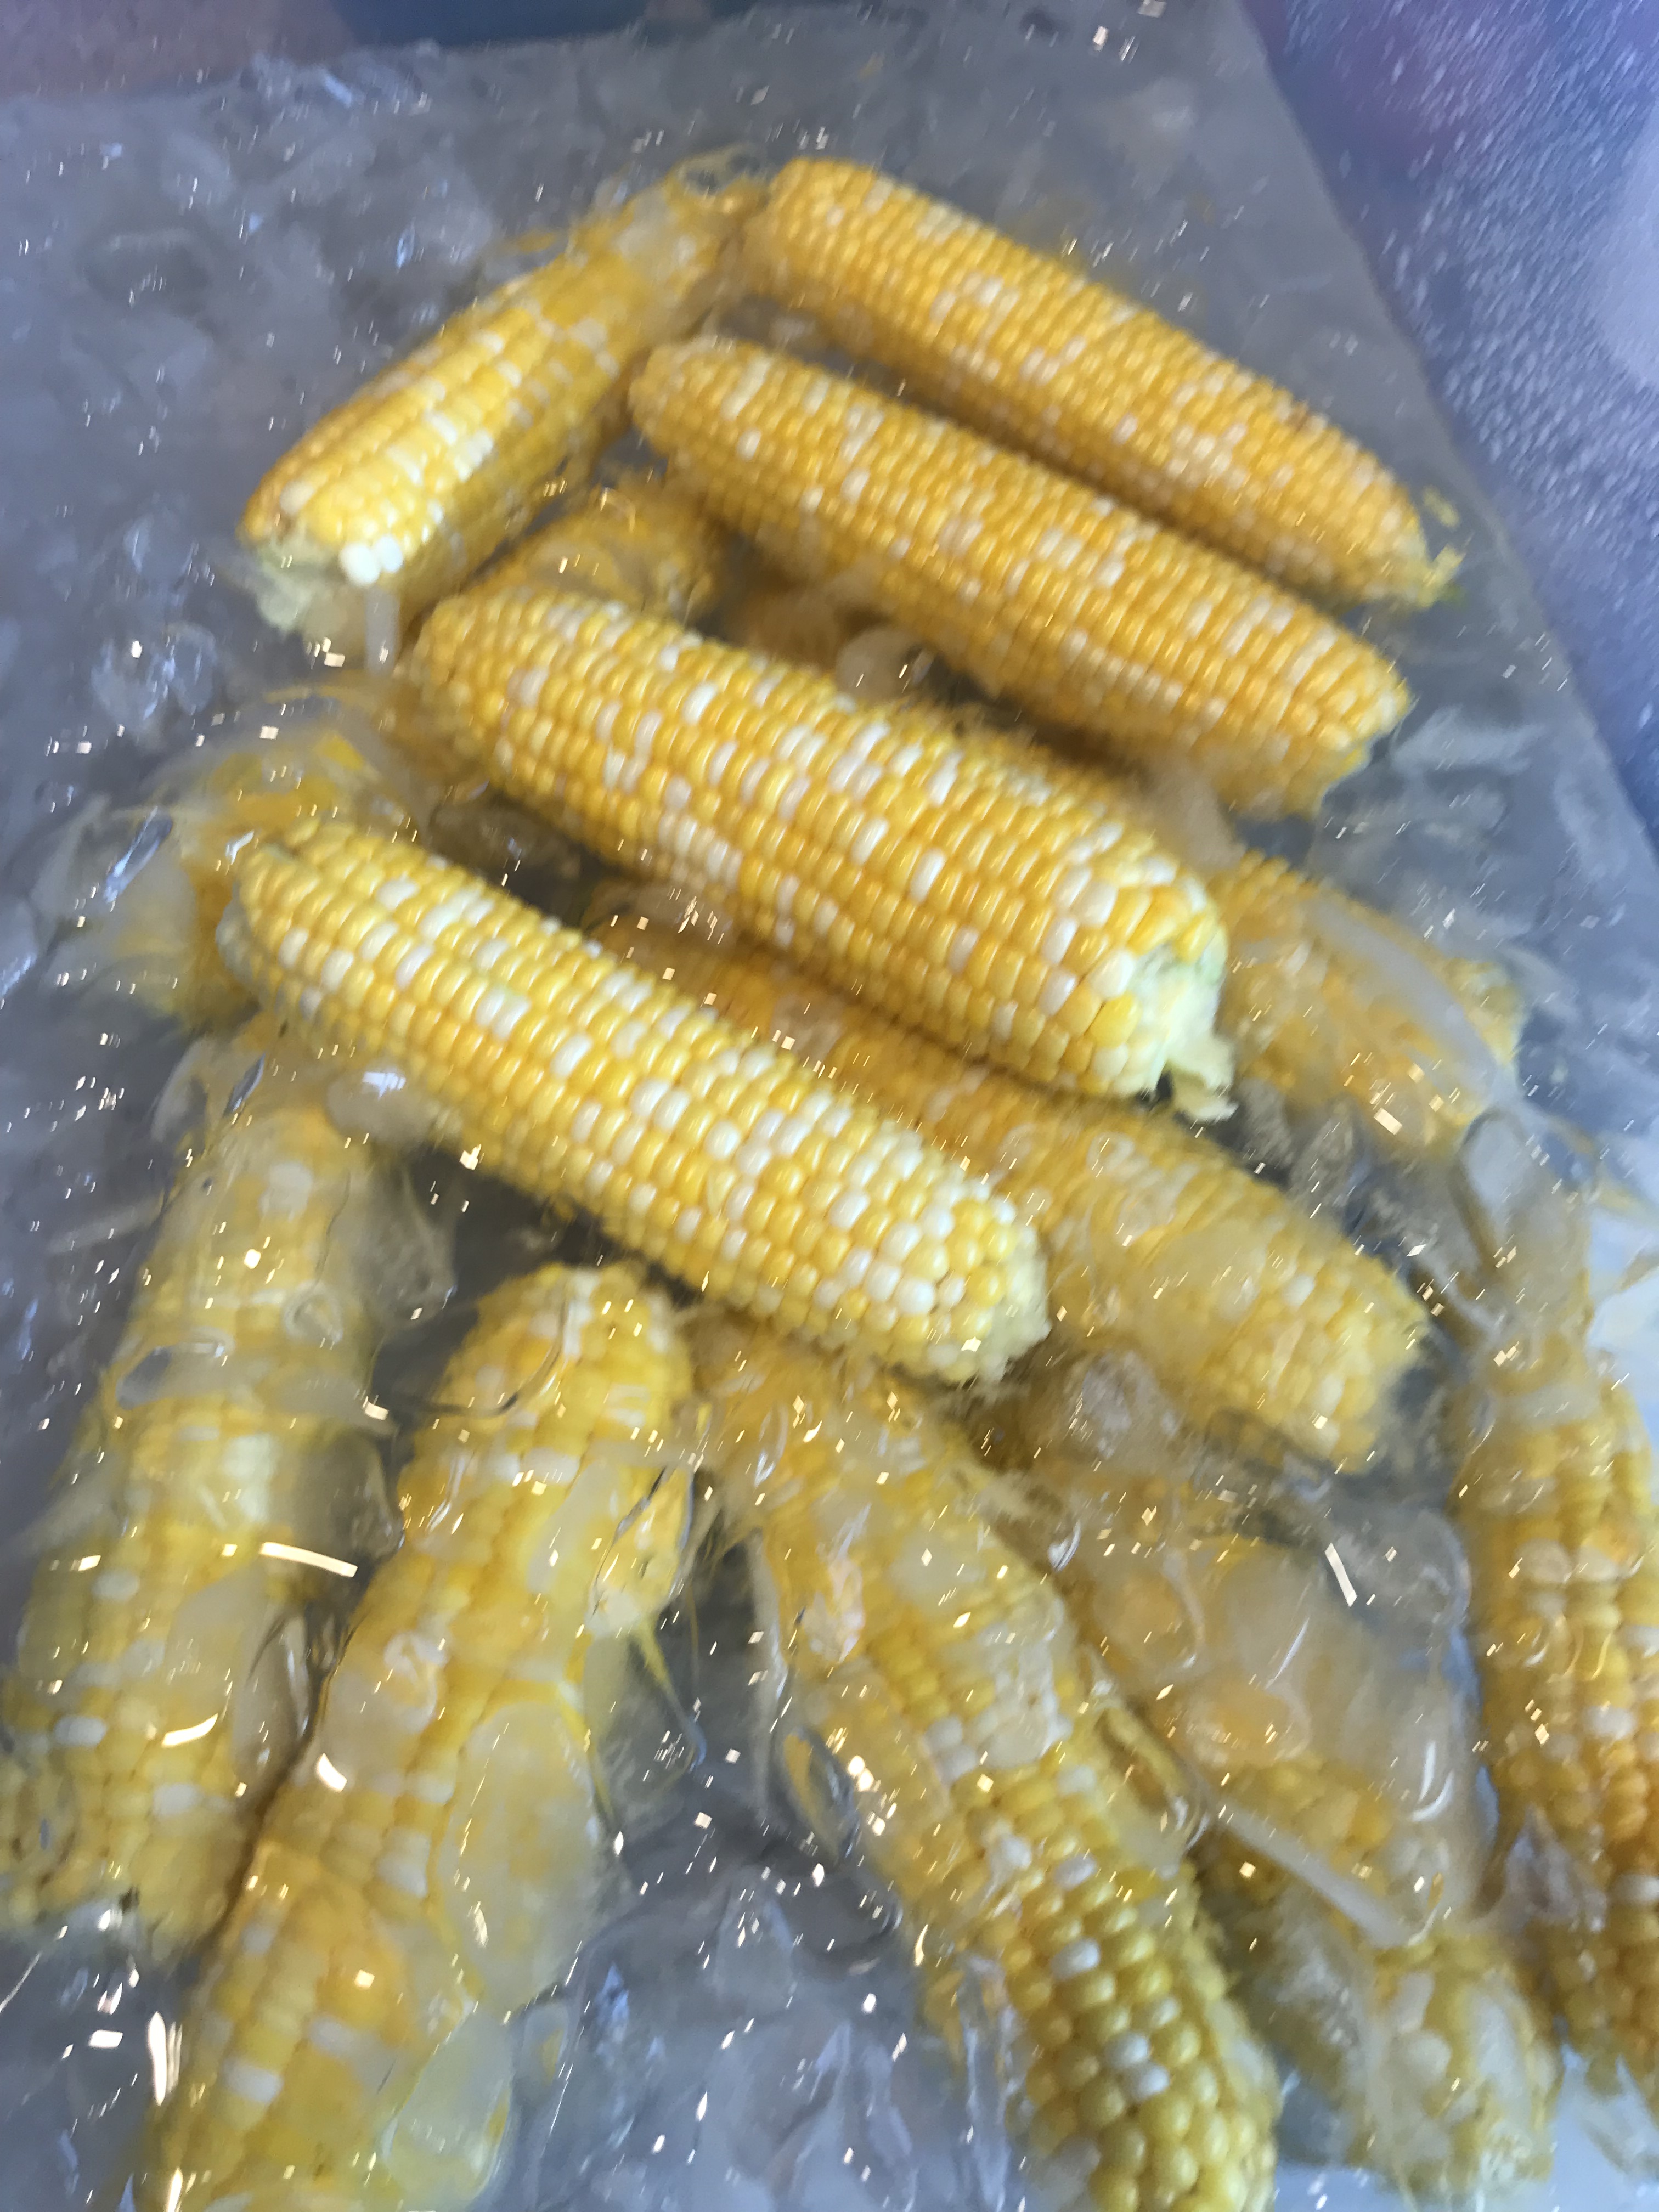
Go buy a bunch of corn. Yeah, it’s easy to say, but pick a place that has the best you can find, even chain grocery stores sometimes have good stuff. Try not to go overboard your first time out. I got 2 1/2 dozen ears and it took me about 2 hours total from shucking to freezer bag. I ended up with about 22 cups of processed corn out of all this.
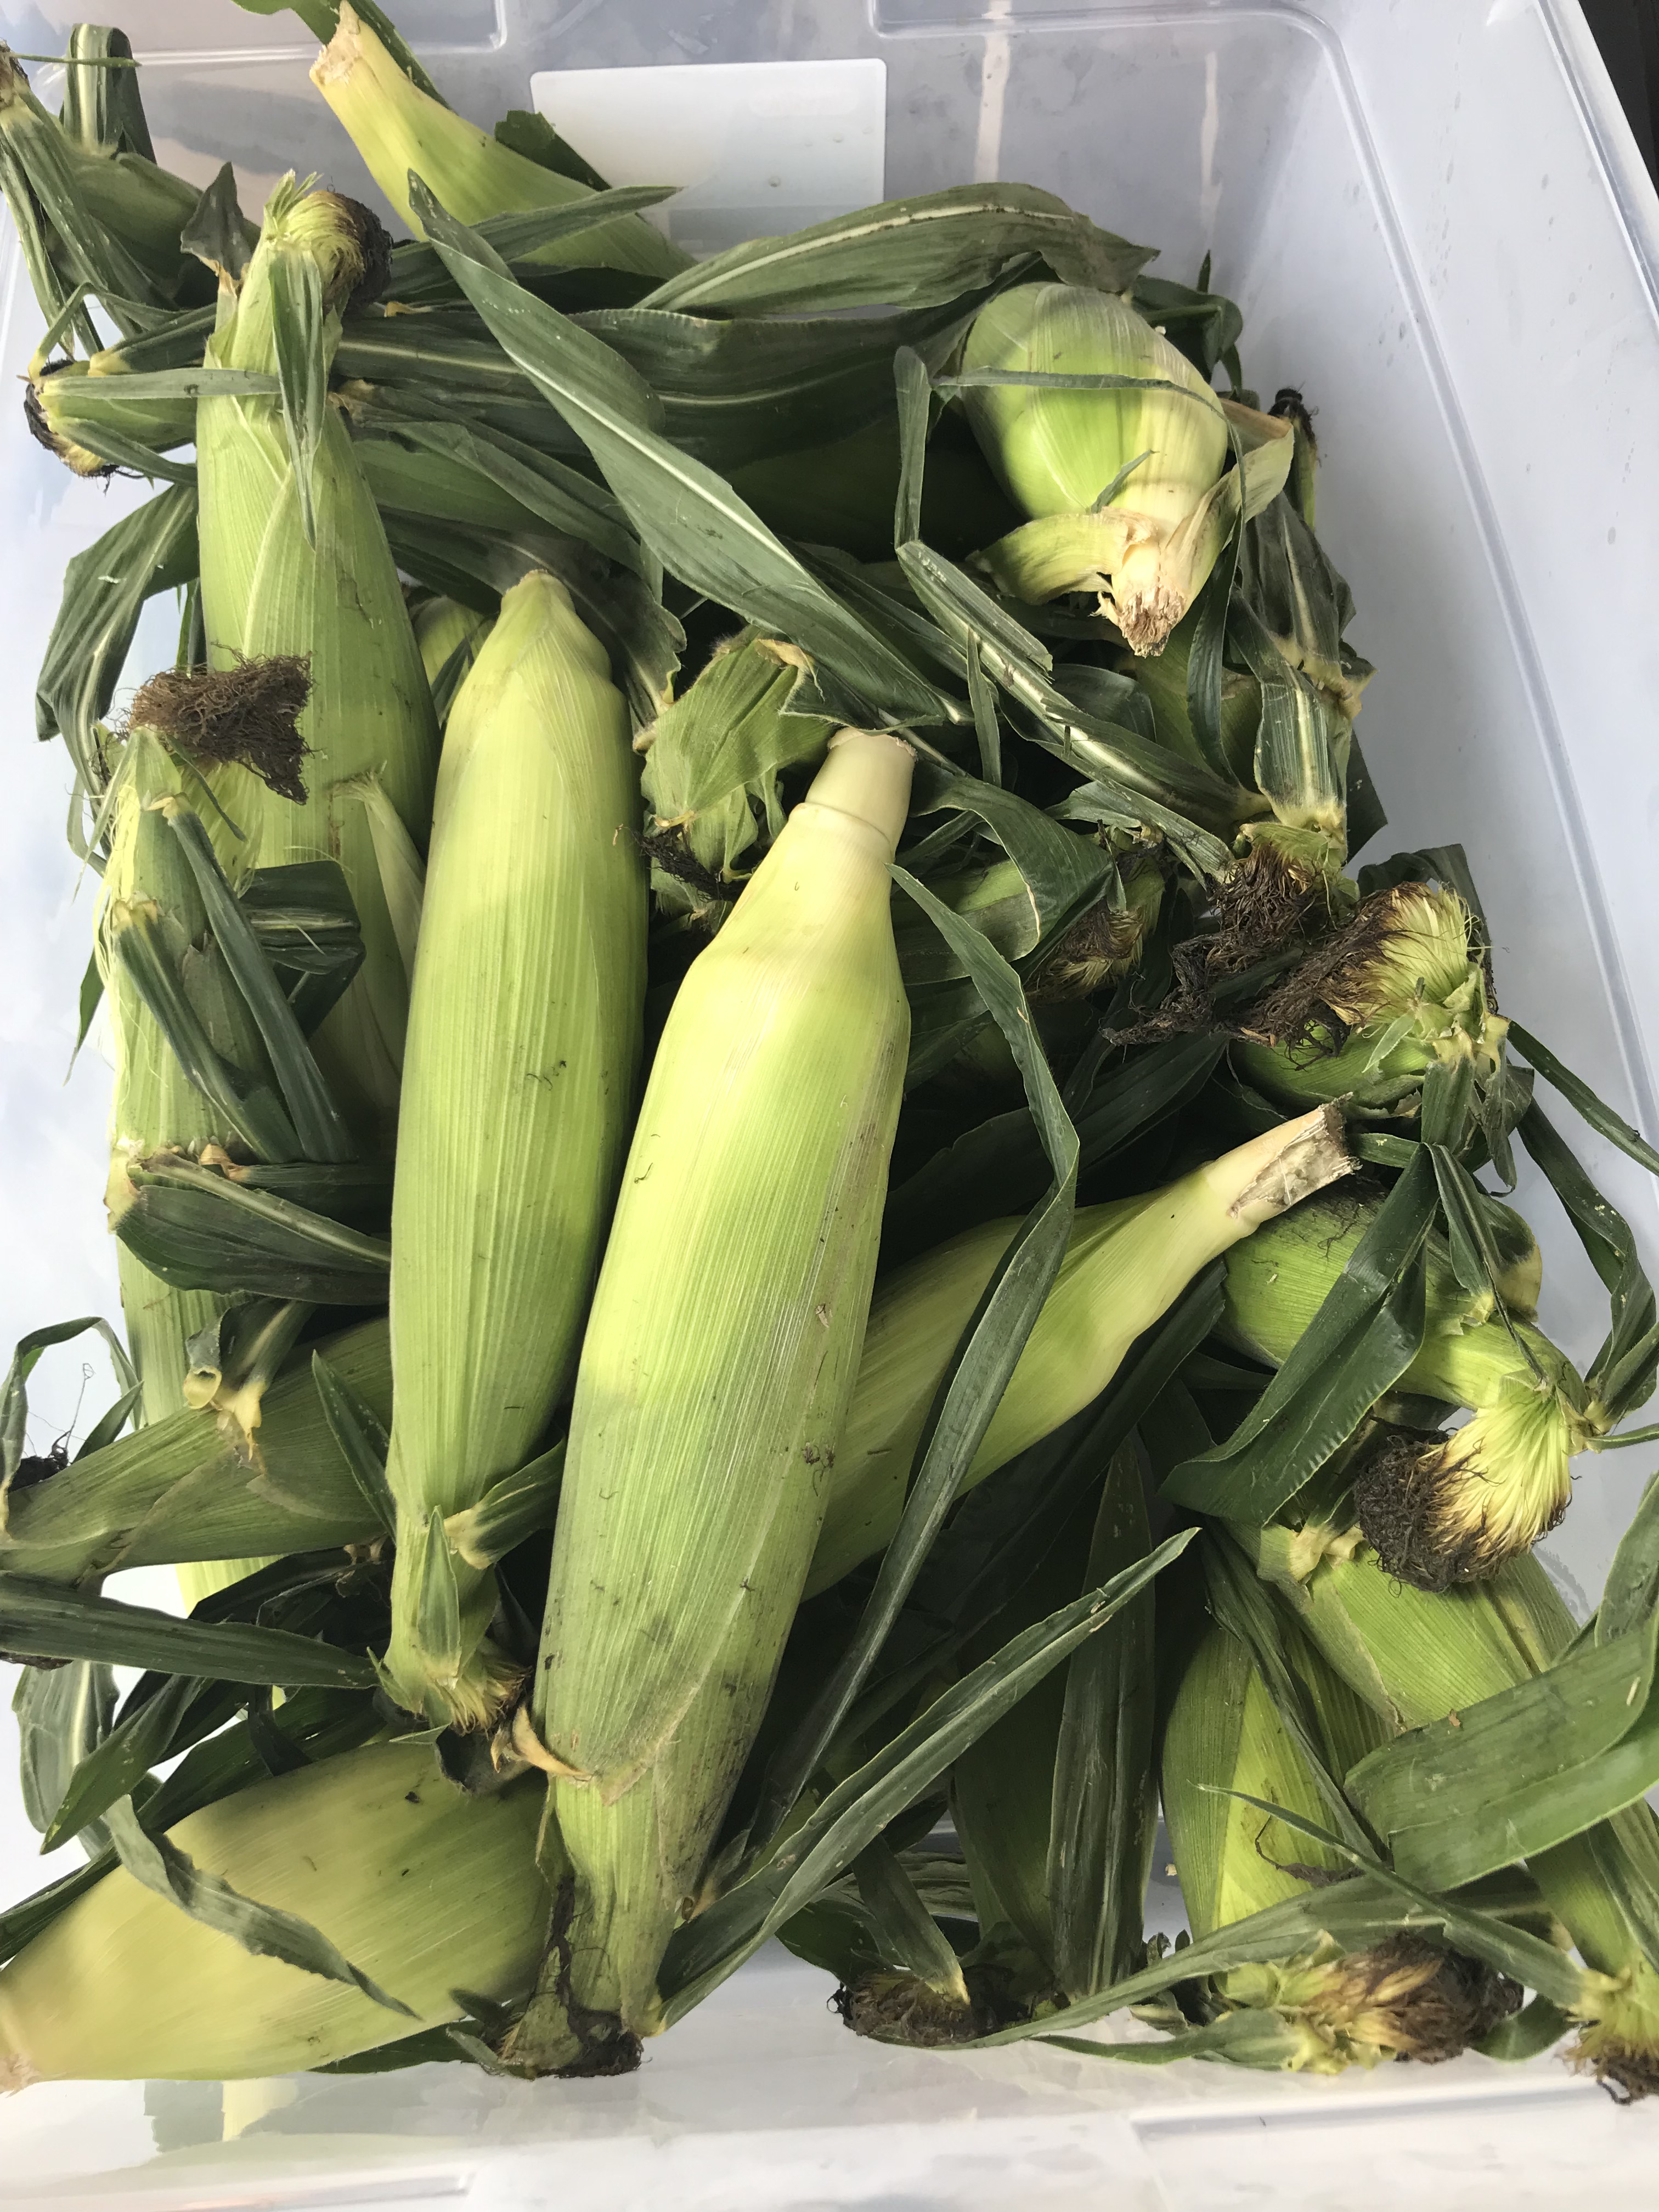
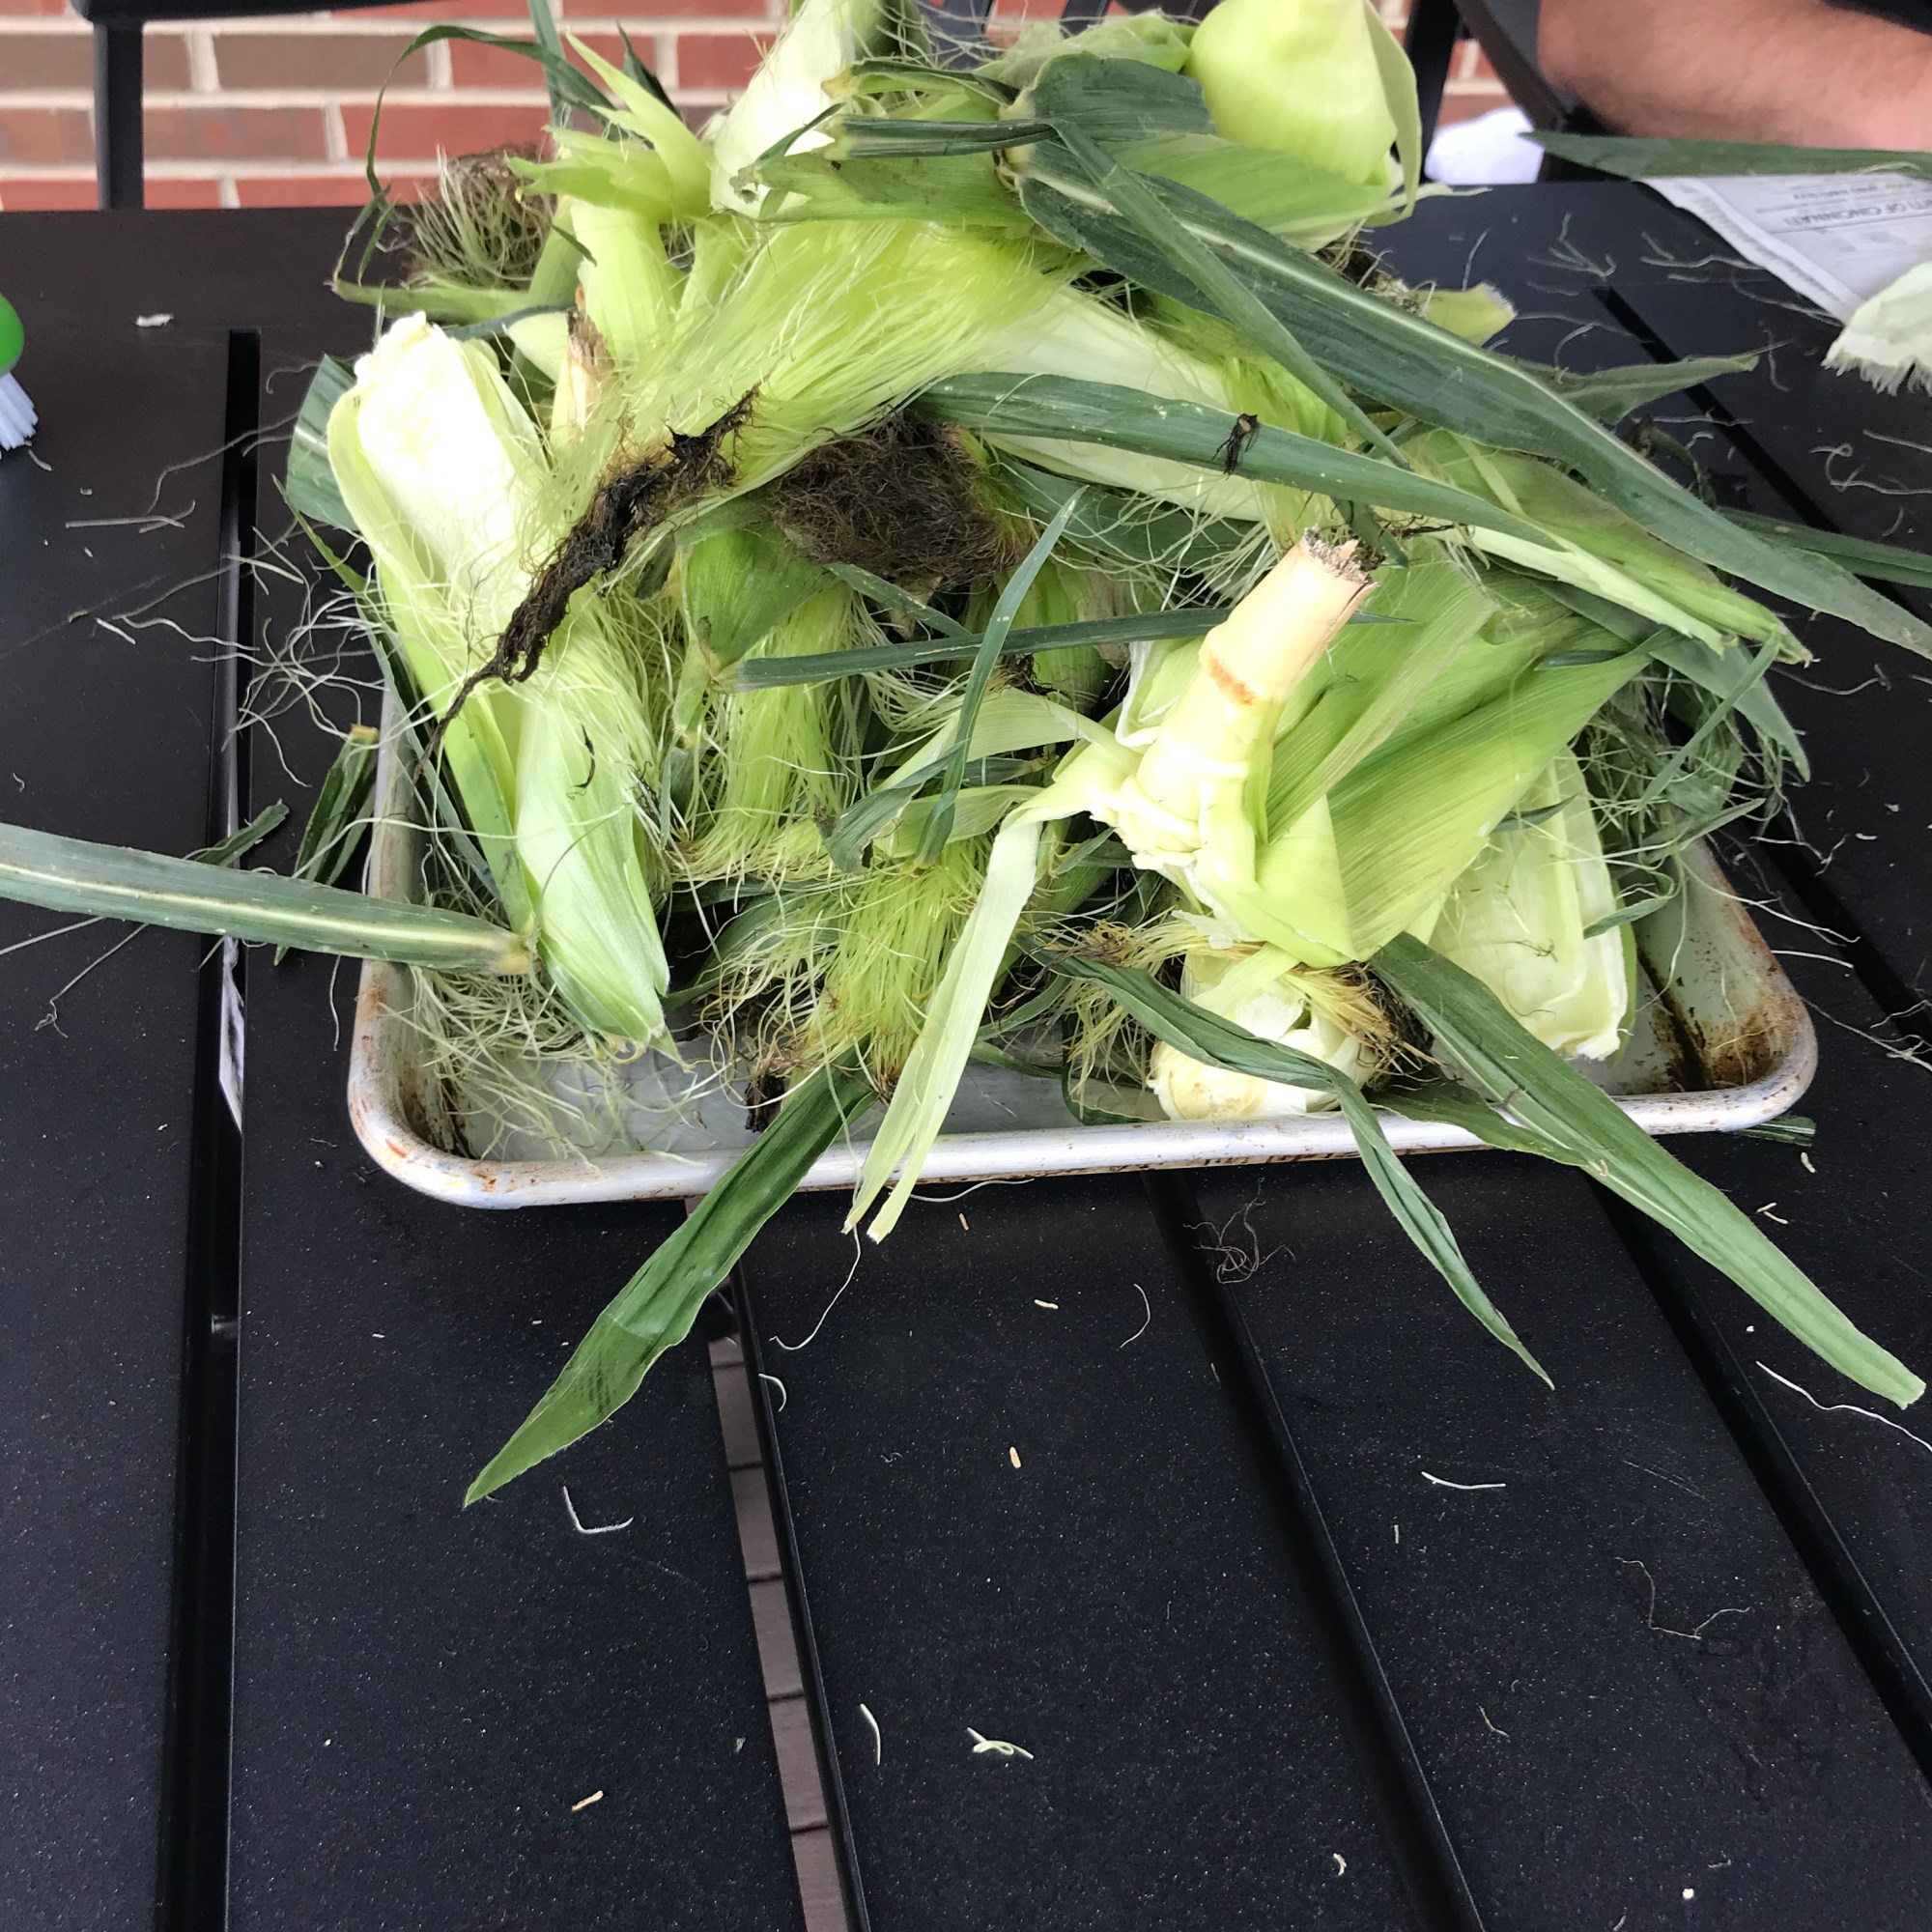
Shuck it, clean it with a vegetable brush and throw them in some cold water until you get through it all. My sweet husband braved the heat and help with this part and cleaned up the mess out there. That’s love my friends.
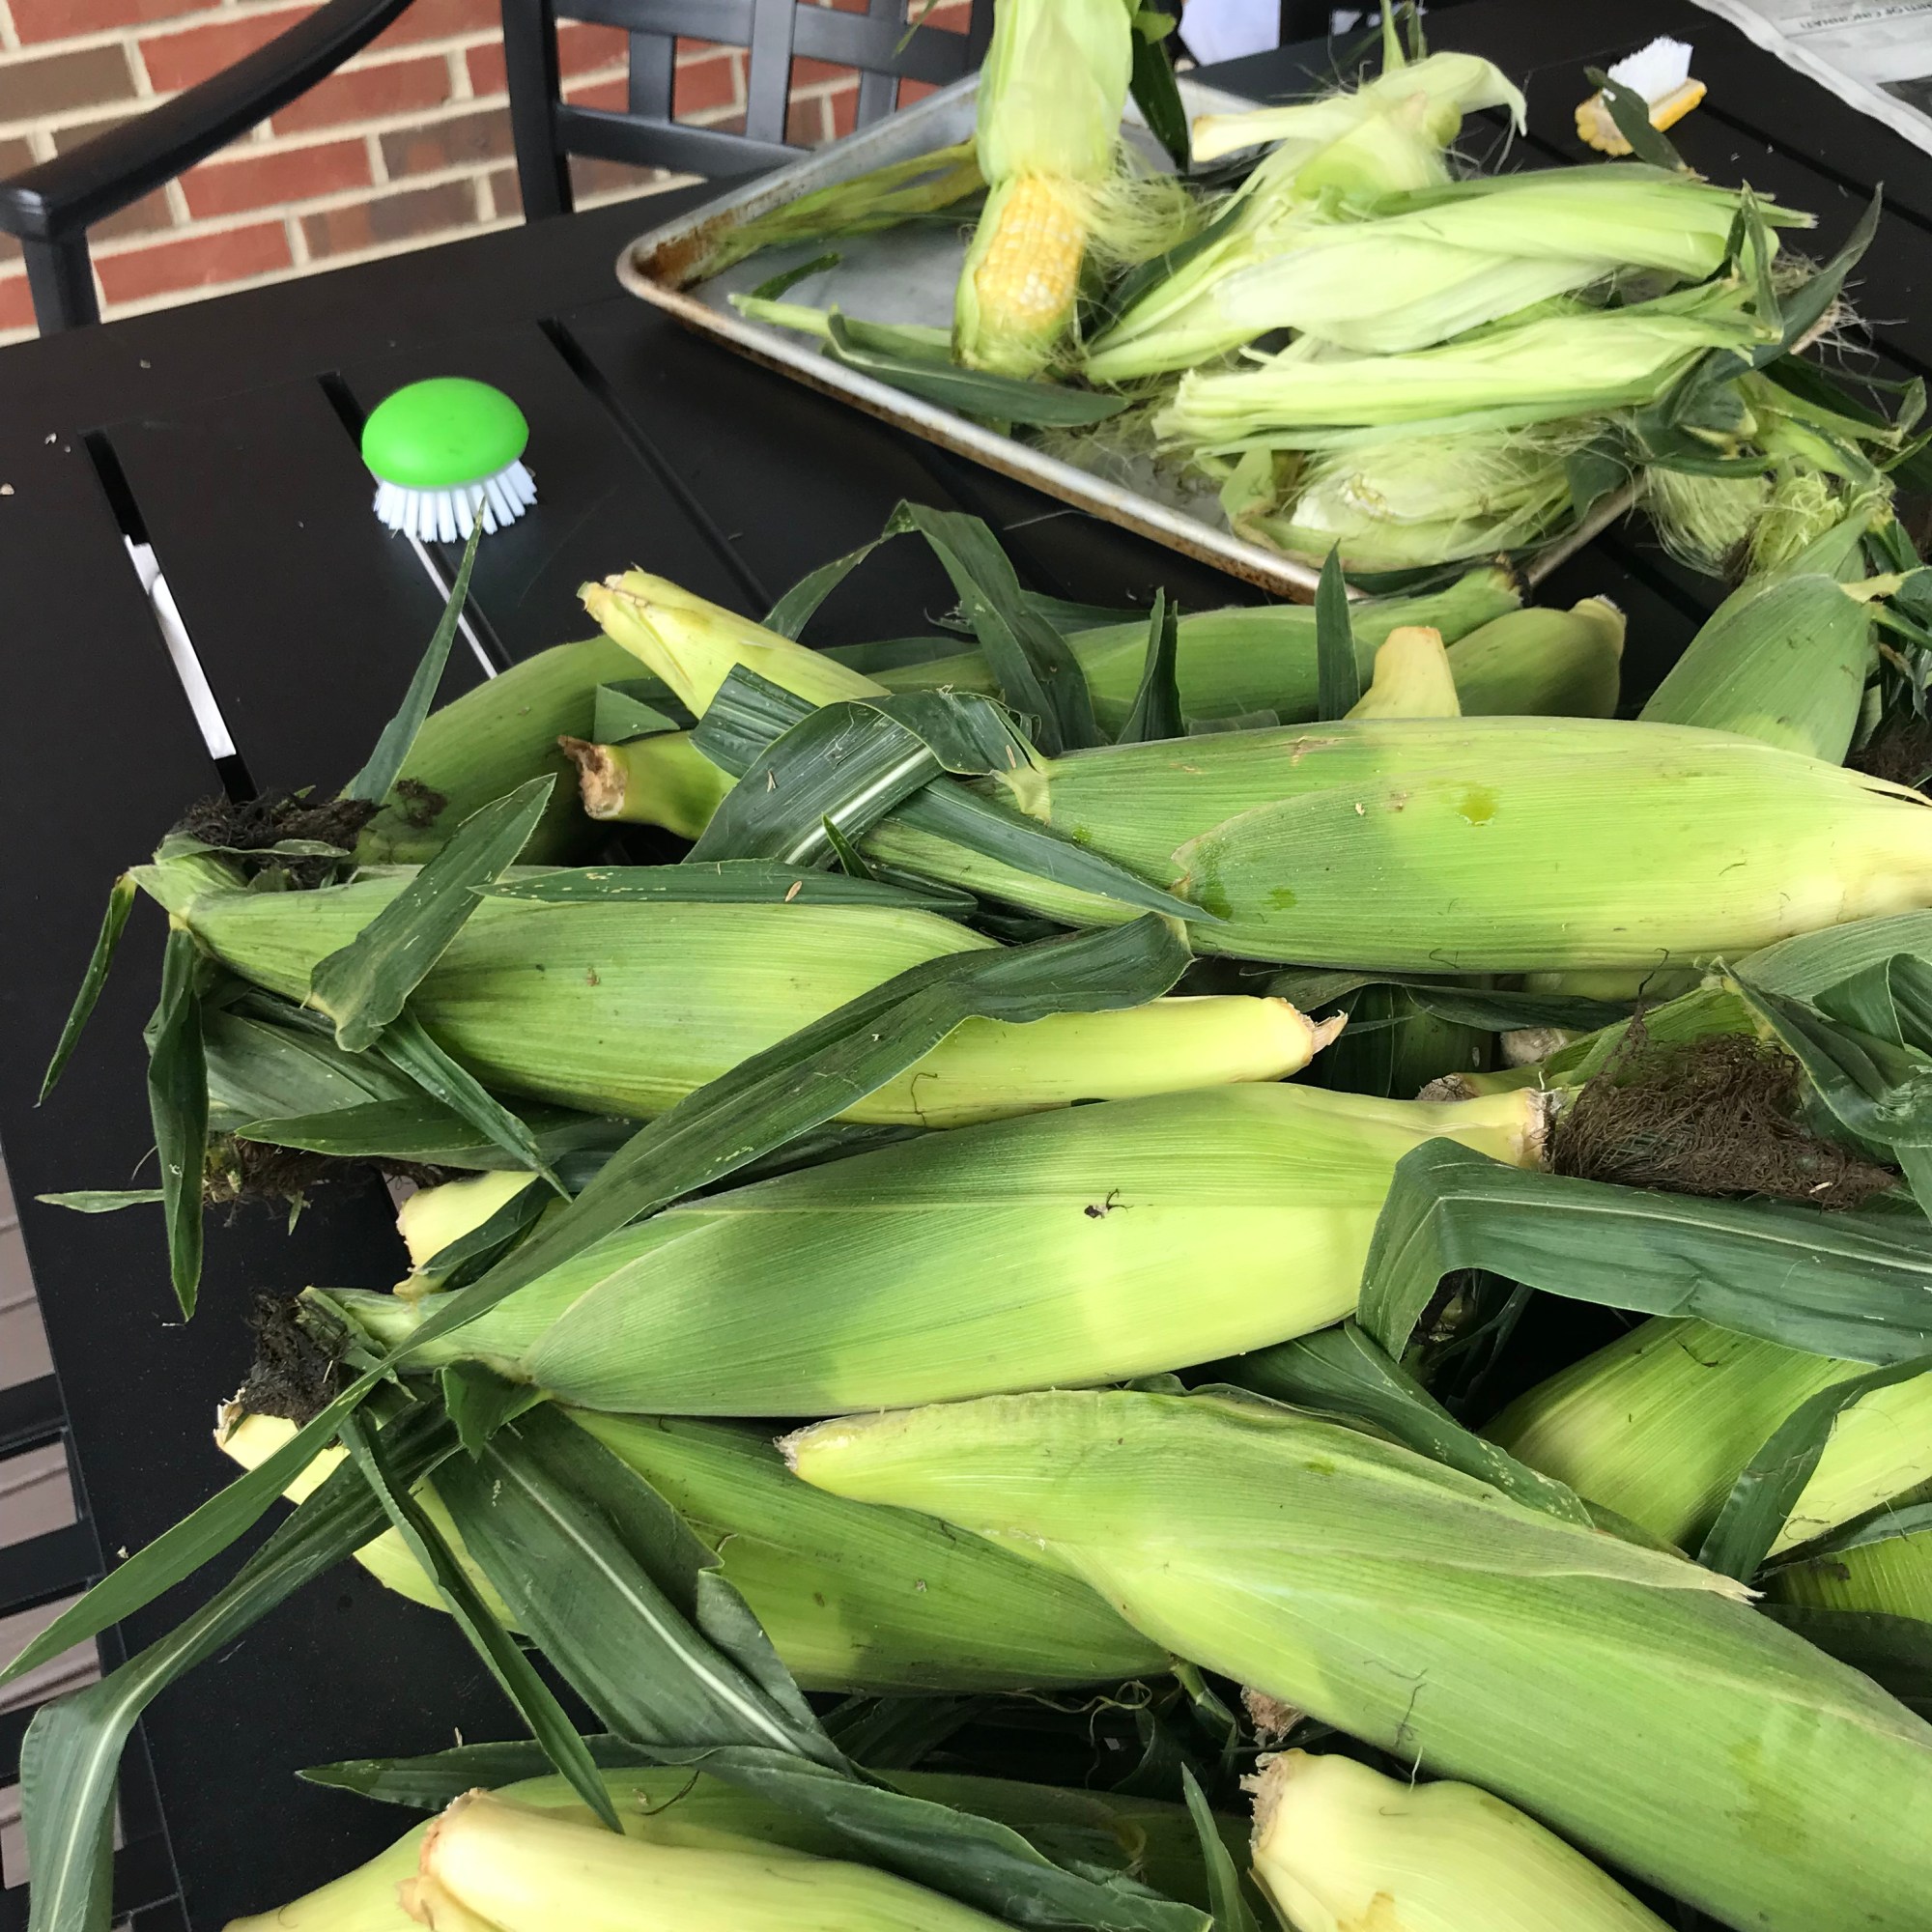
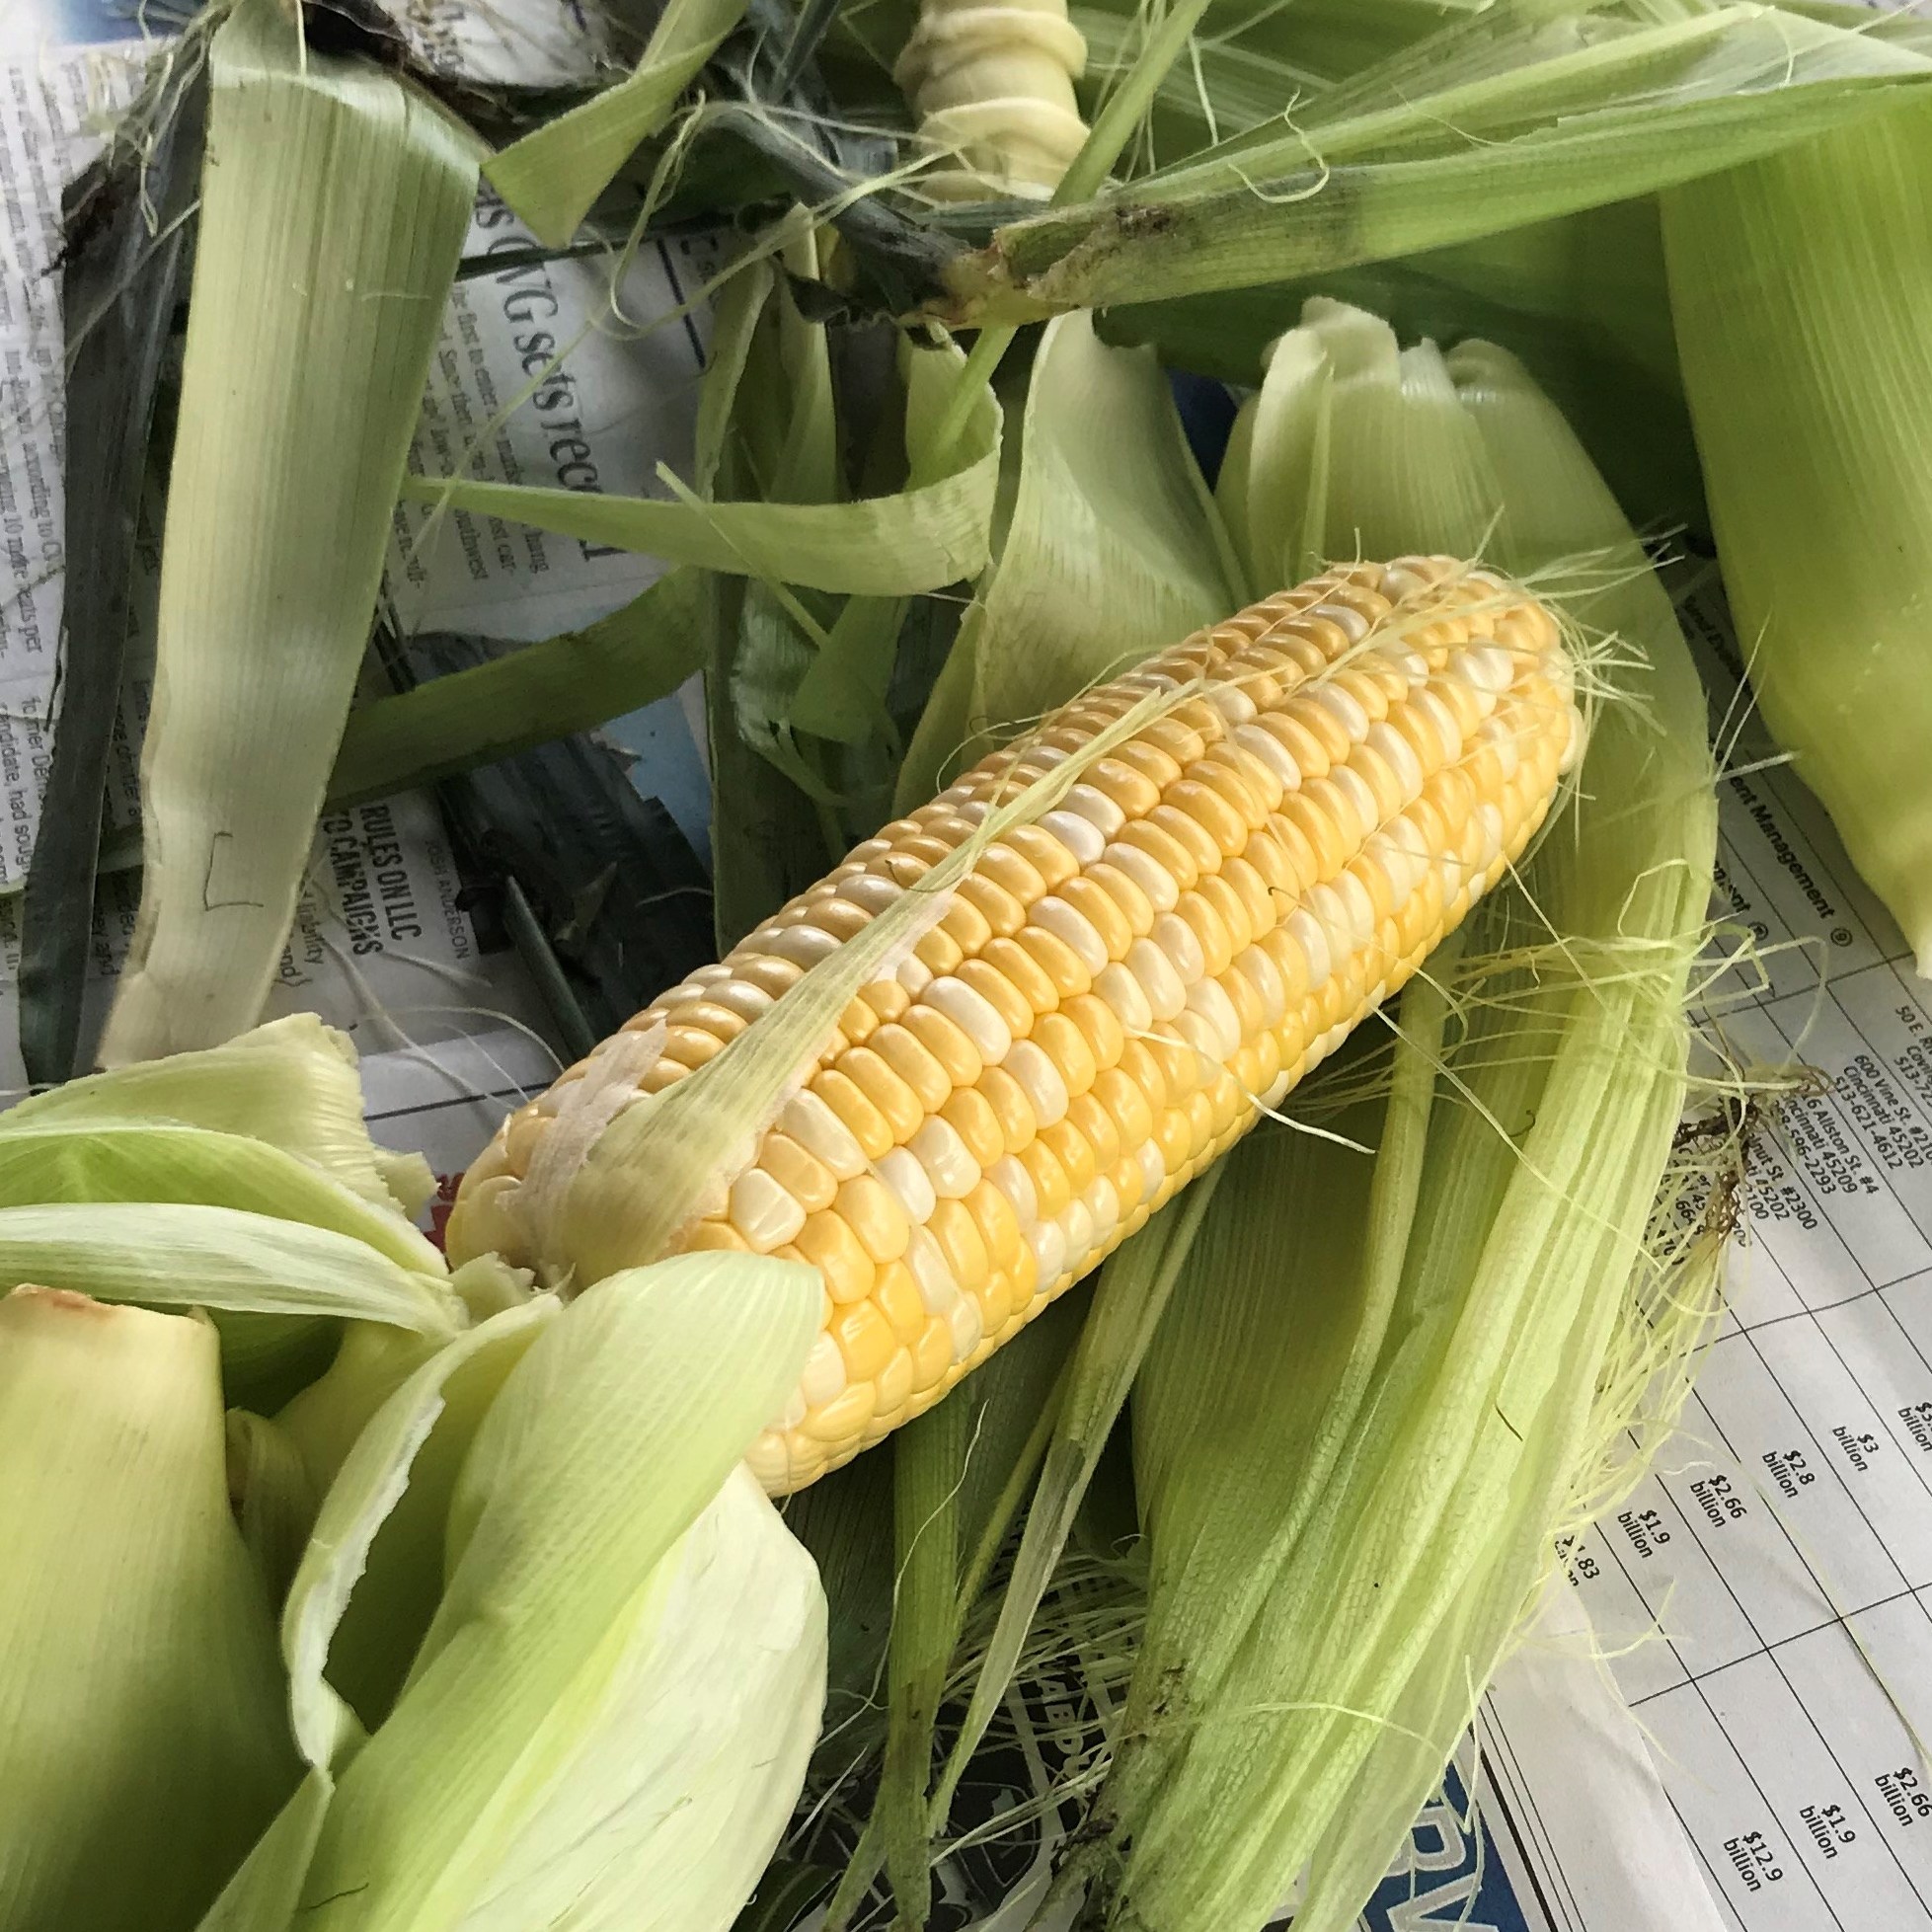
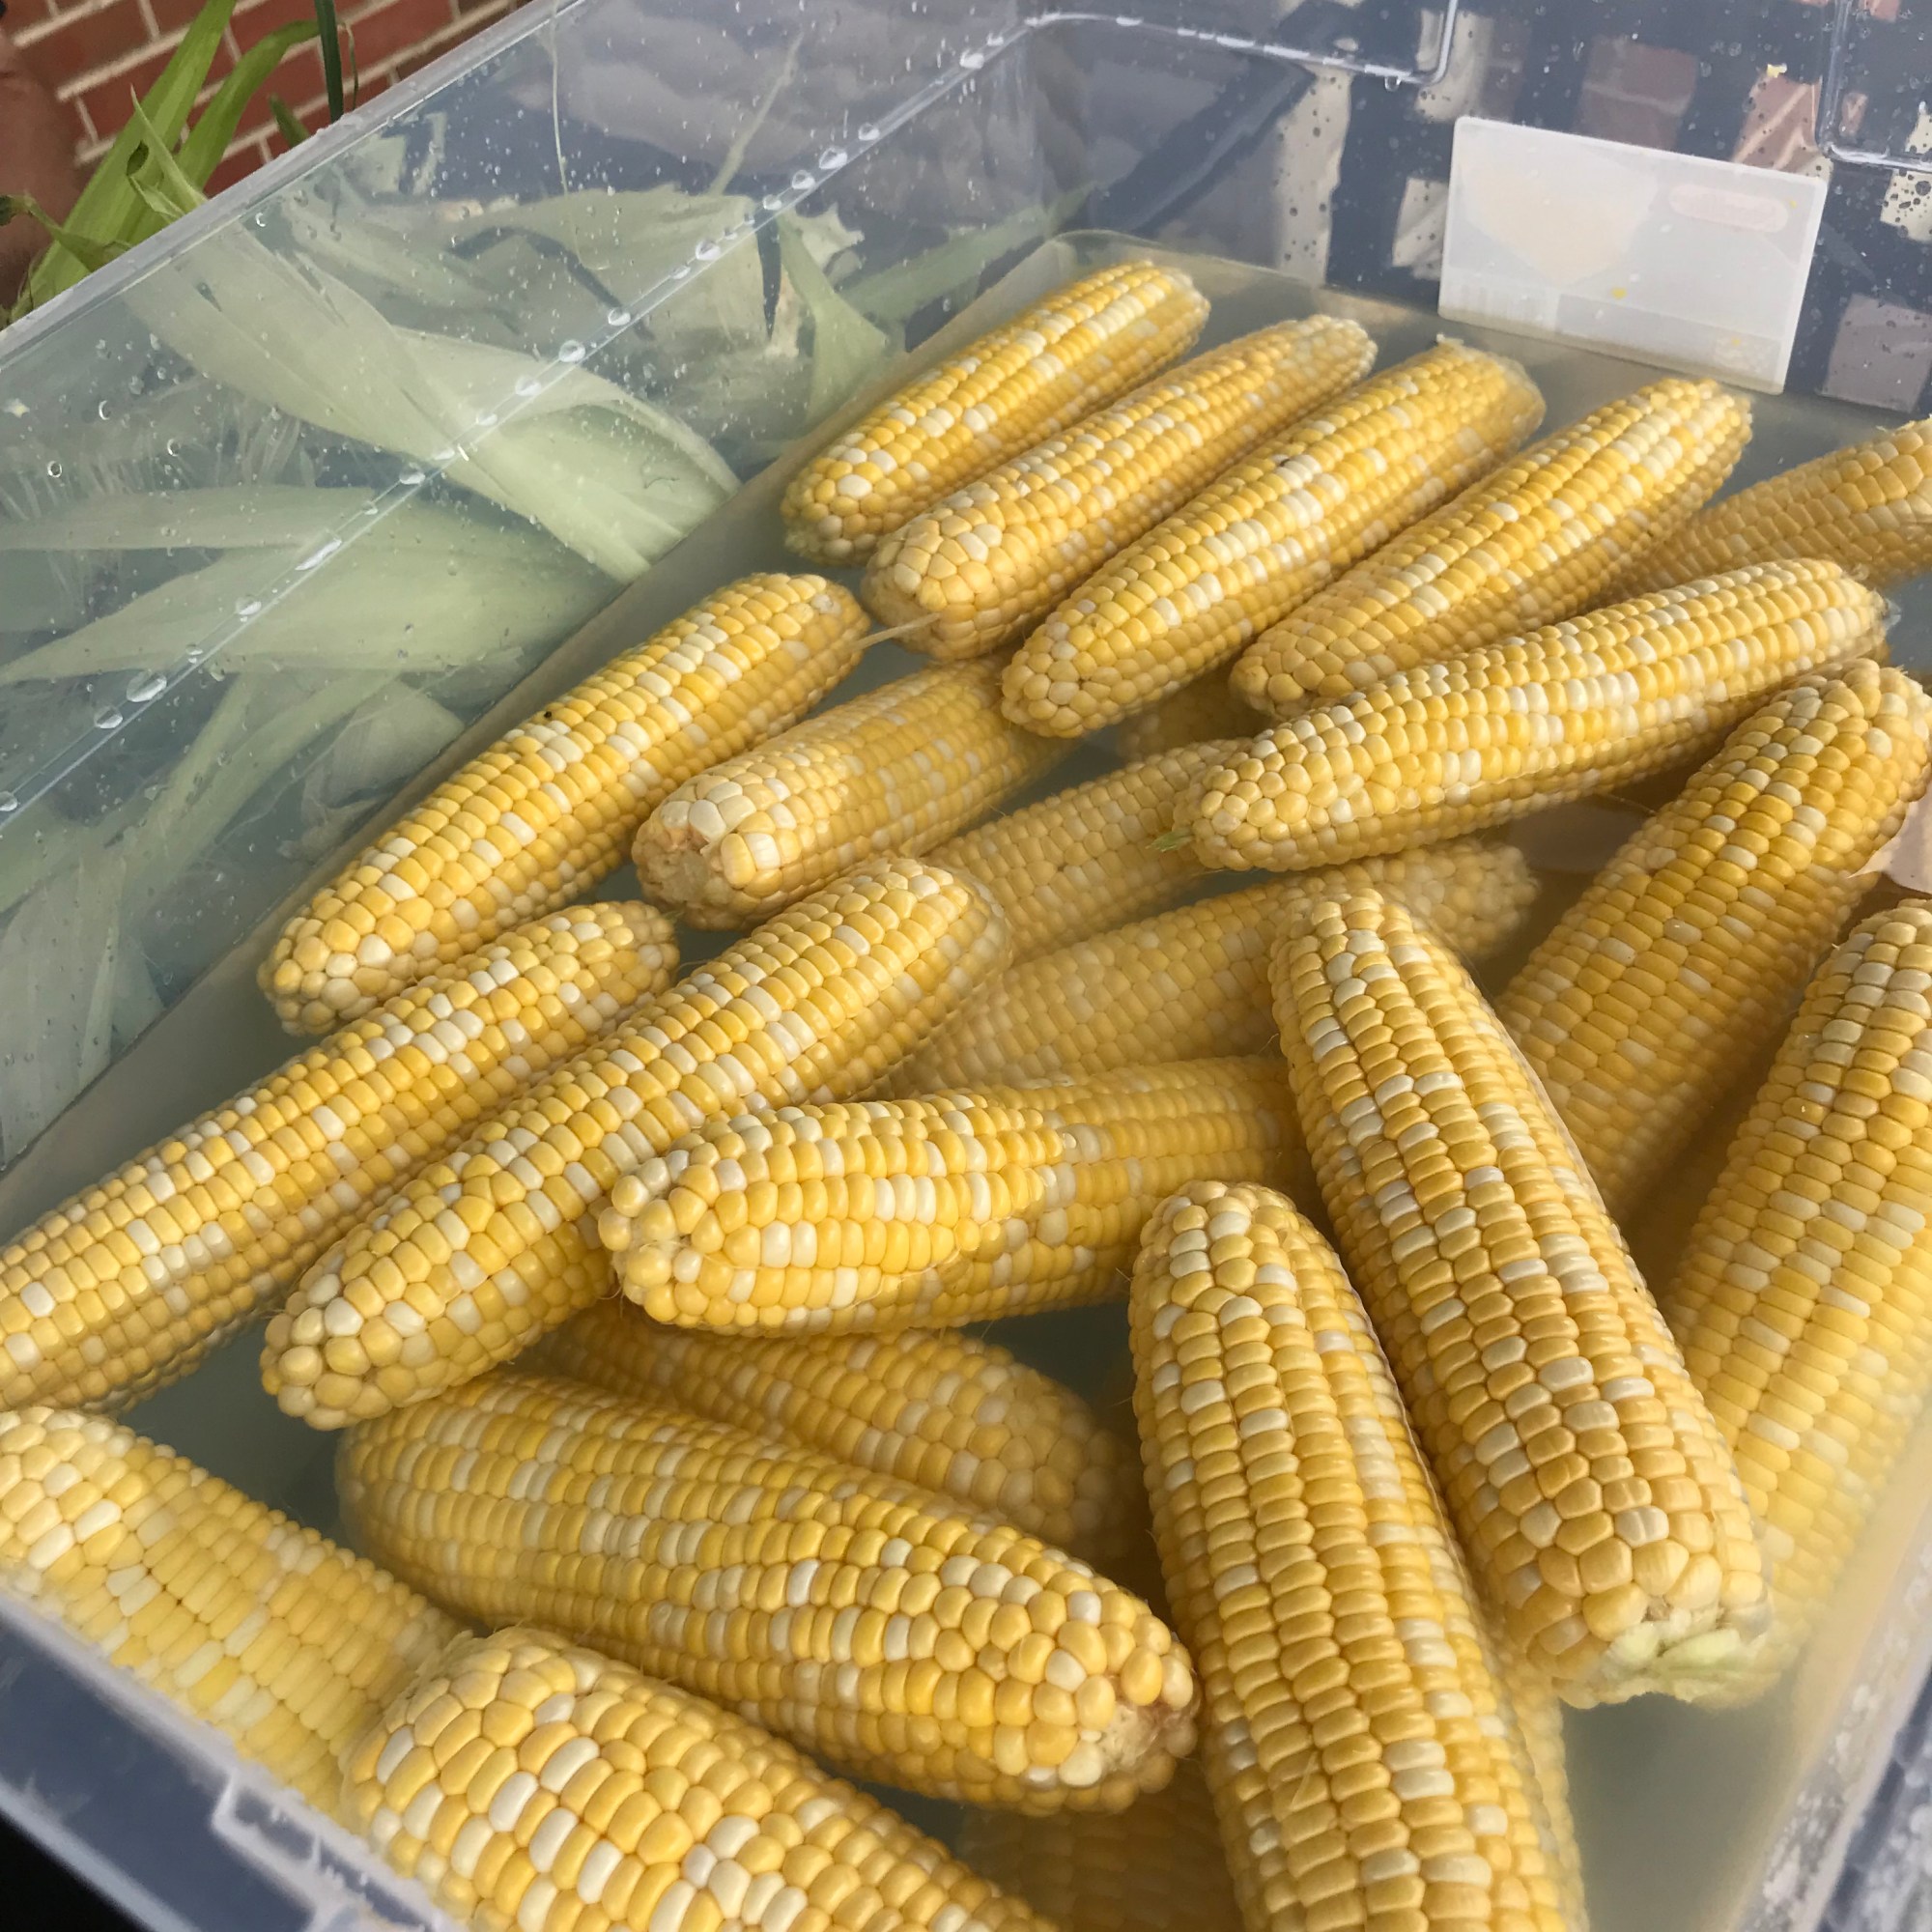
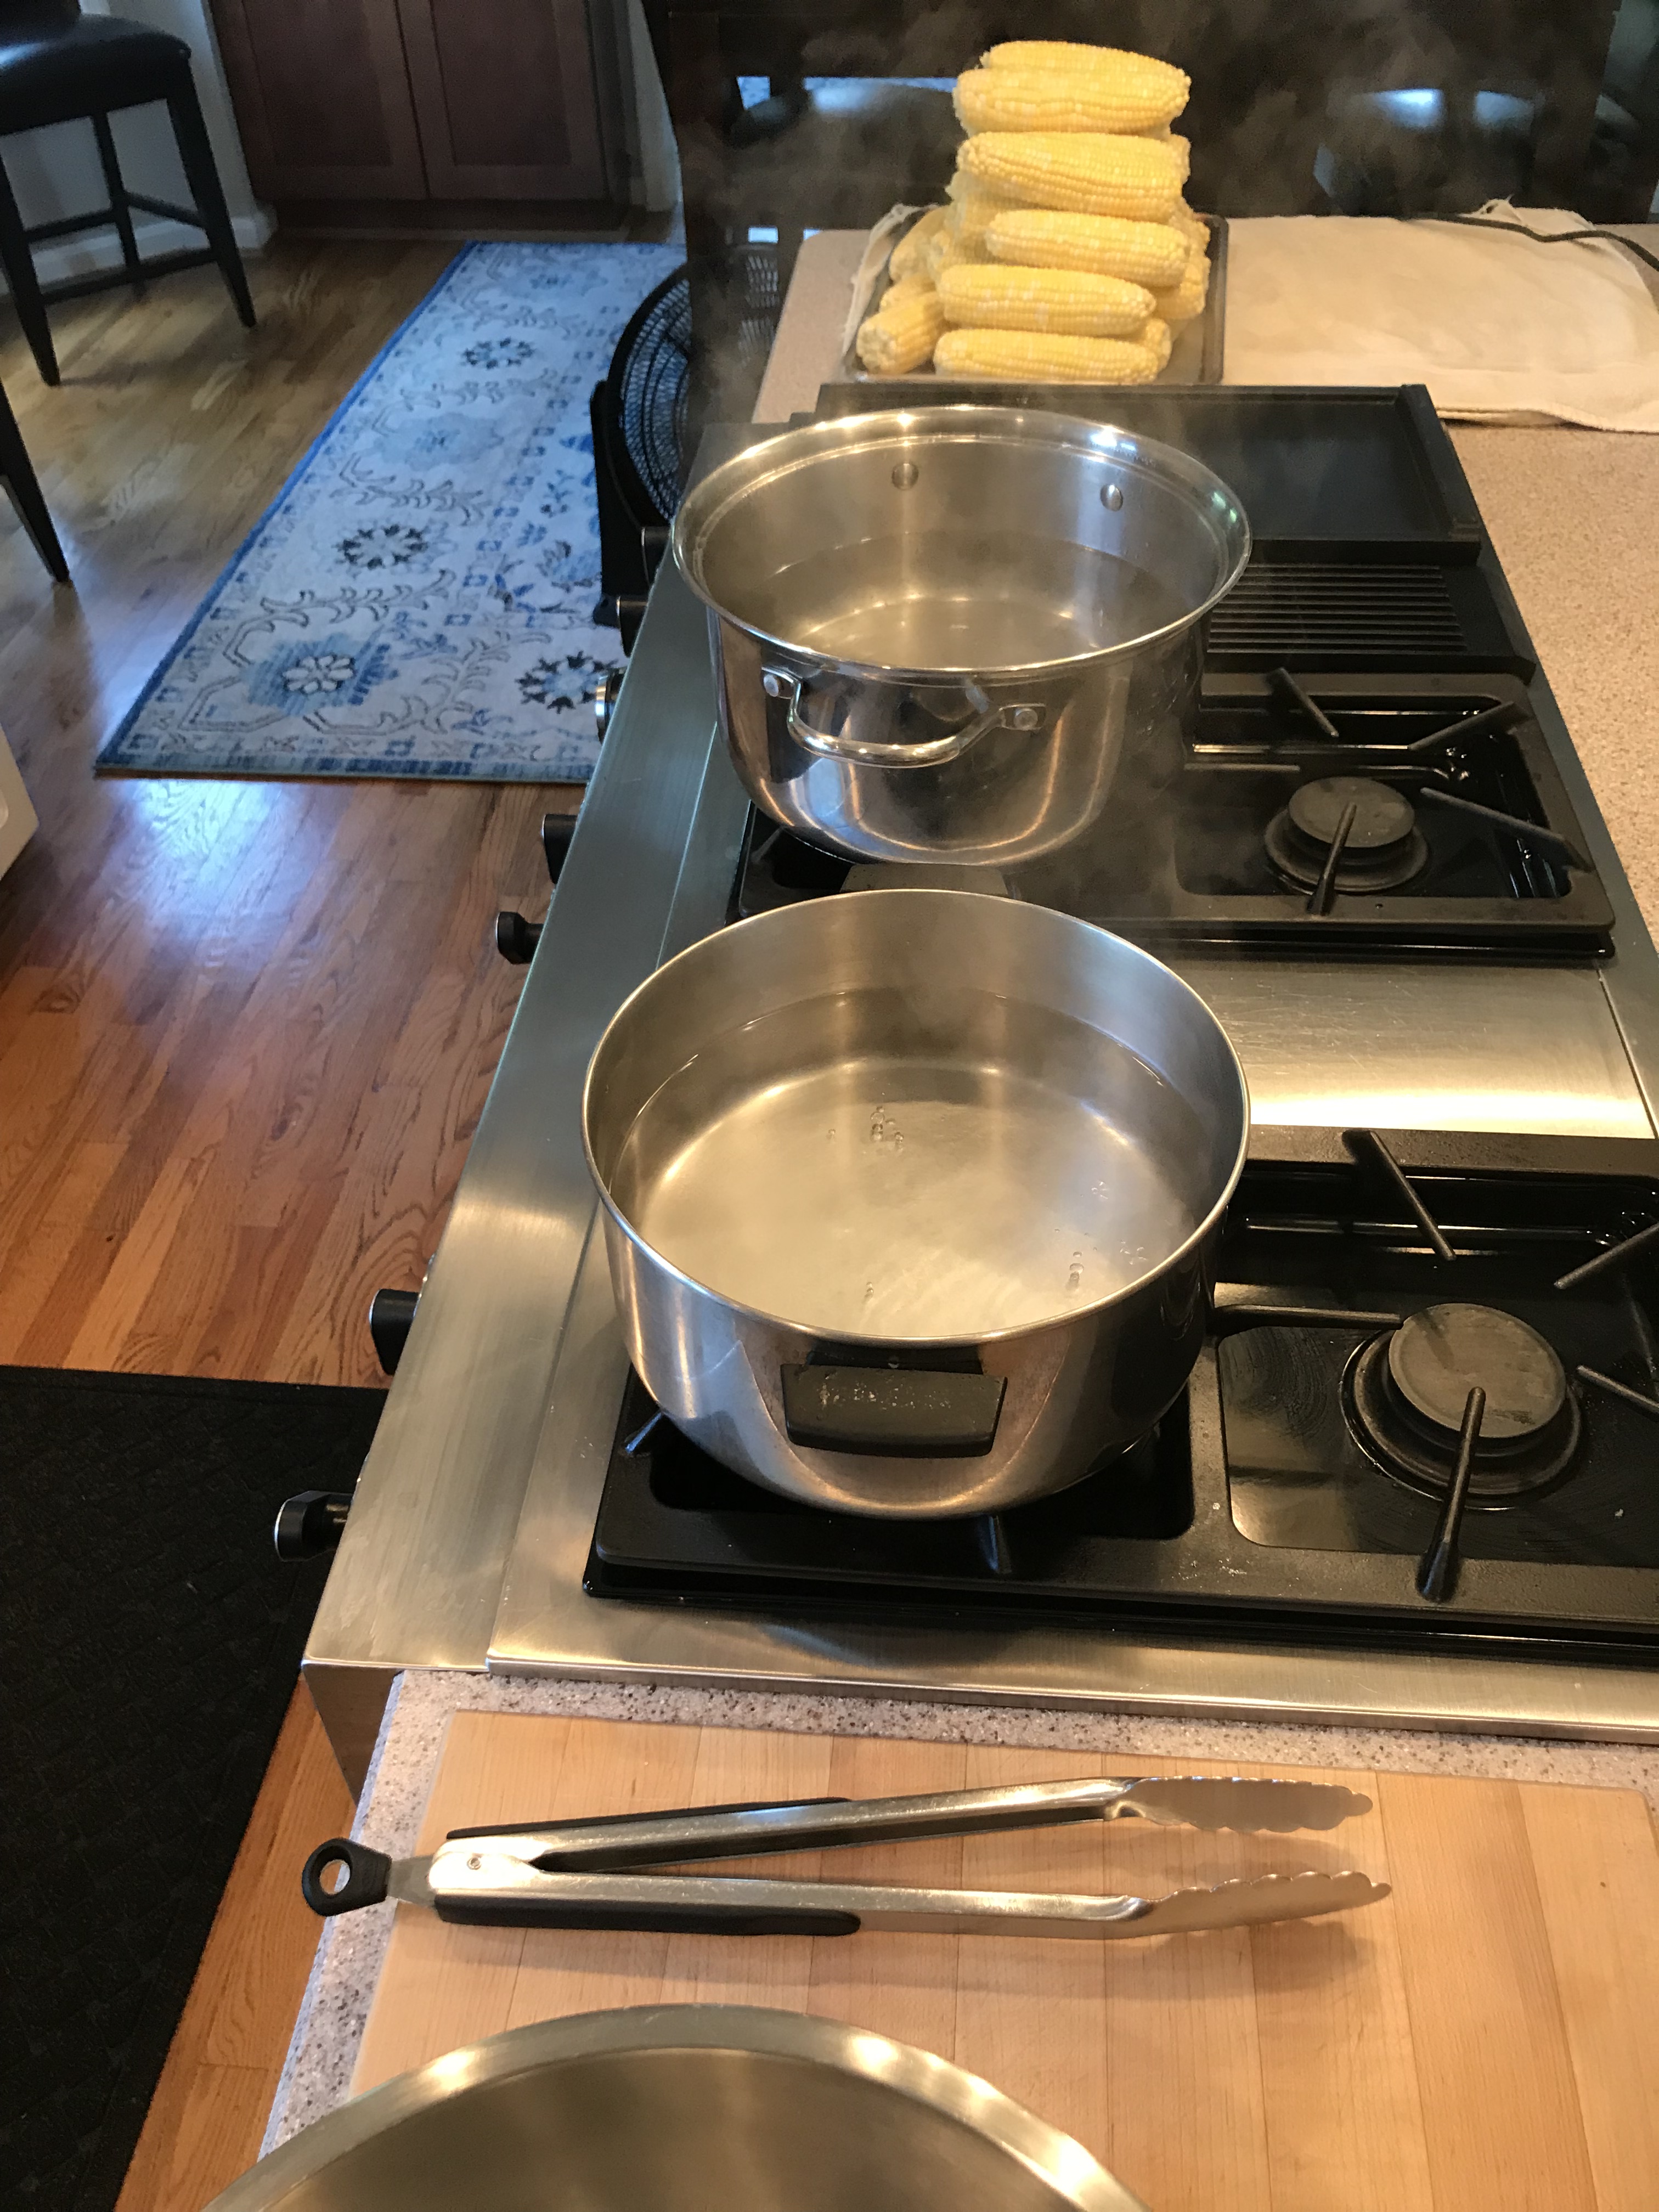
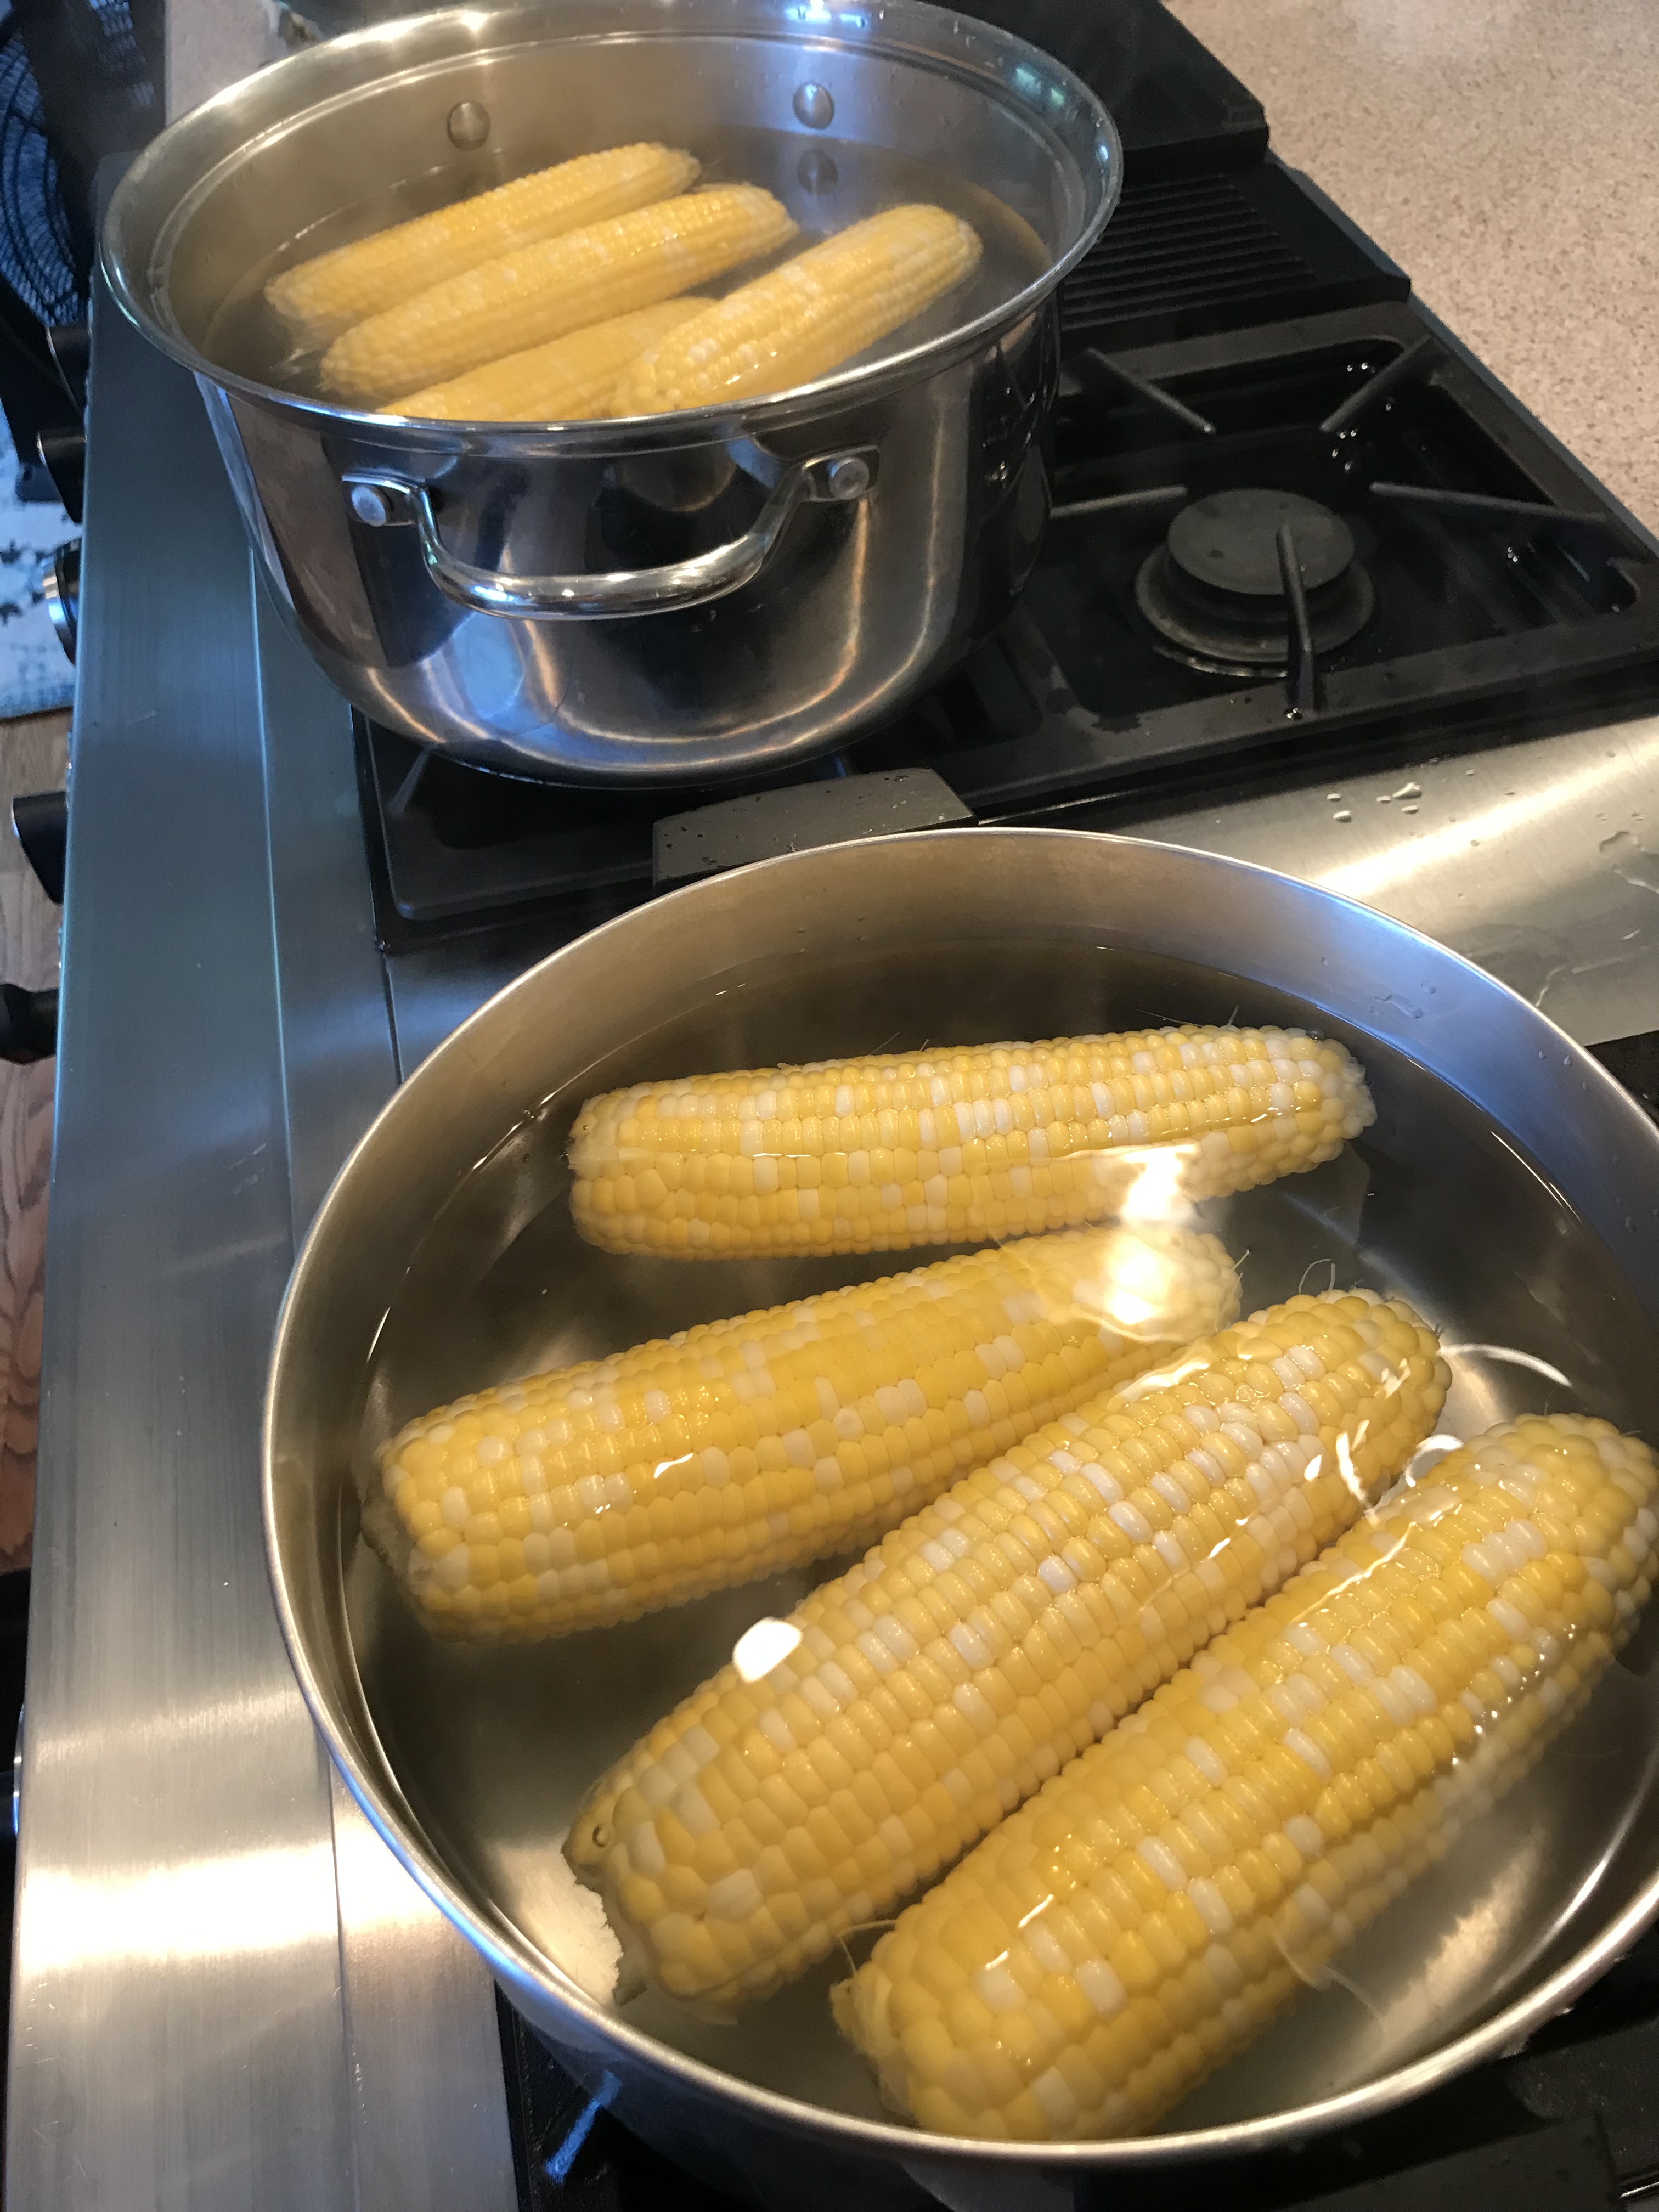
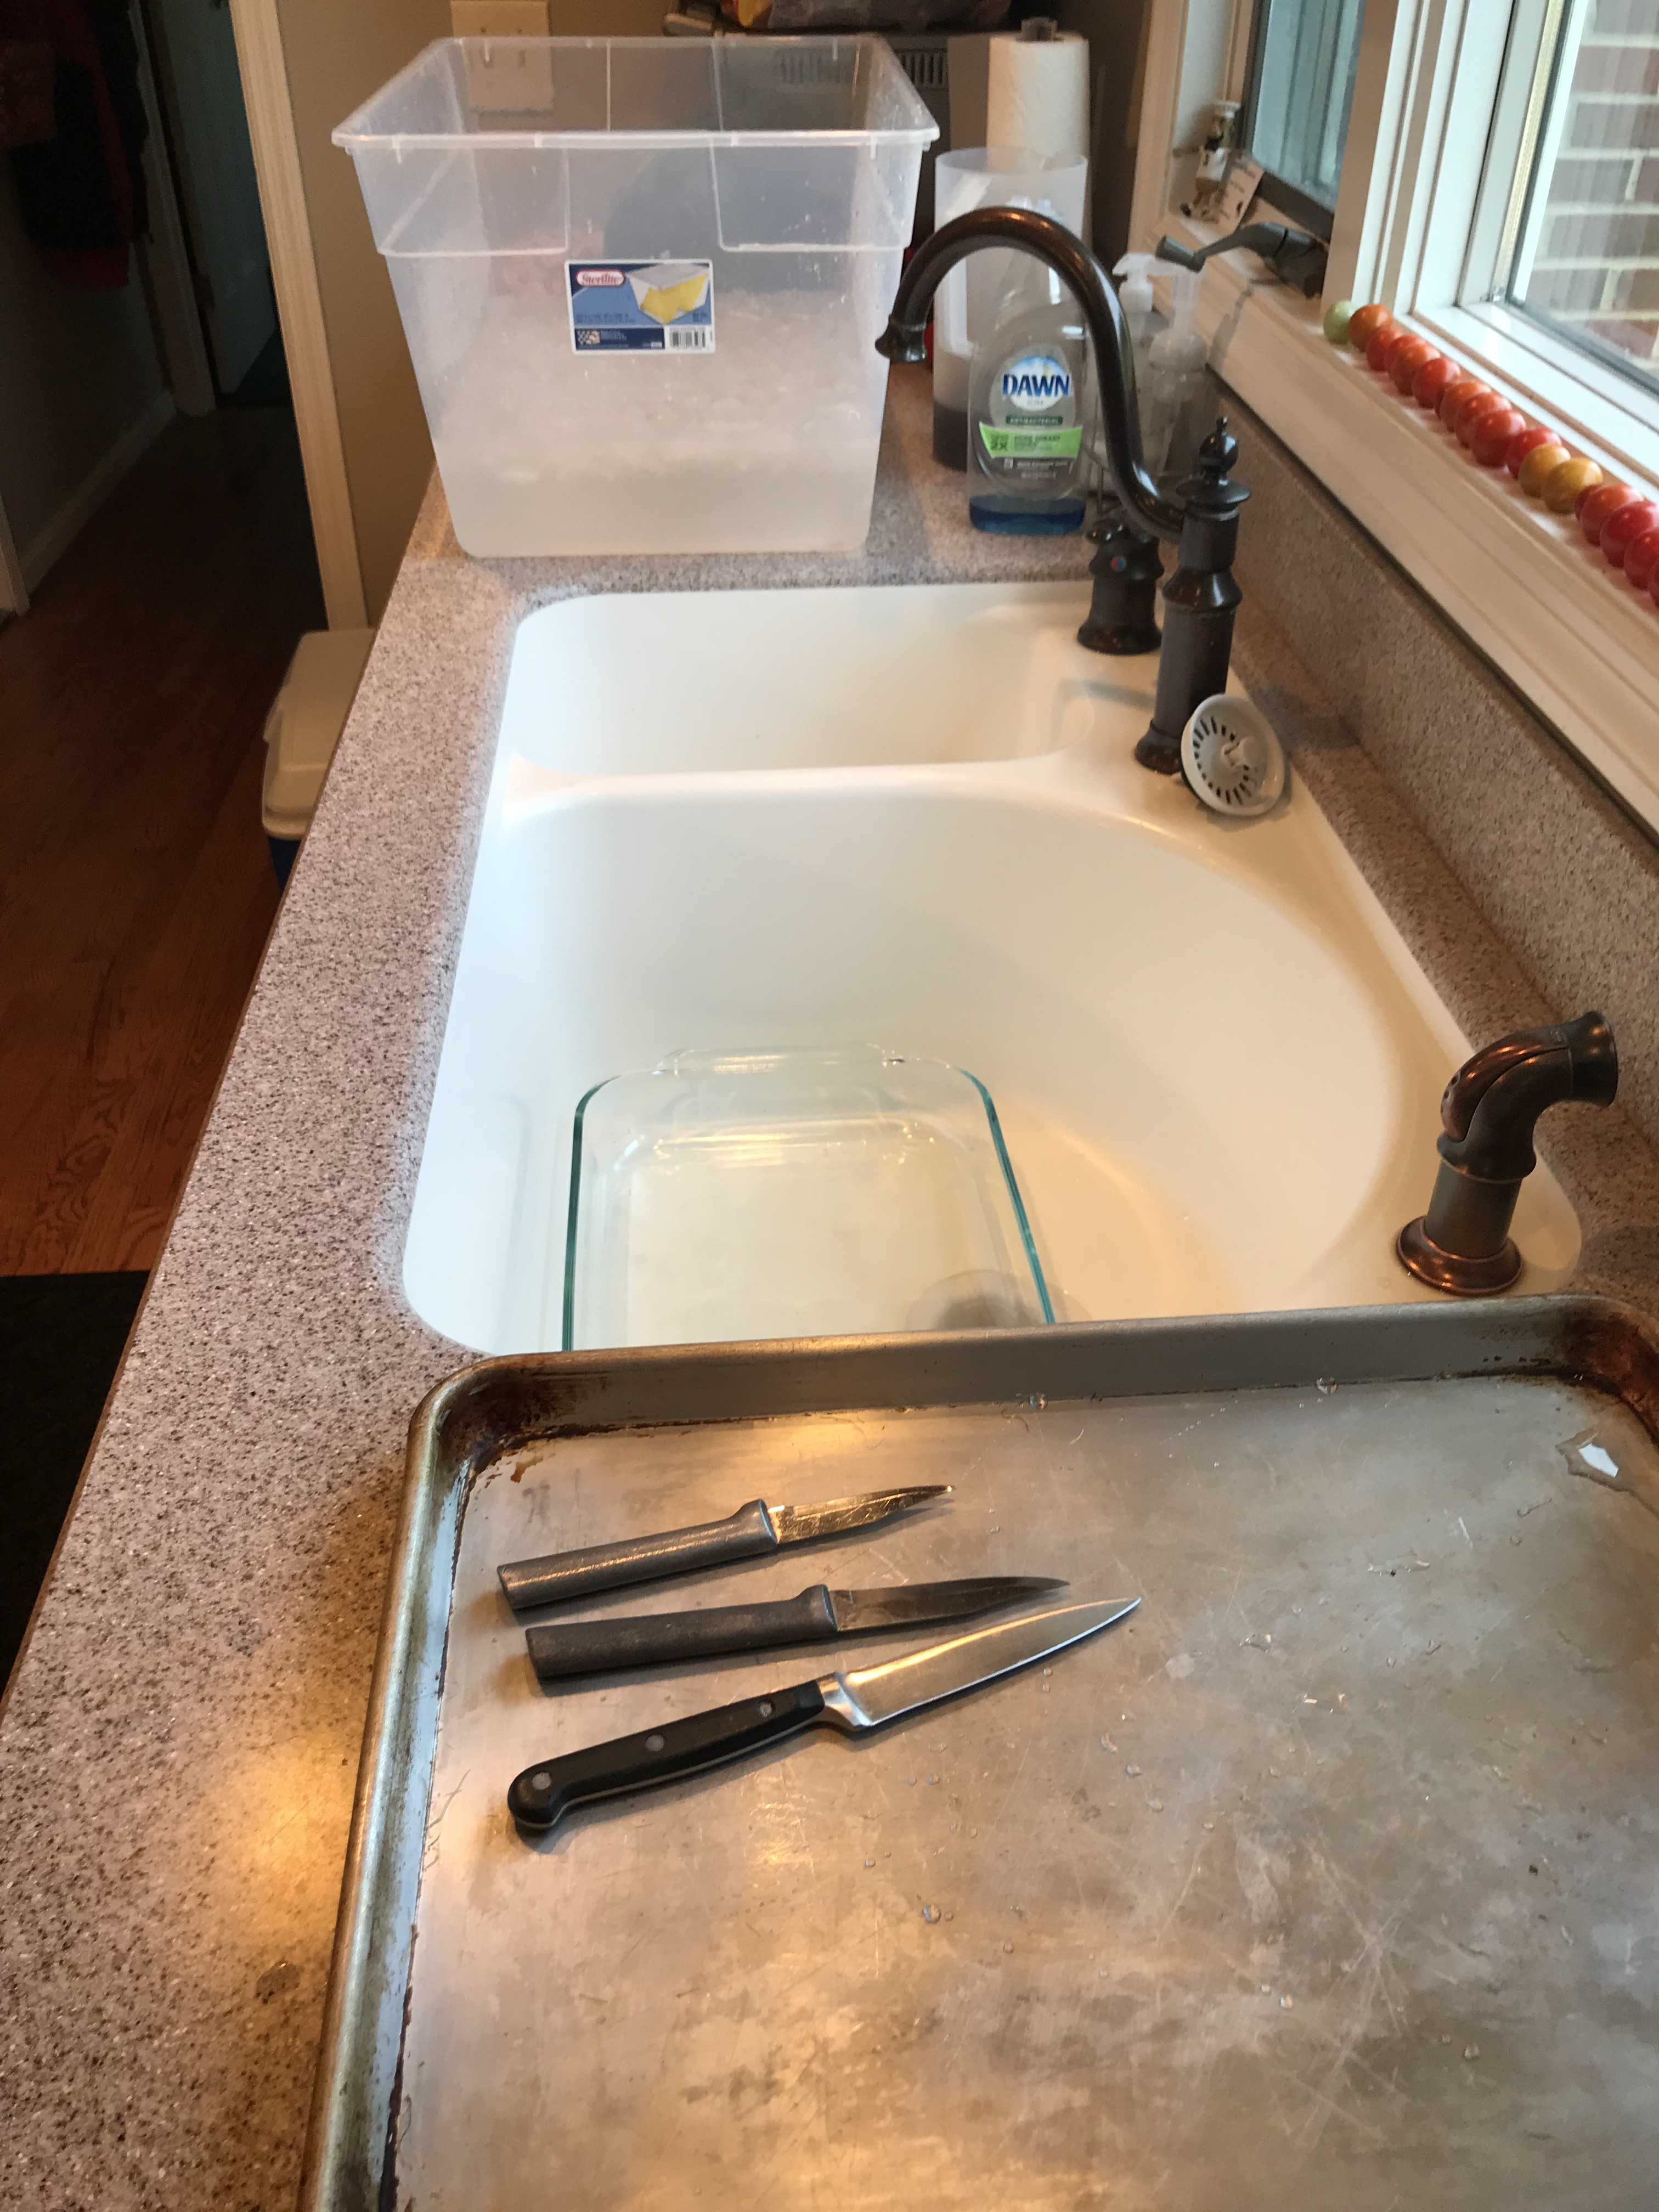
After that’s done, you can move on to blanching and cutting all that sweet corn off. Put on your biggest stock port (or two) and get the water heated up. Once you are up to a simmer, start adding a few ears at a time. It only takes about a minute to get them as cooked as you need, and you can tell because they turn a brighter yellow. Like I said earlier, some people have told me they skip this step, but I like my results so I’ll keep doing it, since it’s not too time consuming. Set up an ice bath to drop these beauties in once they come out of the hot water. That will stop the cooking process and cool them off so you can handle them. I keep up this process until all the ears have been through the cooking step. Then all that’s left is to cut them off and pack them for the freezer.
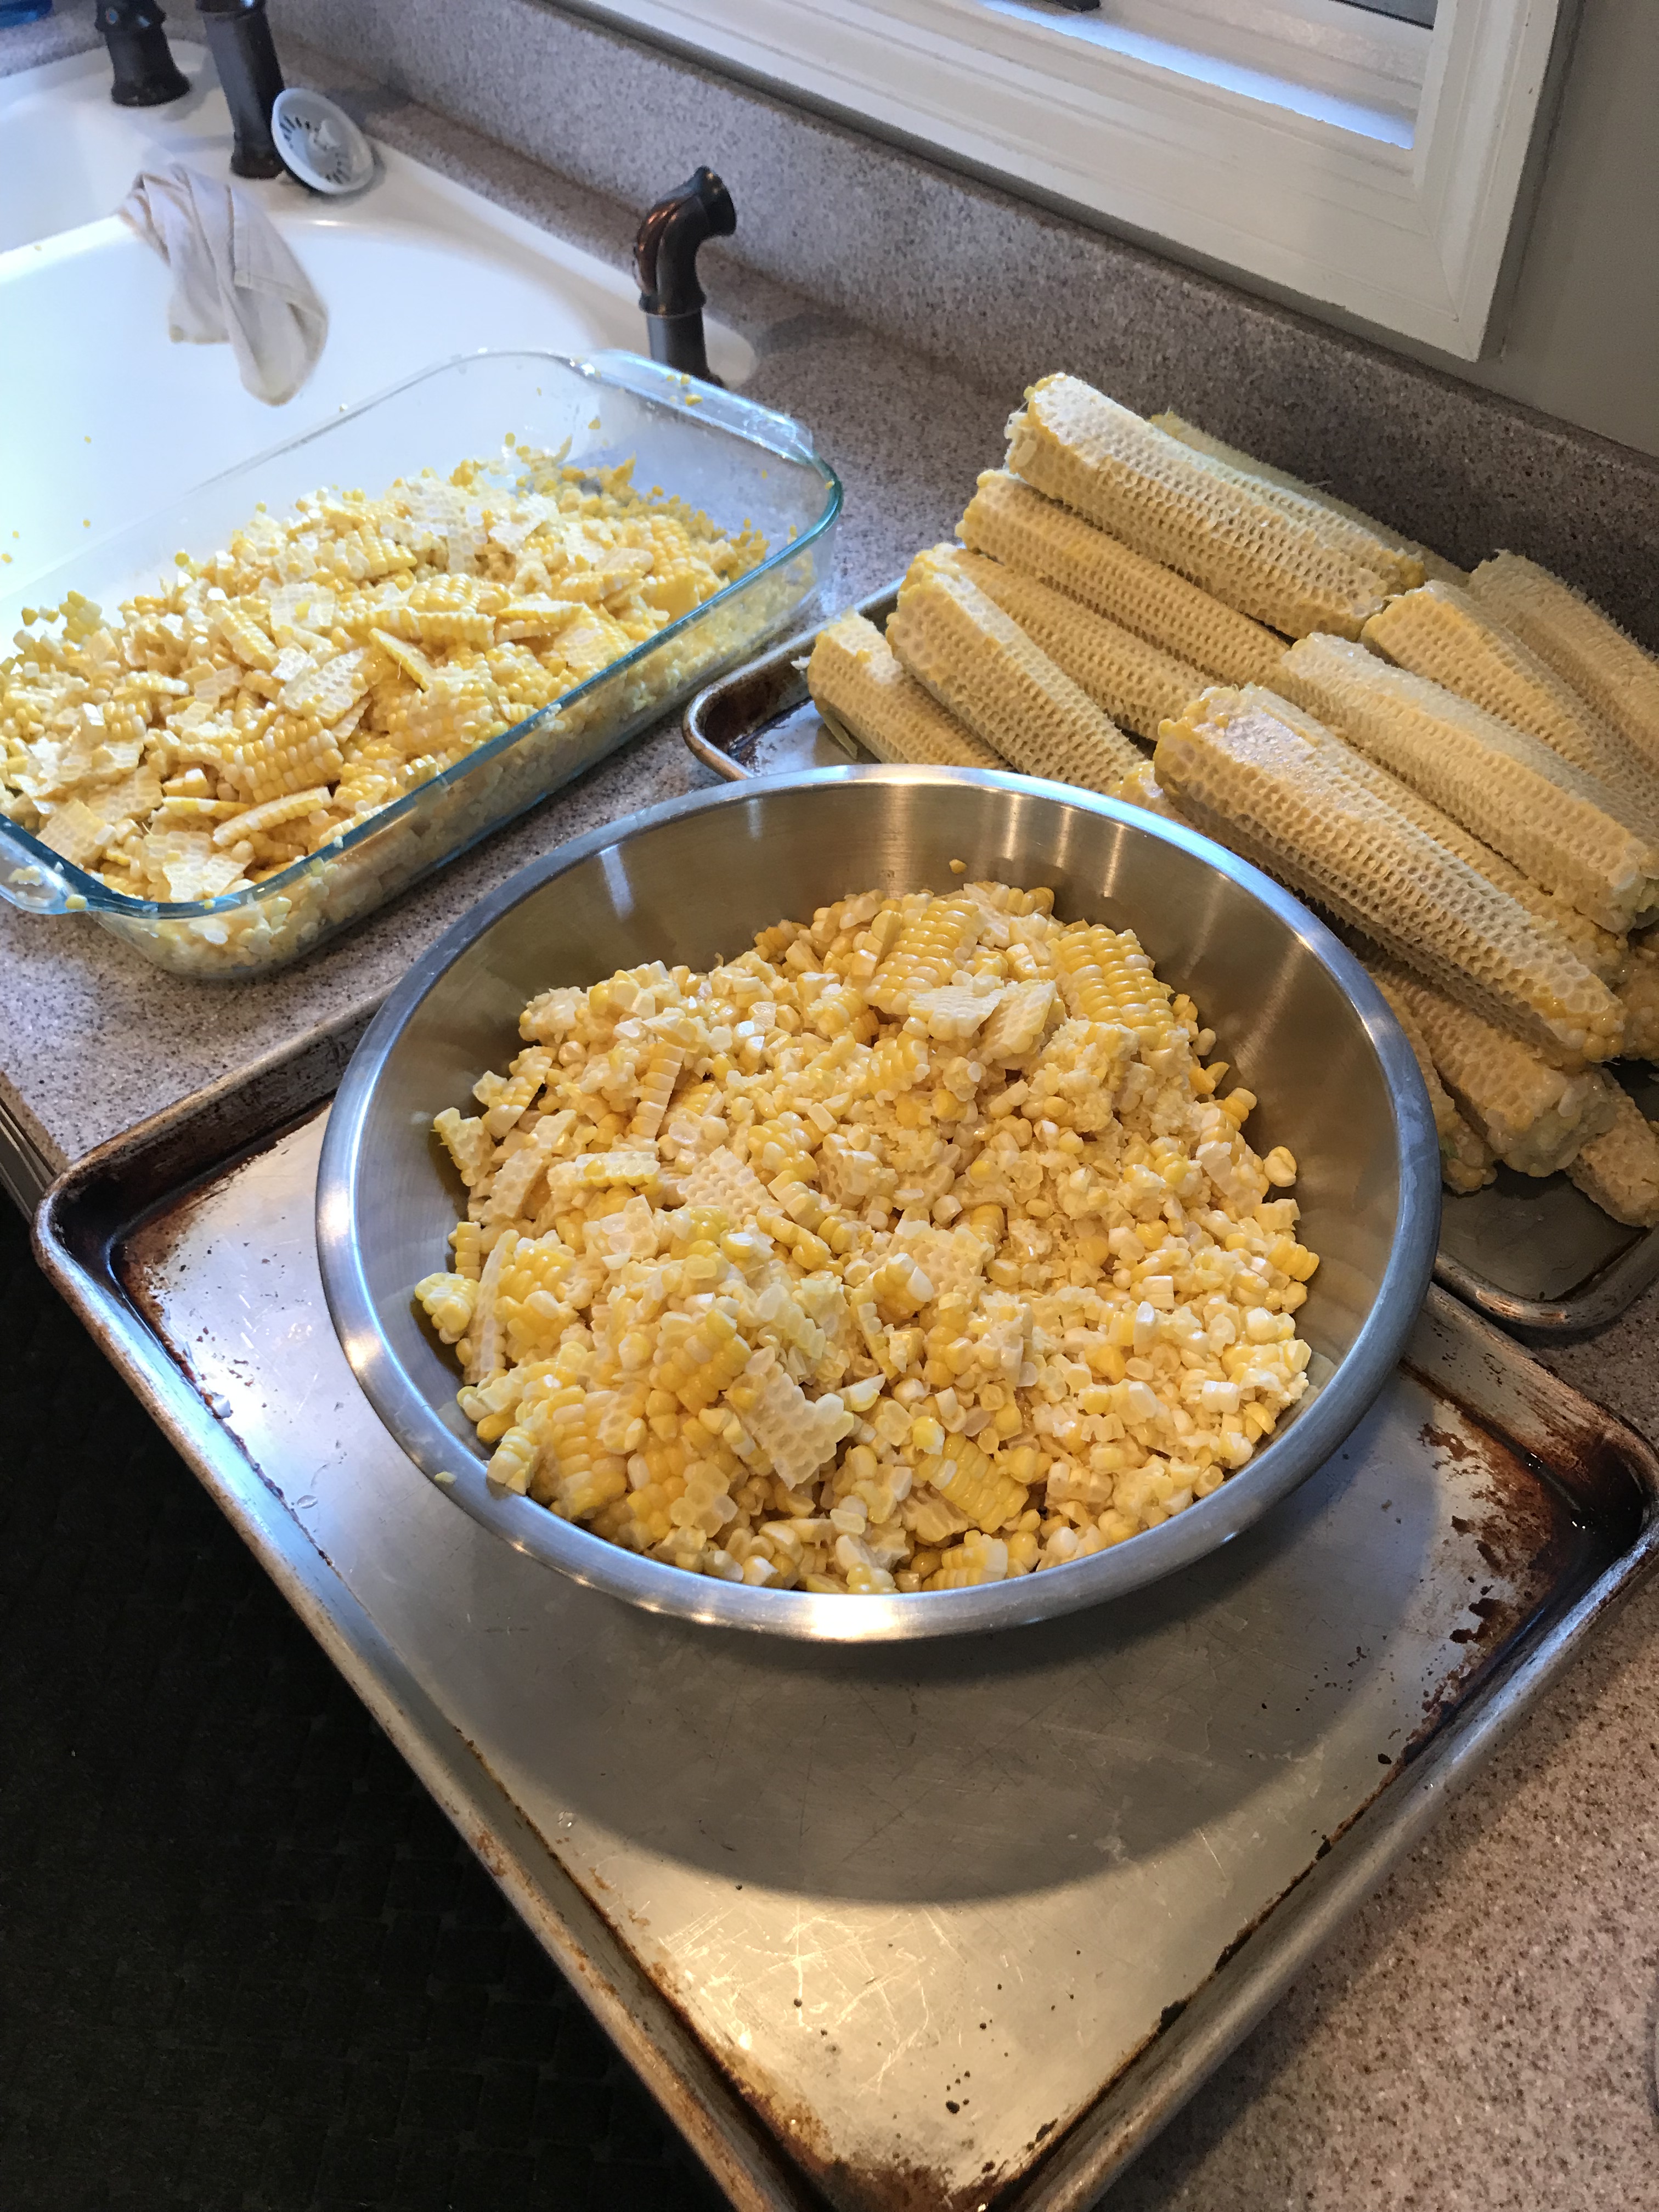
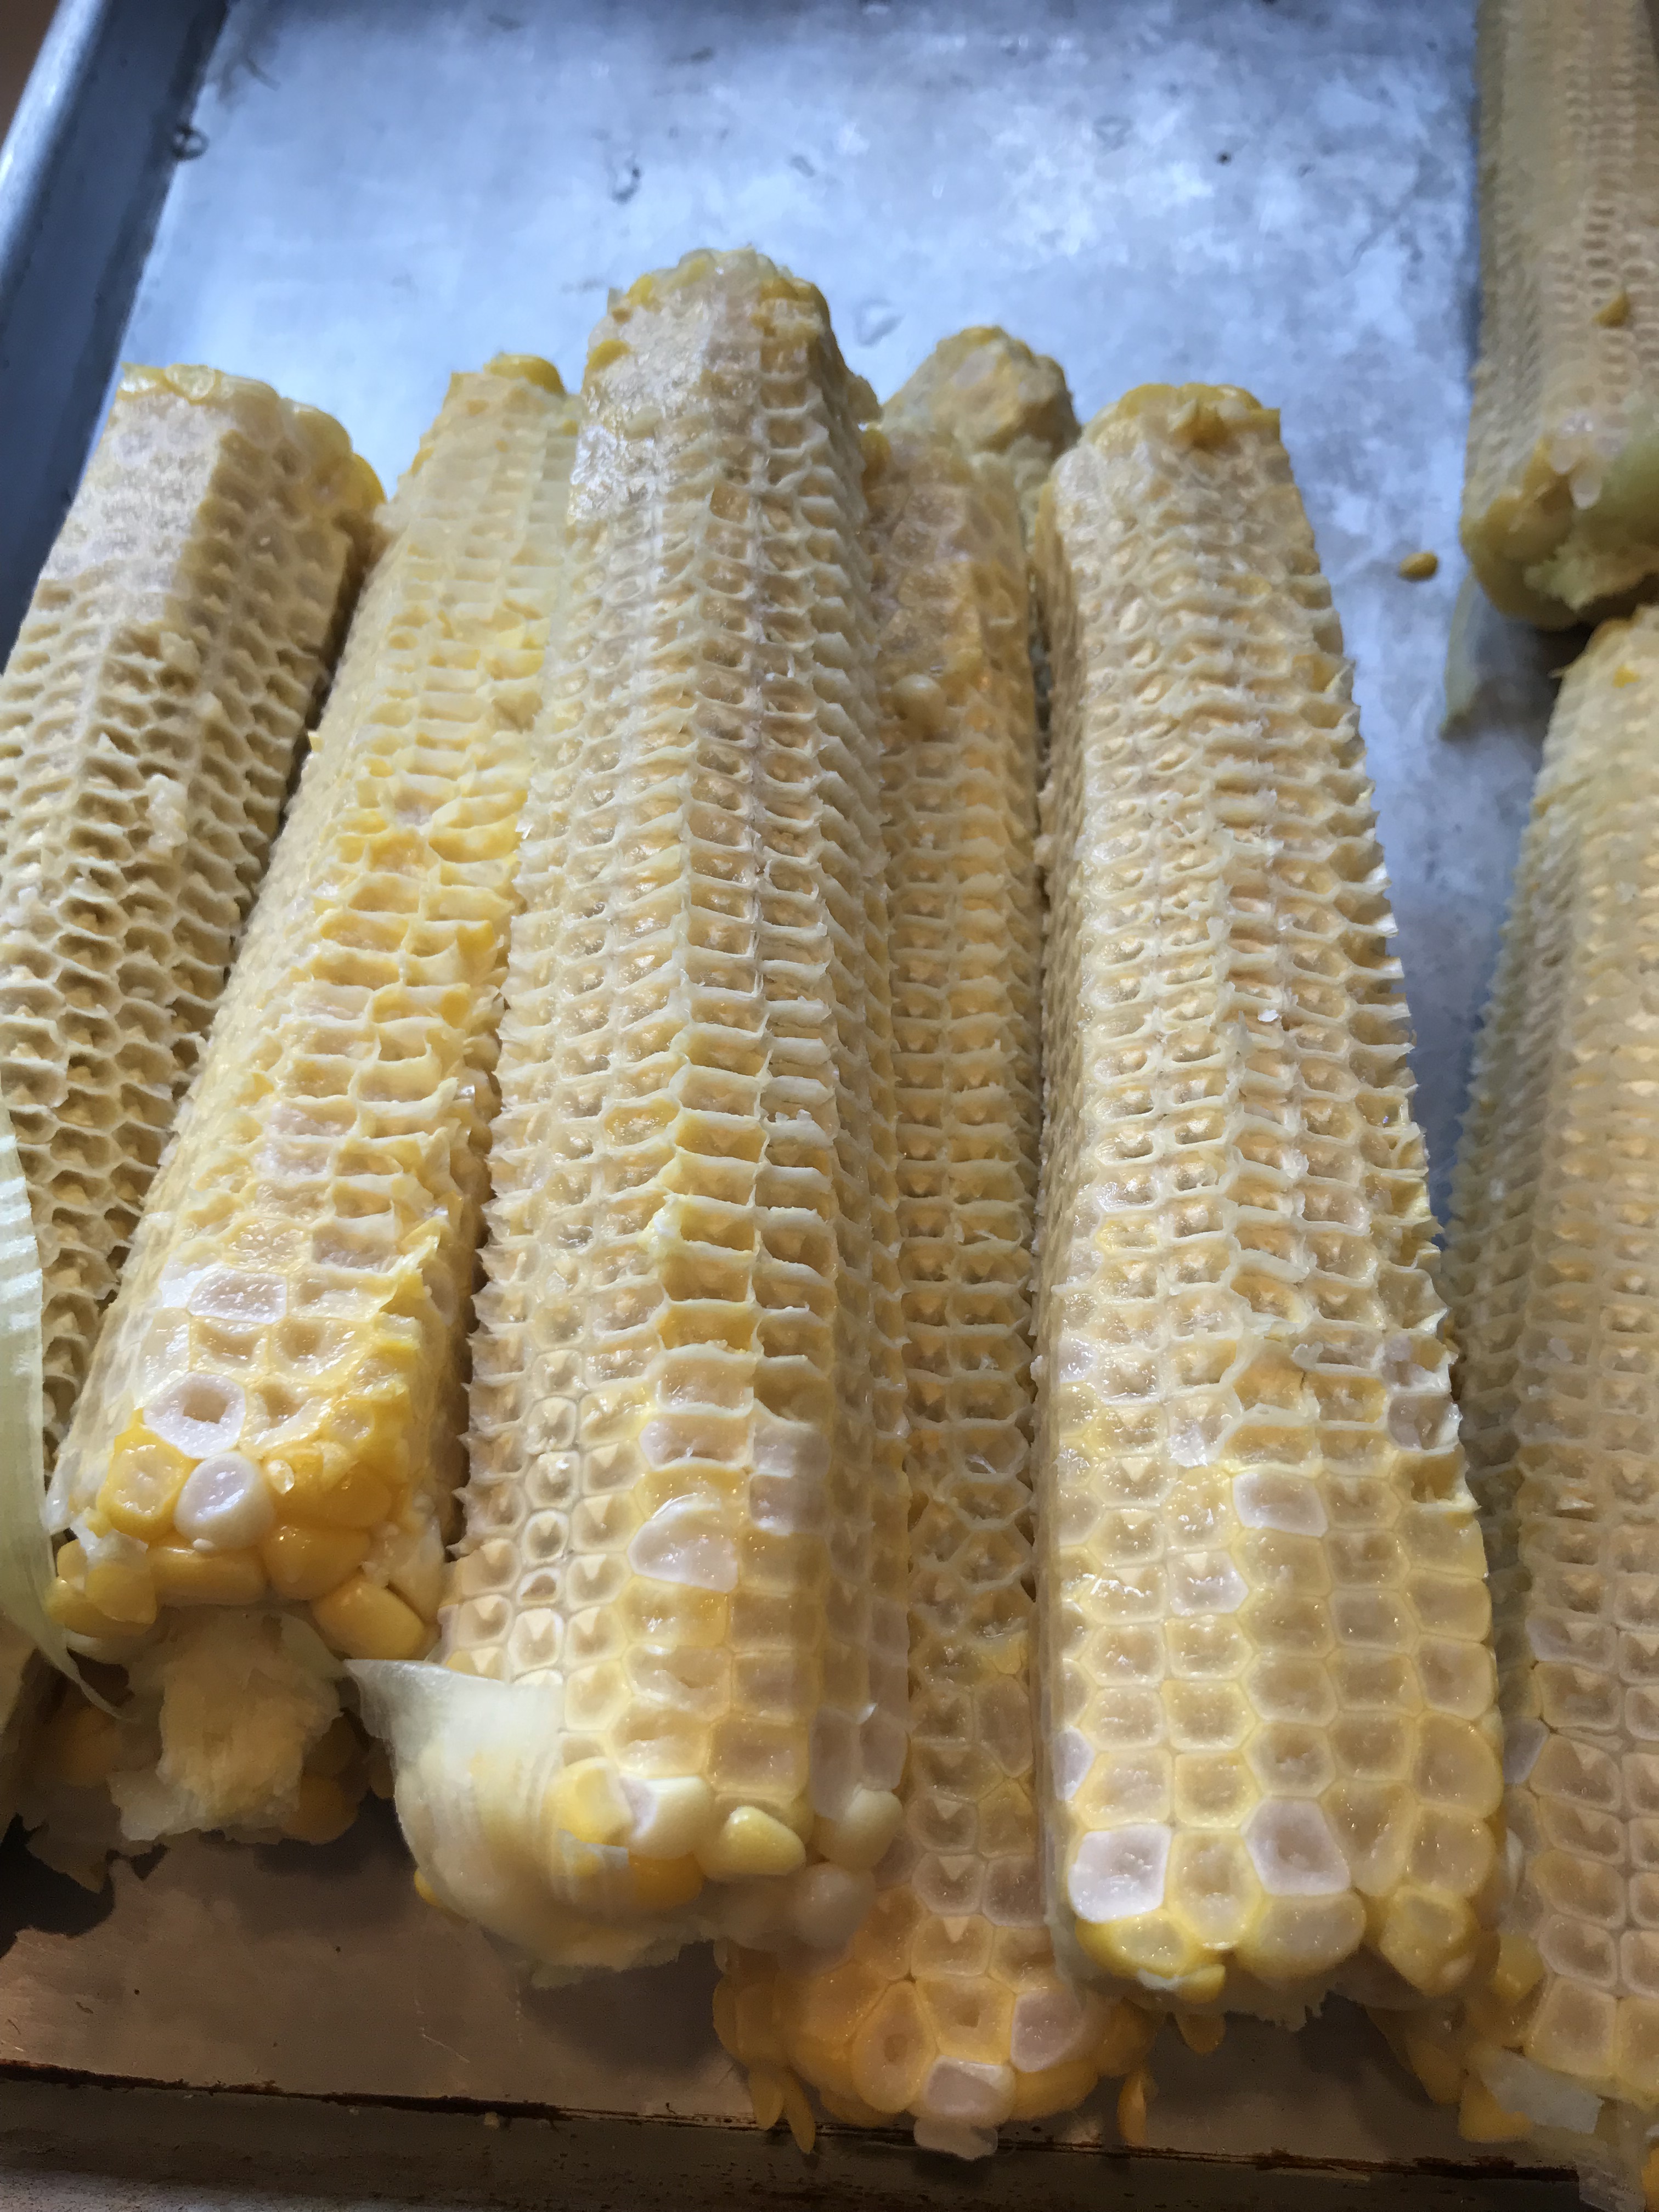
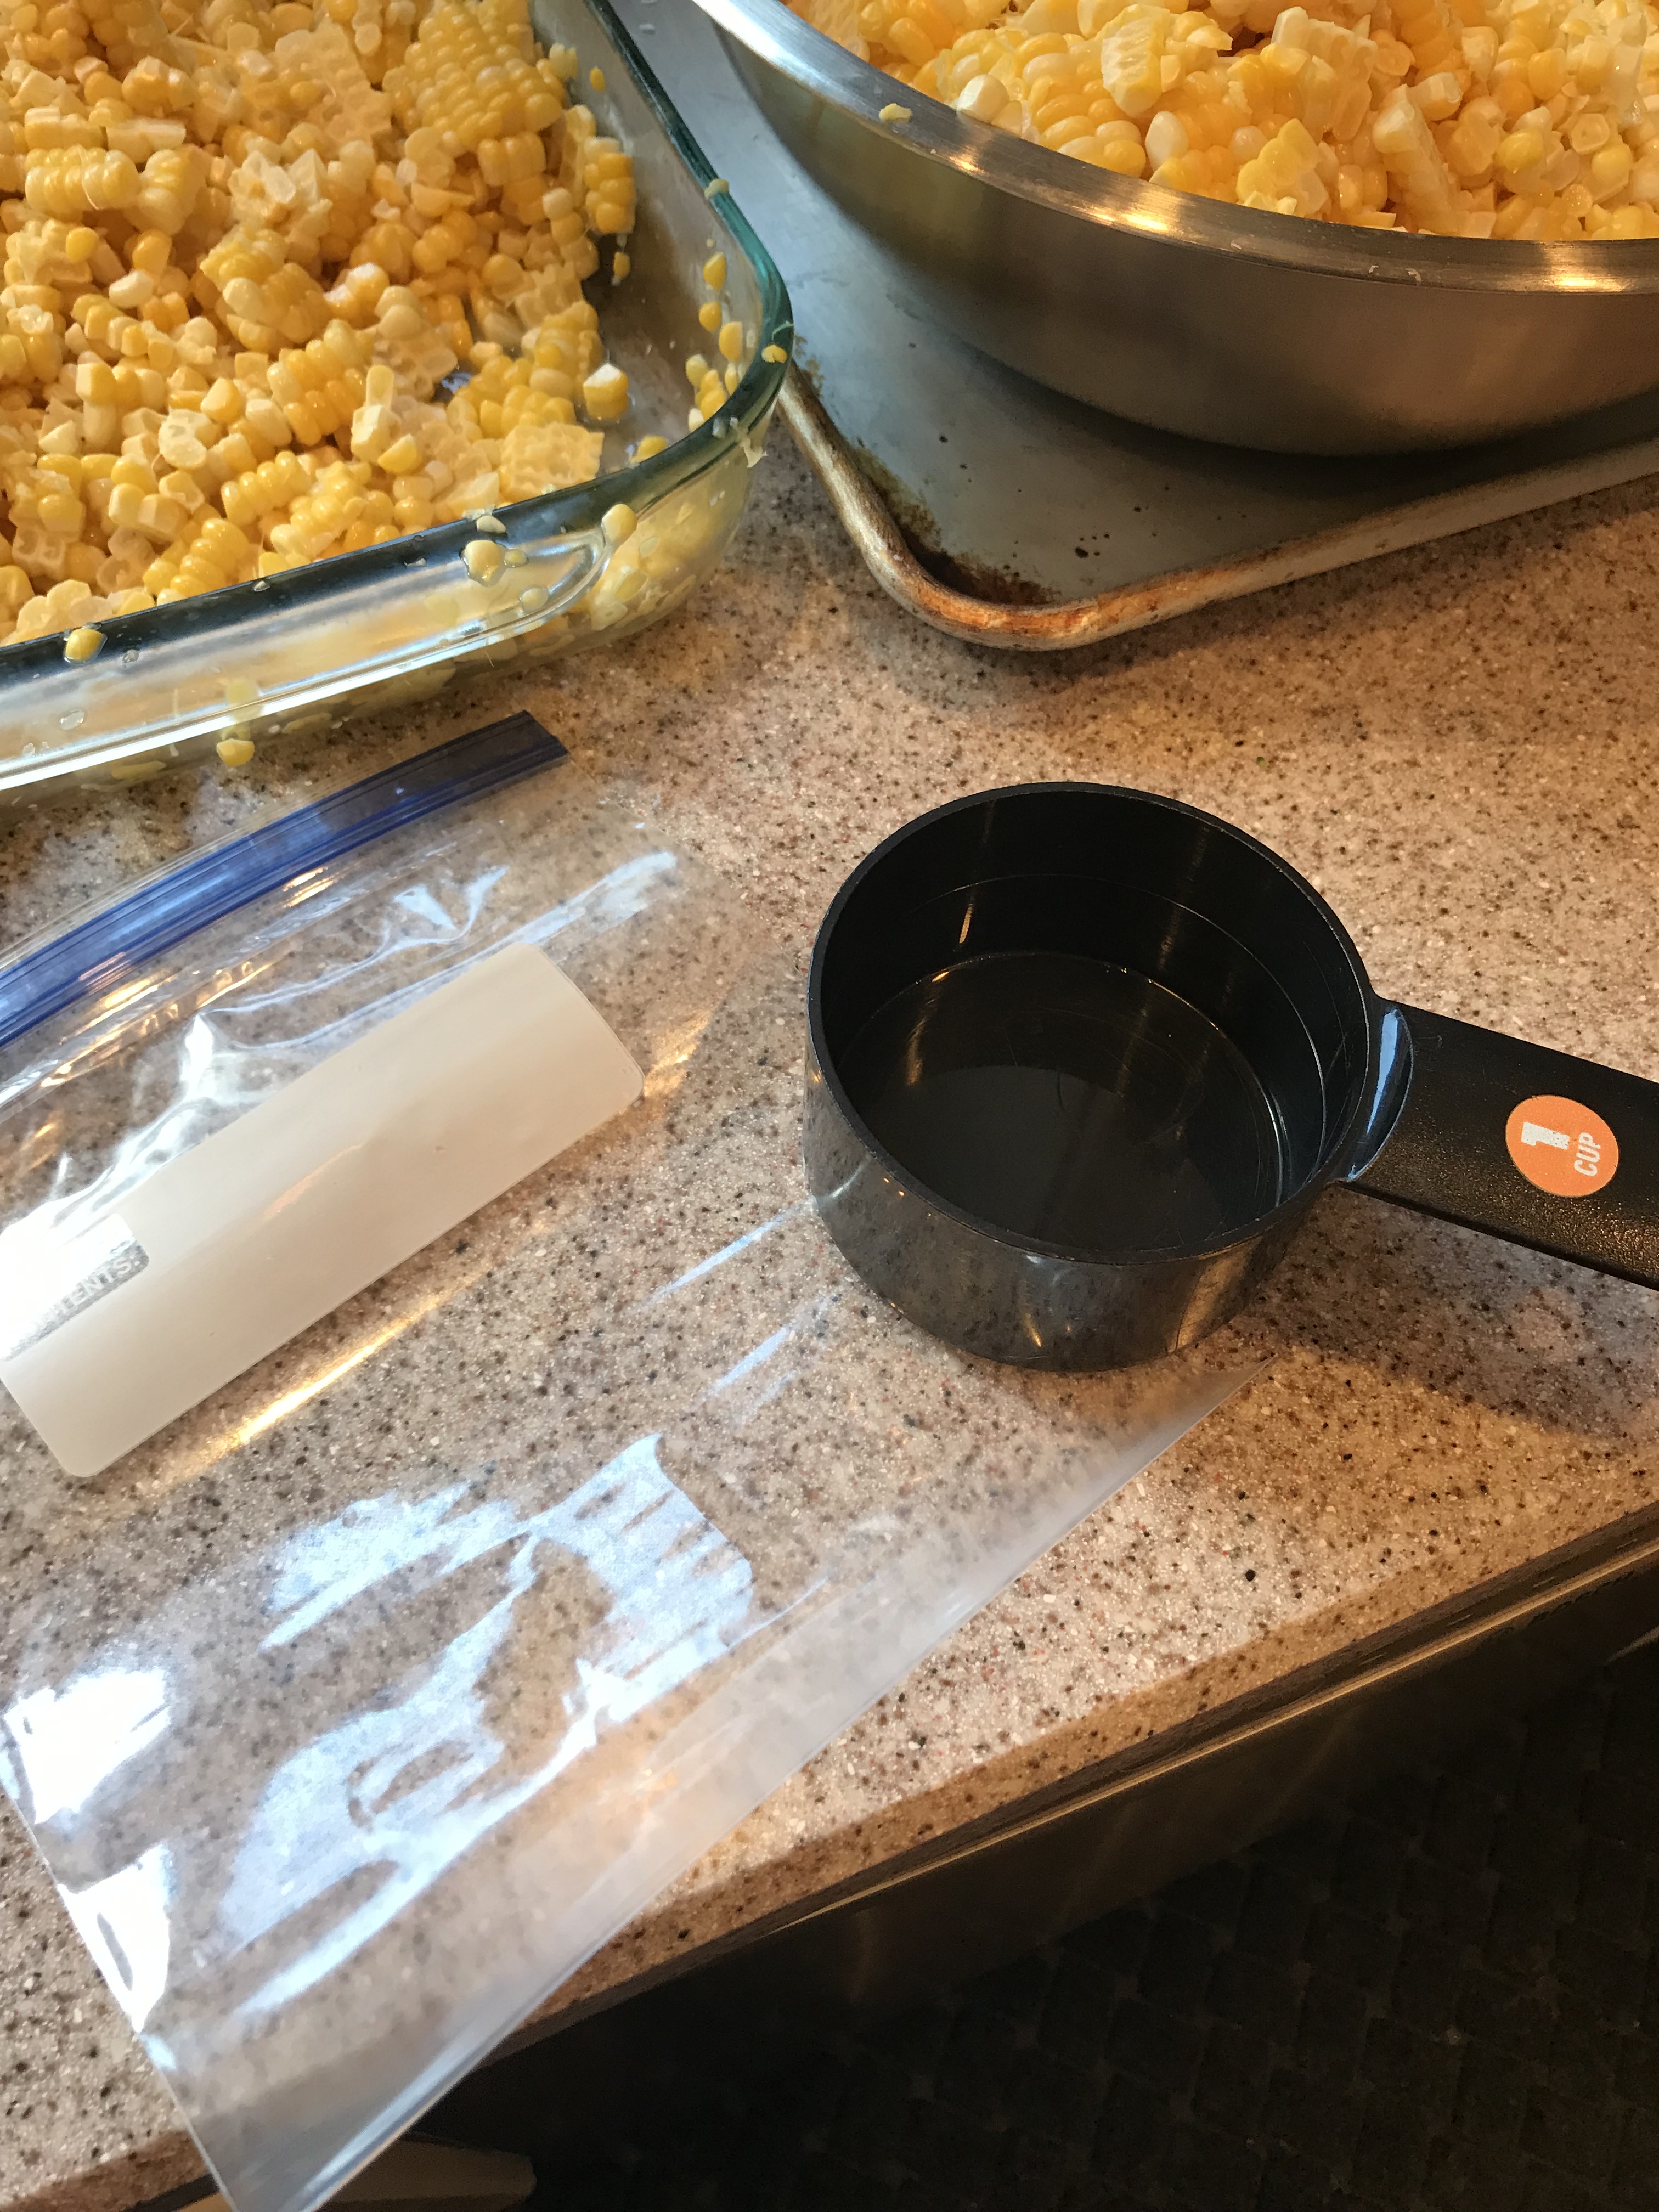
Now you will need your favorite paring knife, a bowl or sheet tray to catch the kernels in and some freezer bags. I cut my corn off into a baking dish that fits in my sink. It keeps them from flying all over my kitchen that way. If you can’t get that situation to work for you, try putting your baking dish or a sheet pan on the counter with some tea towels under it. I start by cutting off the kernels, but leaving enough that I can come back and scrape the cobs to make my corn more like creamed corn. Make sure you skip over any bad spots or not so good looking ends. If you like a less creamy version, you can just cut as close to the cobbs as you want and not scape them off. Totally your preference and both are delicious! If you cut the bottoms off flag you can stand them up and cut downward, that’s the safest way to go about cutting the kernels off.
Here’s my setup. Ice bath, baking dish in the sink, paring knives (a well sharpened knife will make this a lot easier, just use caution – No ER!) and the sheet tray is for the completed cobbs. You will need some other bowls to put the corn in when your baking dish gets too full too. Look at all this summer goodness!
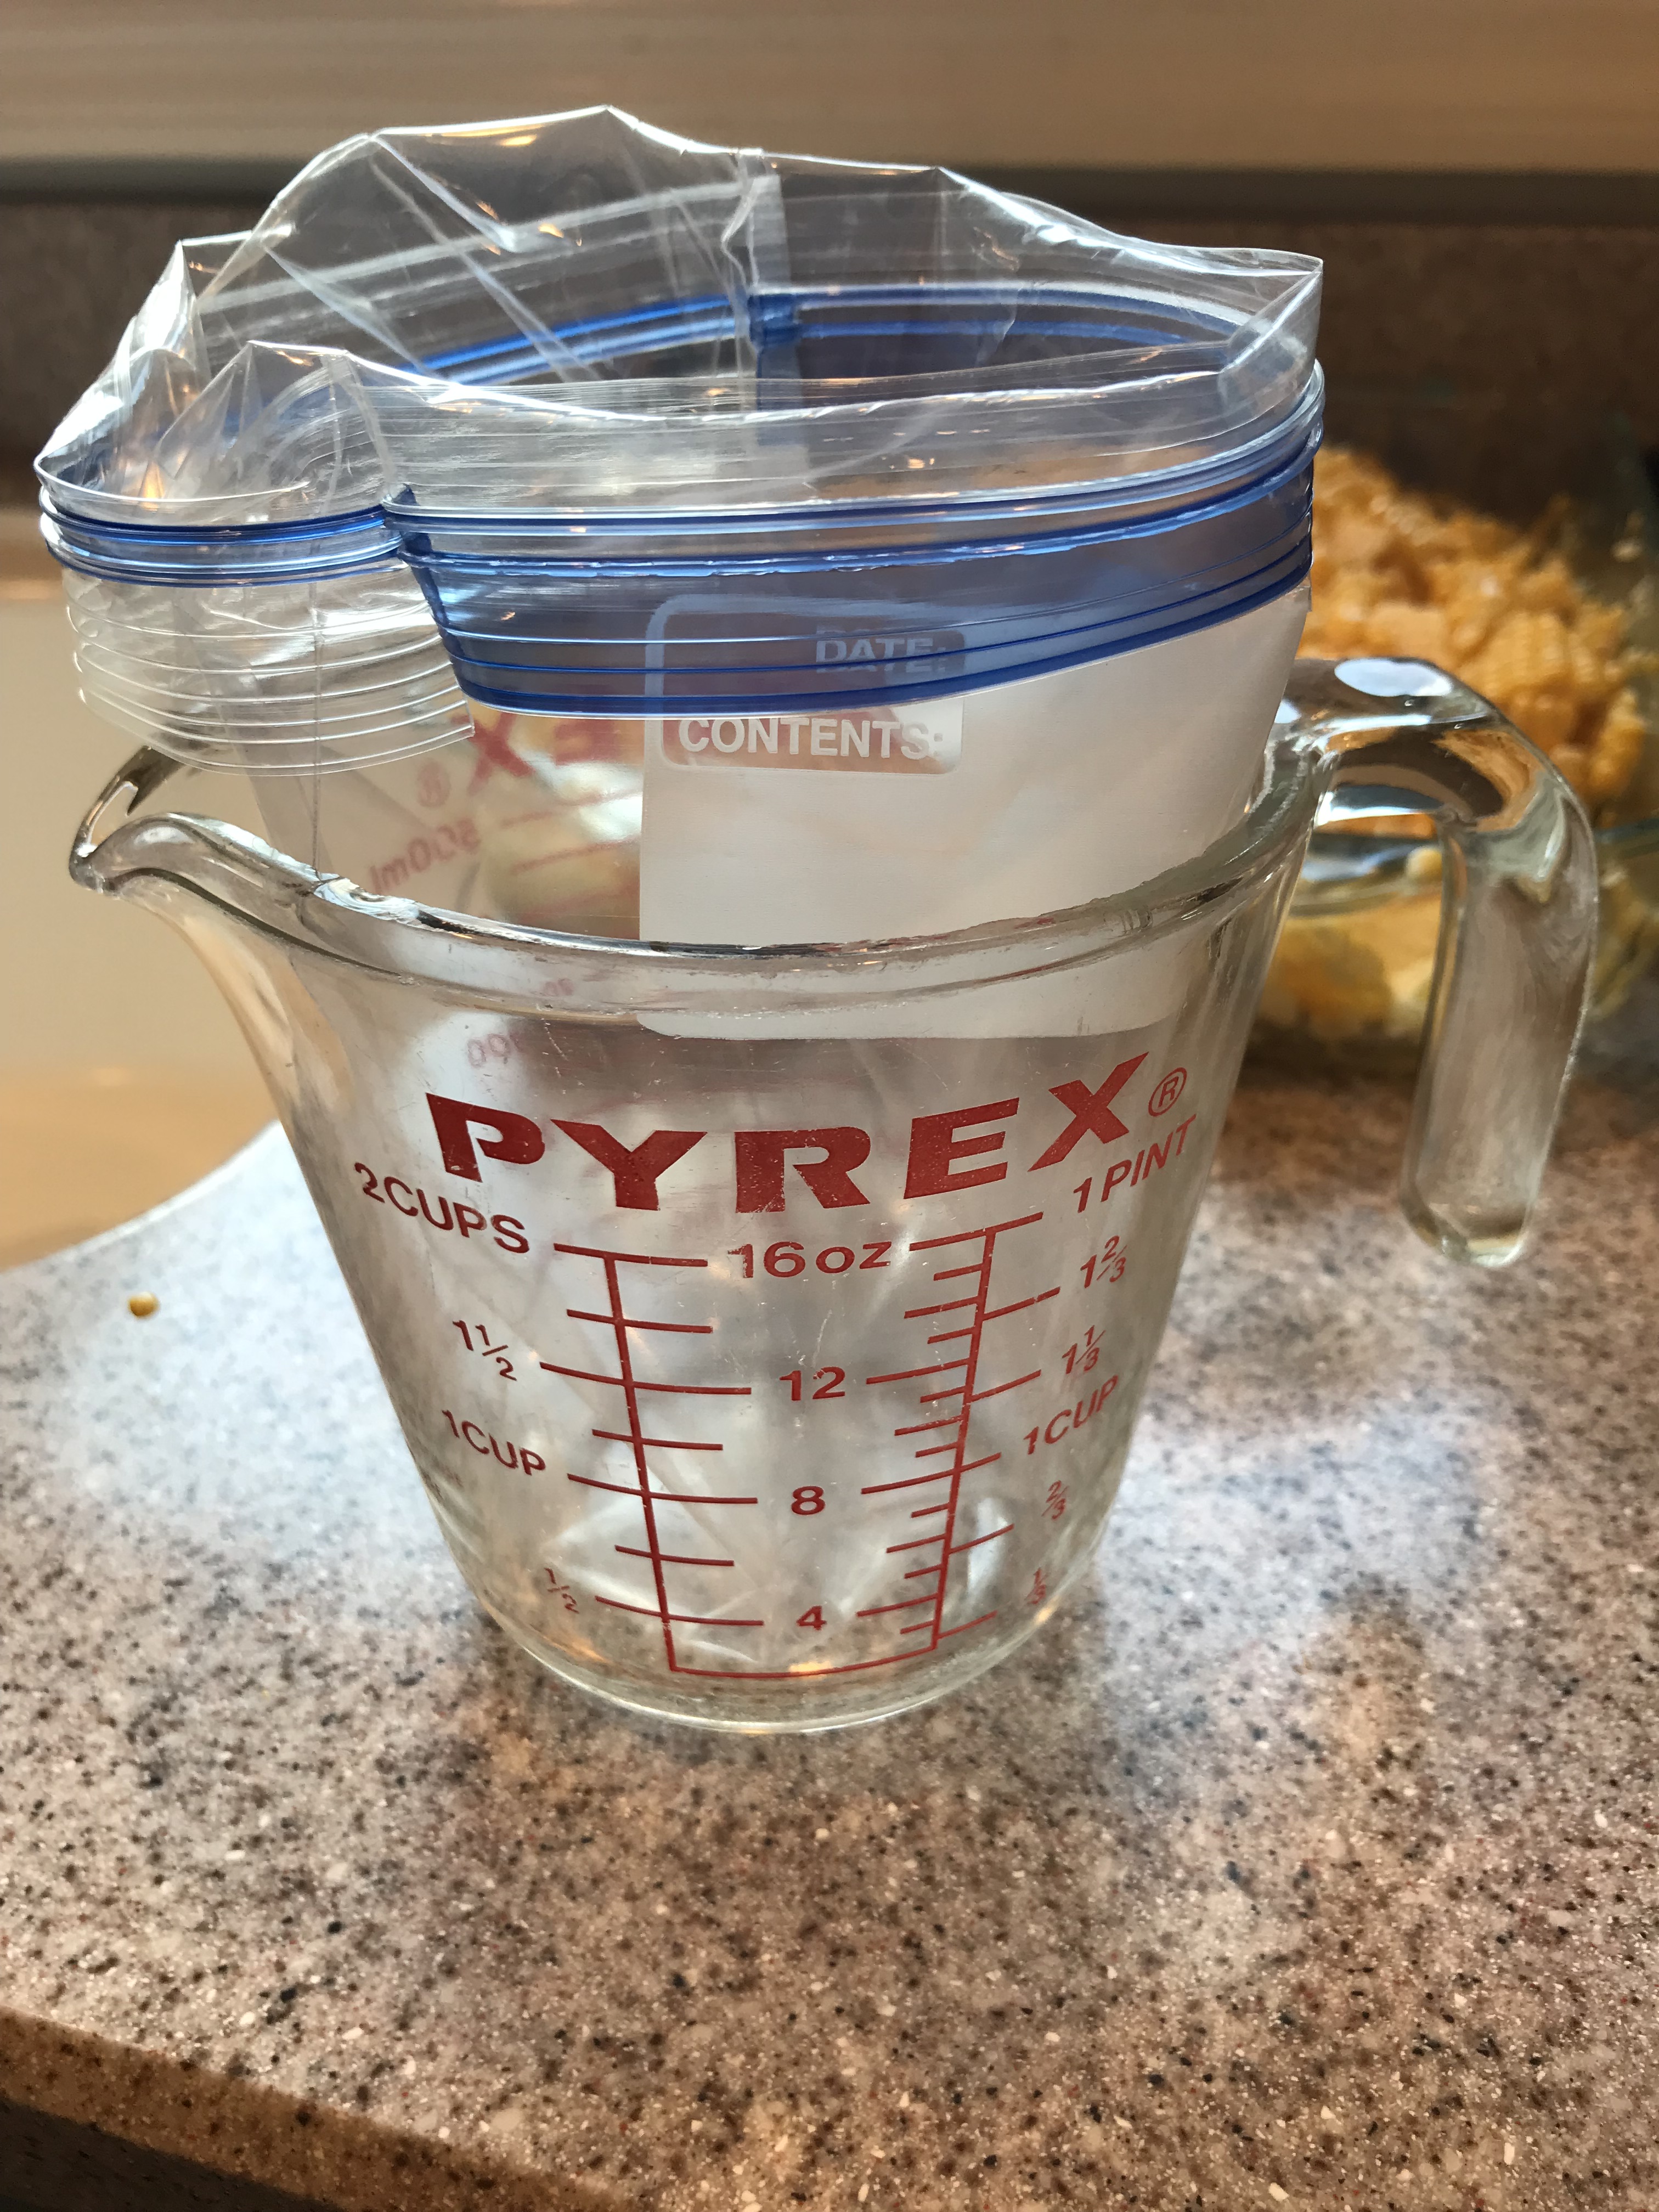
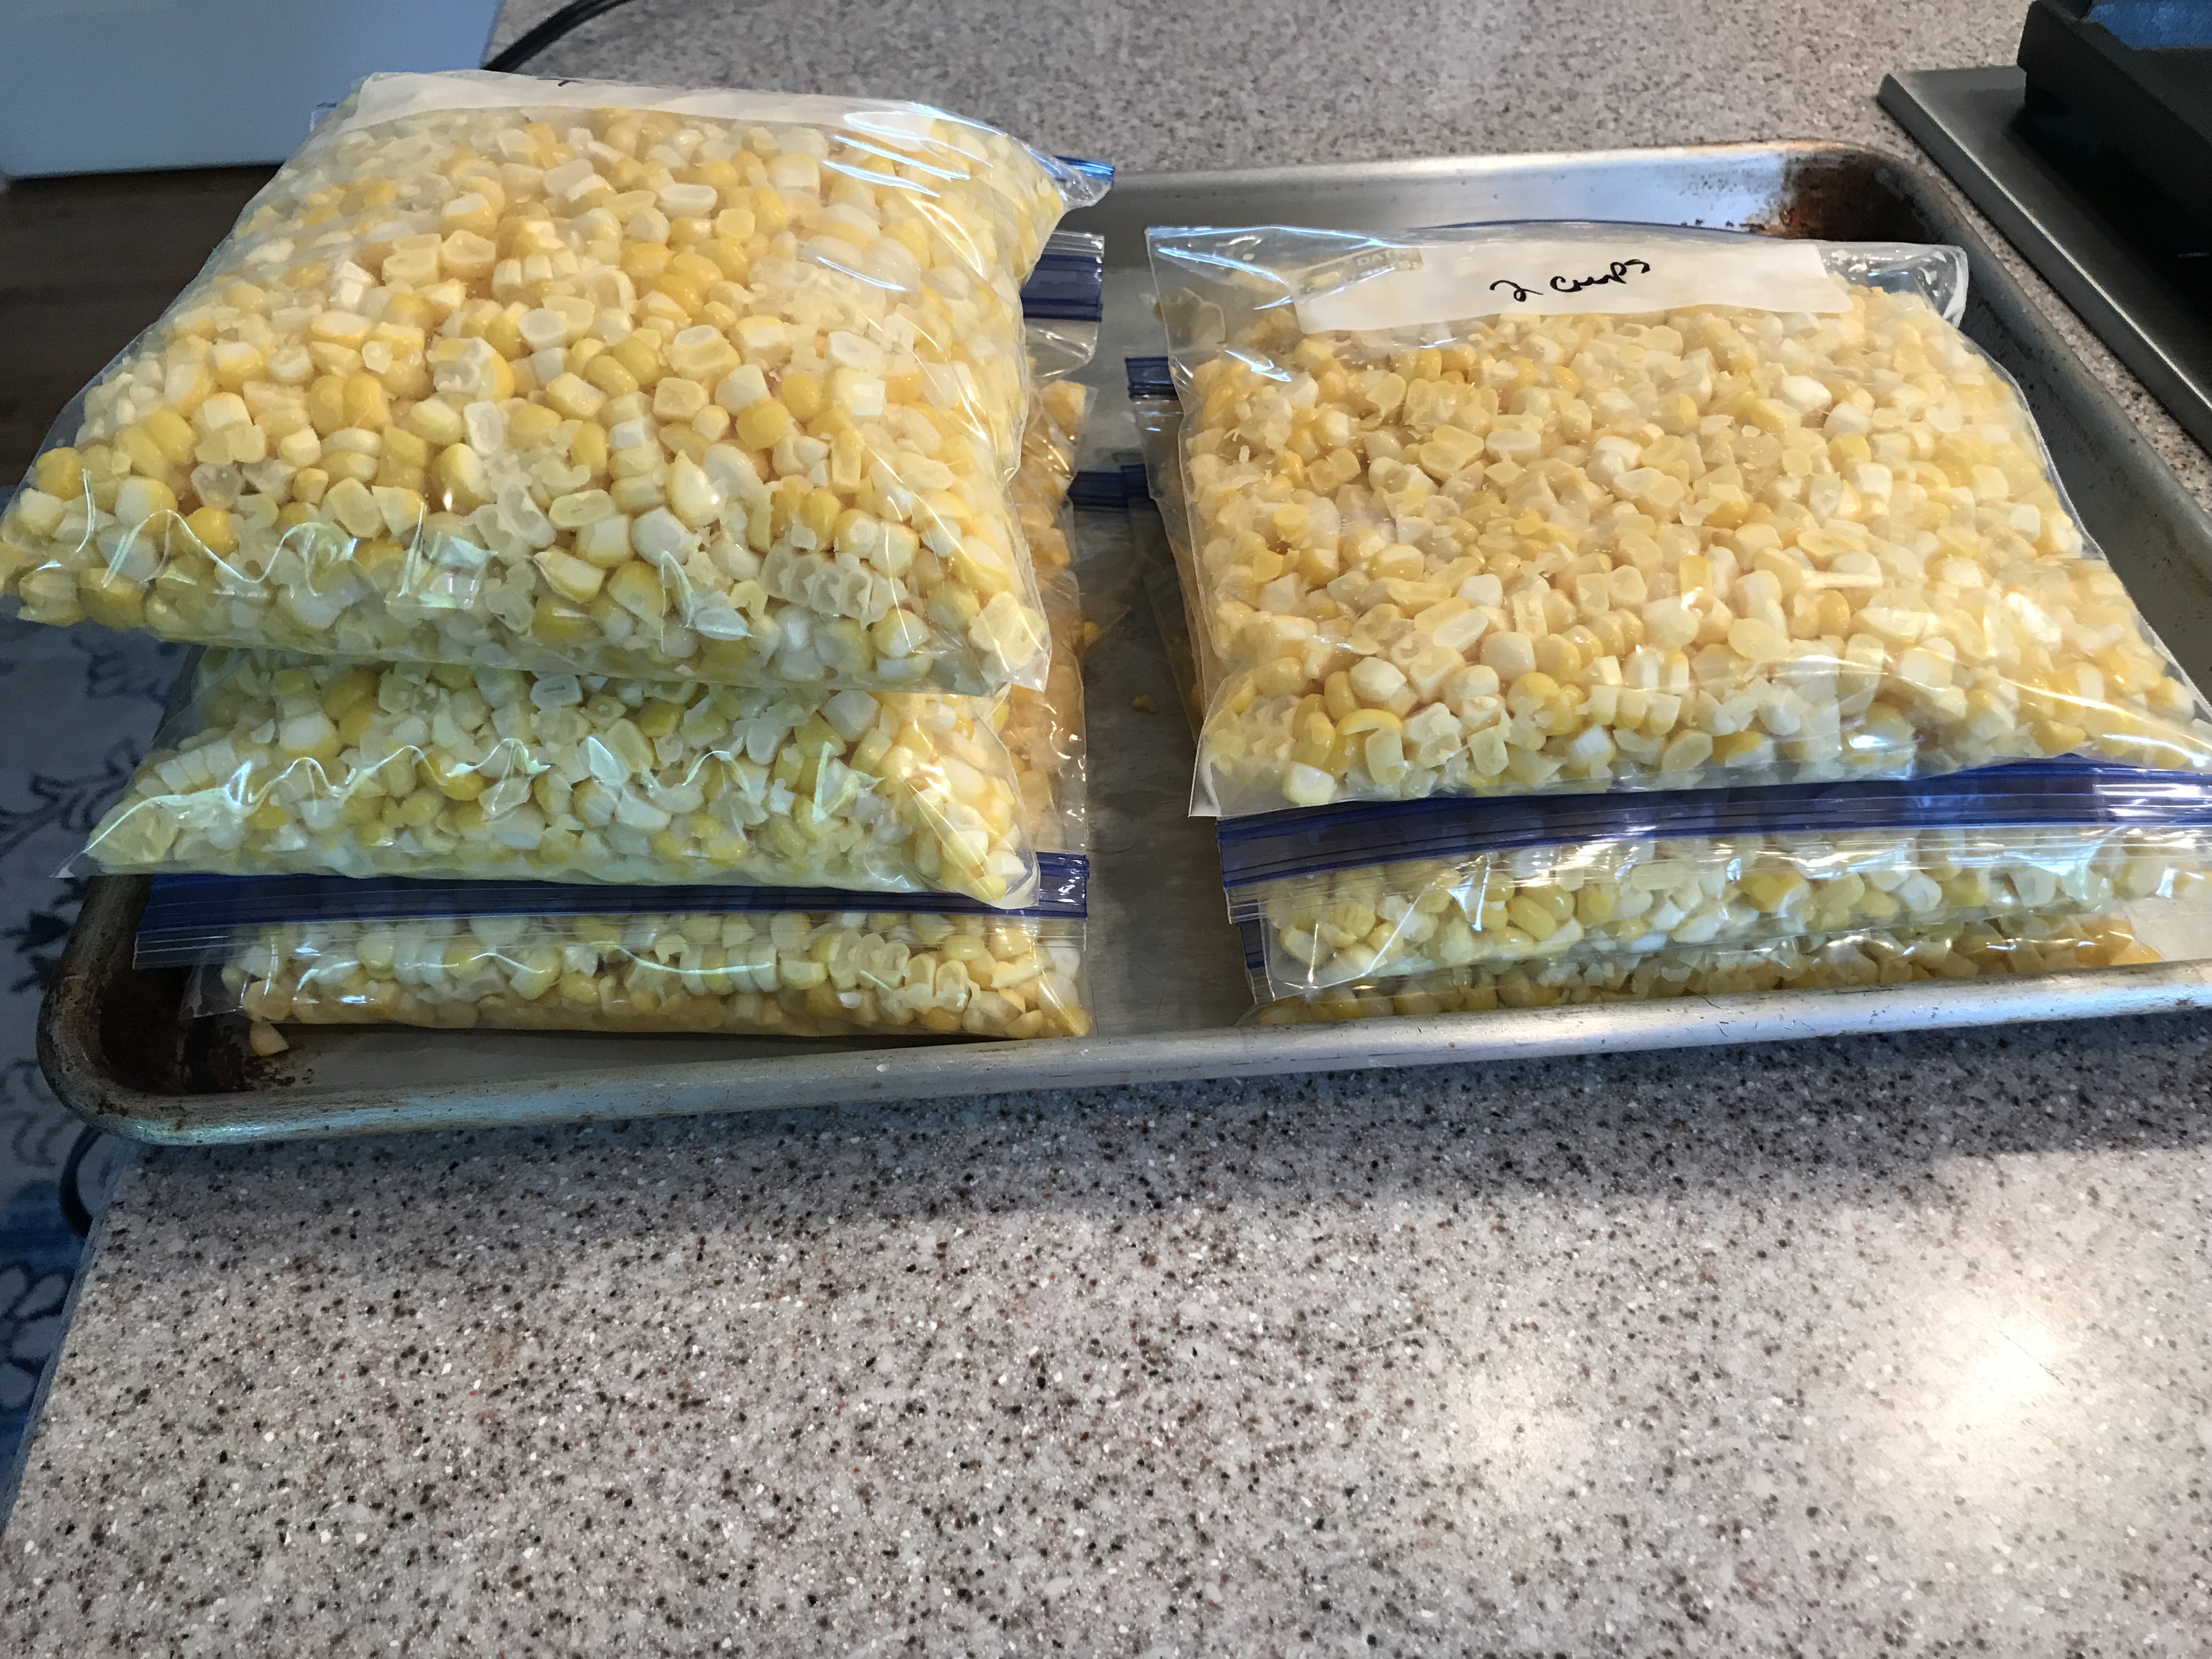
All that’s left to do is portion it out into freezer bags. I only do 2 cup packs since it’s just me and the hubby here. I do a couple of 4 cup bags for the holidays. You can always open multiple smaller portion bags when you need them, depending on the size of your guest list. If you put your freezer bag in a measuring cup that helps get them filled up. If you prefer plastic containers that will probably work too, but I’ve never tried it. I like the freezer bags because you can push all the air out and that helps keep freezer burn out longer.
To use your corn from the freezer, just let it thaw in the bag in a sauce pan or in the fridge for a few hours. If you are in a hurry you can just run some warm water over the bag until you can break it up and get it out. Once it’s thawed enough to get it in the saucepan, add butter, a little water, and add salt and pepper to taste. Enjoy!
