Canning Fresh Tomatoes
Every year in late summer I spend a couple of evenings or a weekend canning fresh tomatoes for me to use all winter. I have been spoiled with these end of summer wonders for as long as I can remember thanks to my mom and grandma. They would spend hours doing this same process, but they were just pretty jars to me then. As I got older I started to appreciate them for their culinary value. One late summer we were relocating so I had zero time to can any tomatoes and it was a hard winter to get through making gallons of chili and vegetable soup without them. It seems to be a lost art lately, so I hope you enjoy this post and try it out. You’ll be surprised how much better things taste when you are using these in the middle of January. 🙂
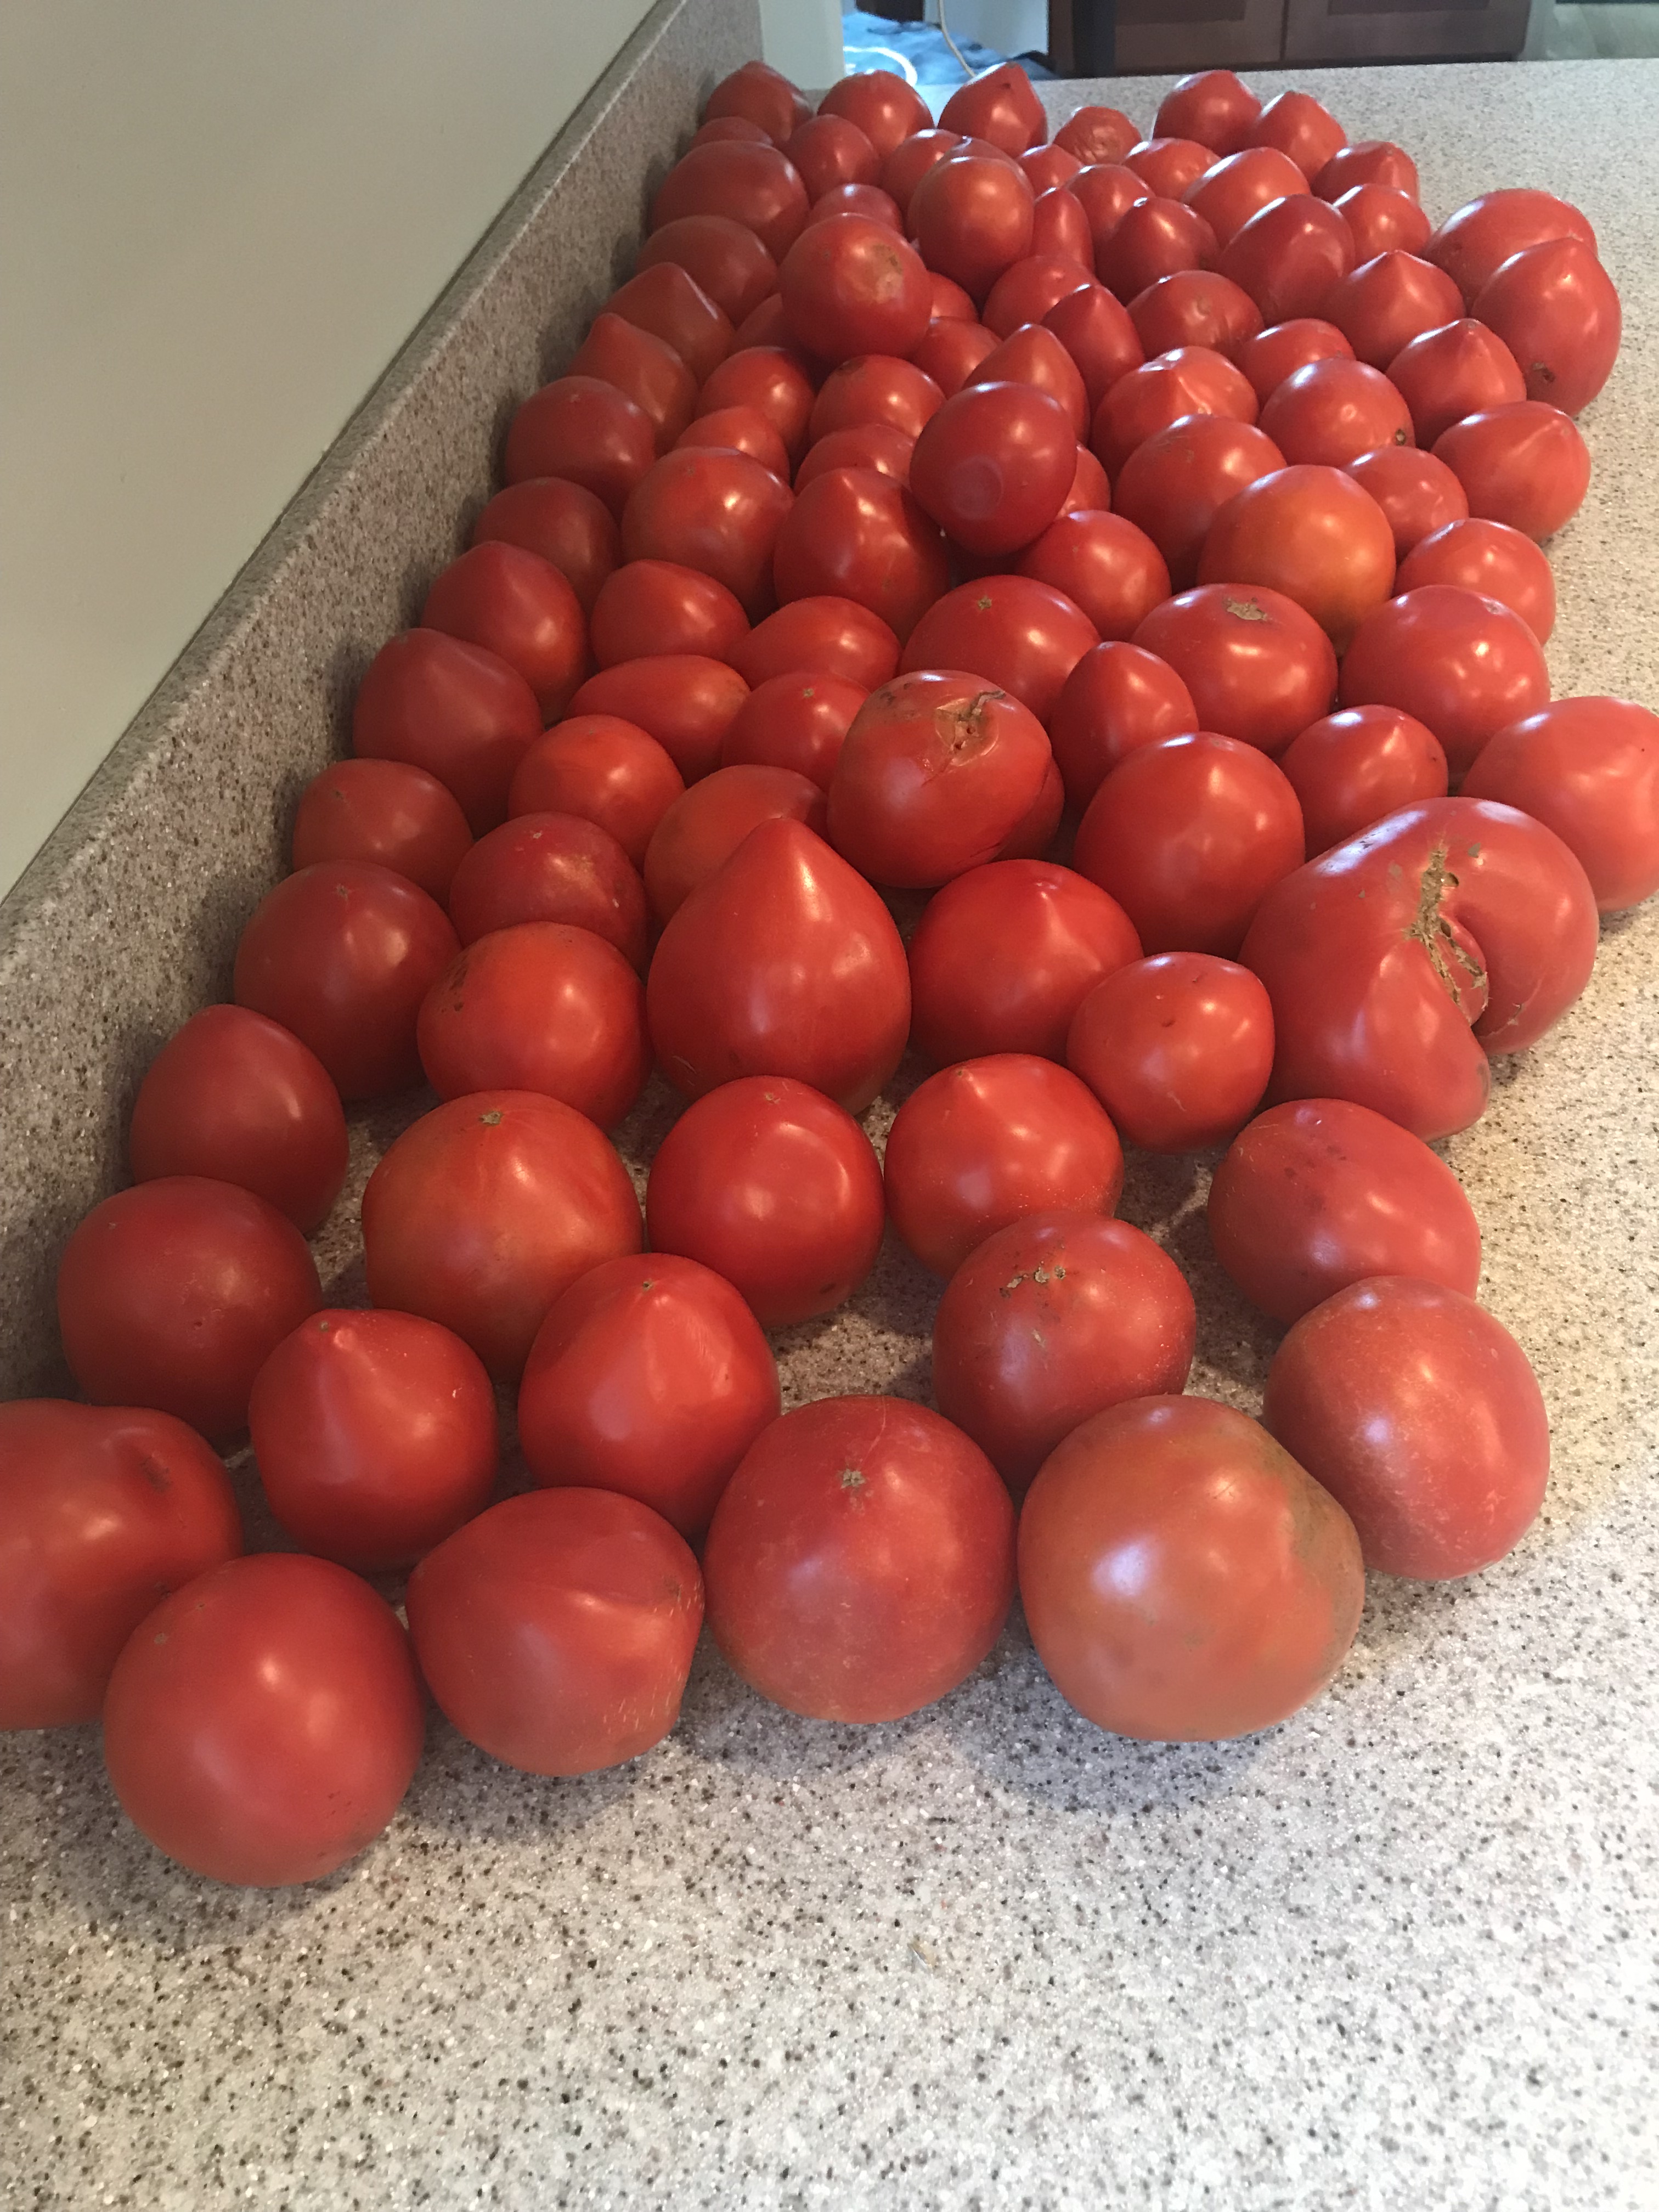
I have found a local farm that sells tomatoes by the 25 lb. box and I know that I’m going to get a good product. Wherever you like your farmers market tomatoes, just ask to see if they have “canning tomatoes” if you don’t see them out. They will be ugly, a little beat up, or misshapen, but that’s OK. The goal is to cut them up and put them in a jar so they will be fine once you get them processed. This recipe is for a 25 lb. box, and I’ve done as many as 3 boxes at a time, but make sure you have time to process the entire batch that you purchase. Once you start peeling them, they cannot be stored in the fridge, so you are in for finishing the entire batch. I recently found out that when tomatoes get below 50 degrees their texture and taste changes, so you’ve got to finish what you start. One 25 lb box took me about 3 hours from start to finish.
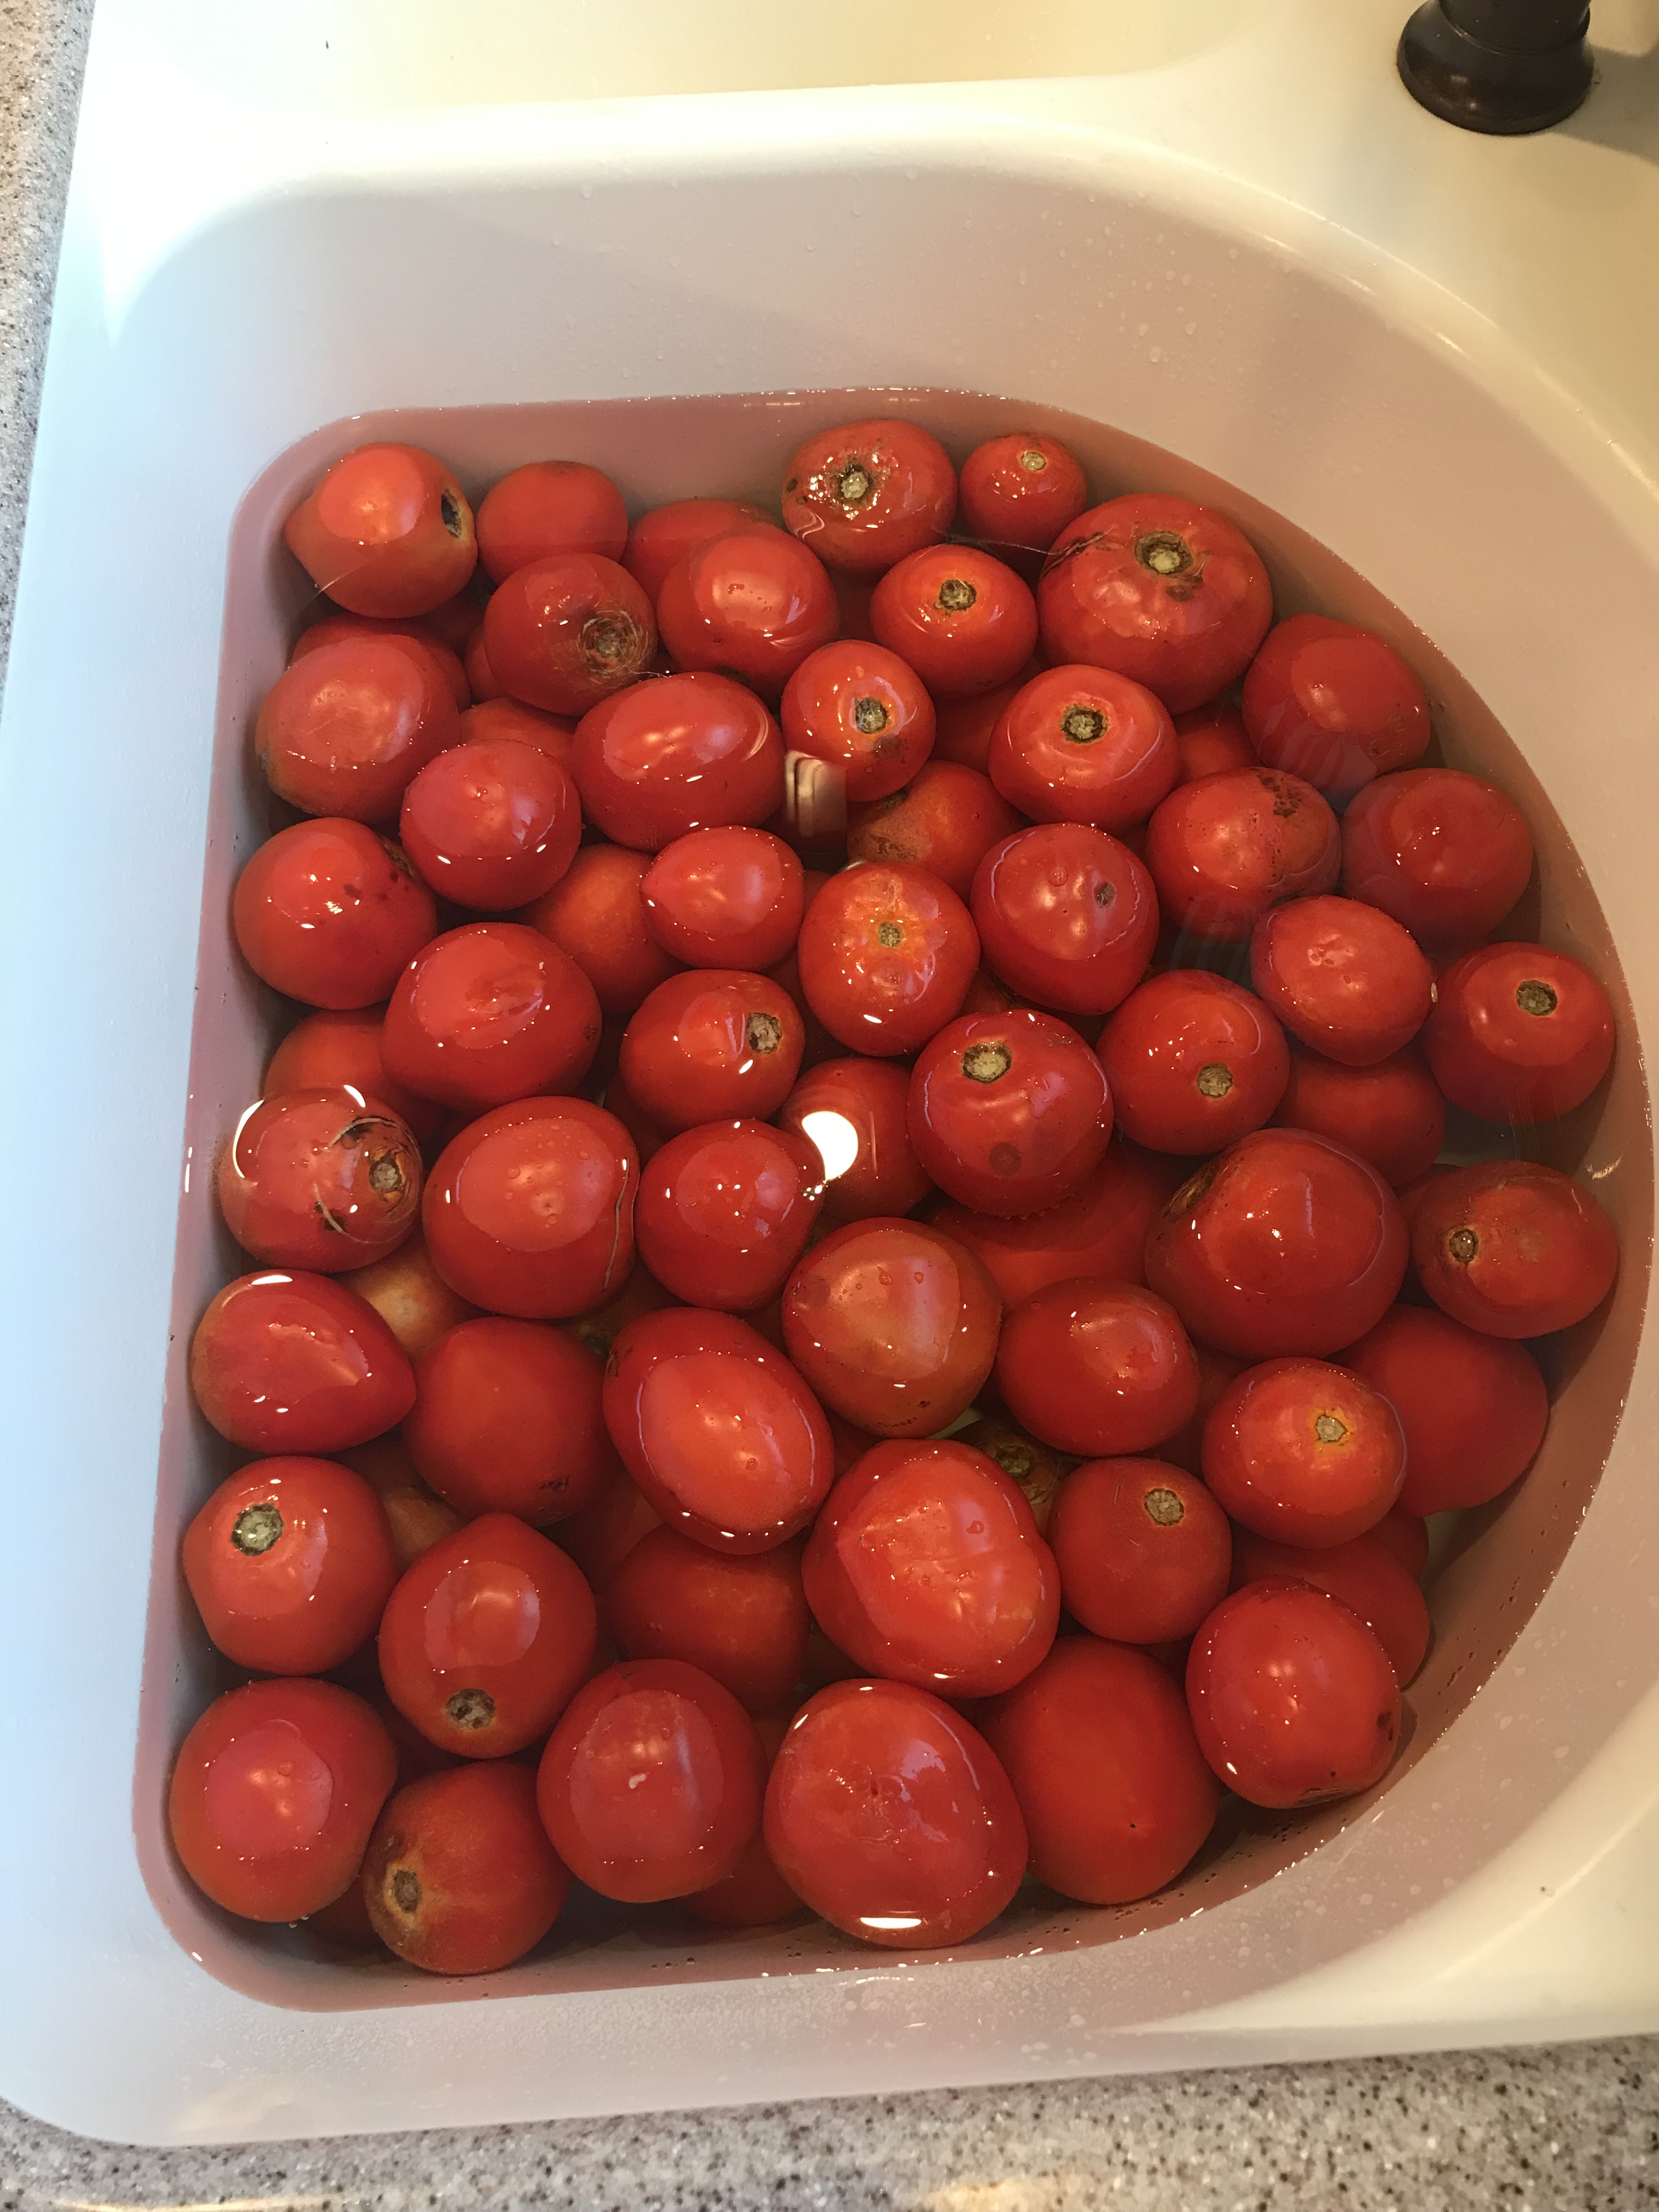
Start by putting all the tomatoes in a sink full of cold water to give them a quick rinse to get whatever leaves and dirt are still on them. Check them out as you are removing them from the sink. Anything that has been too damaged or crushed in transit, I usually pitch. They don’t have to be perfect, remember you are going to peel and core them too. Now you are ready to get started.
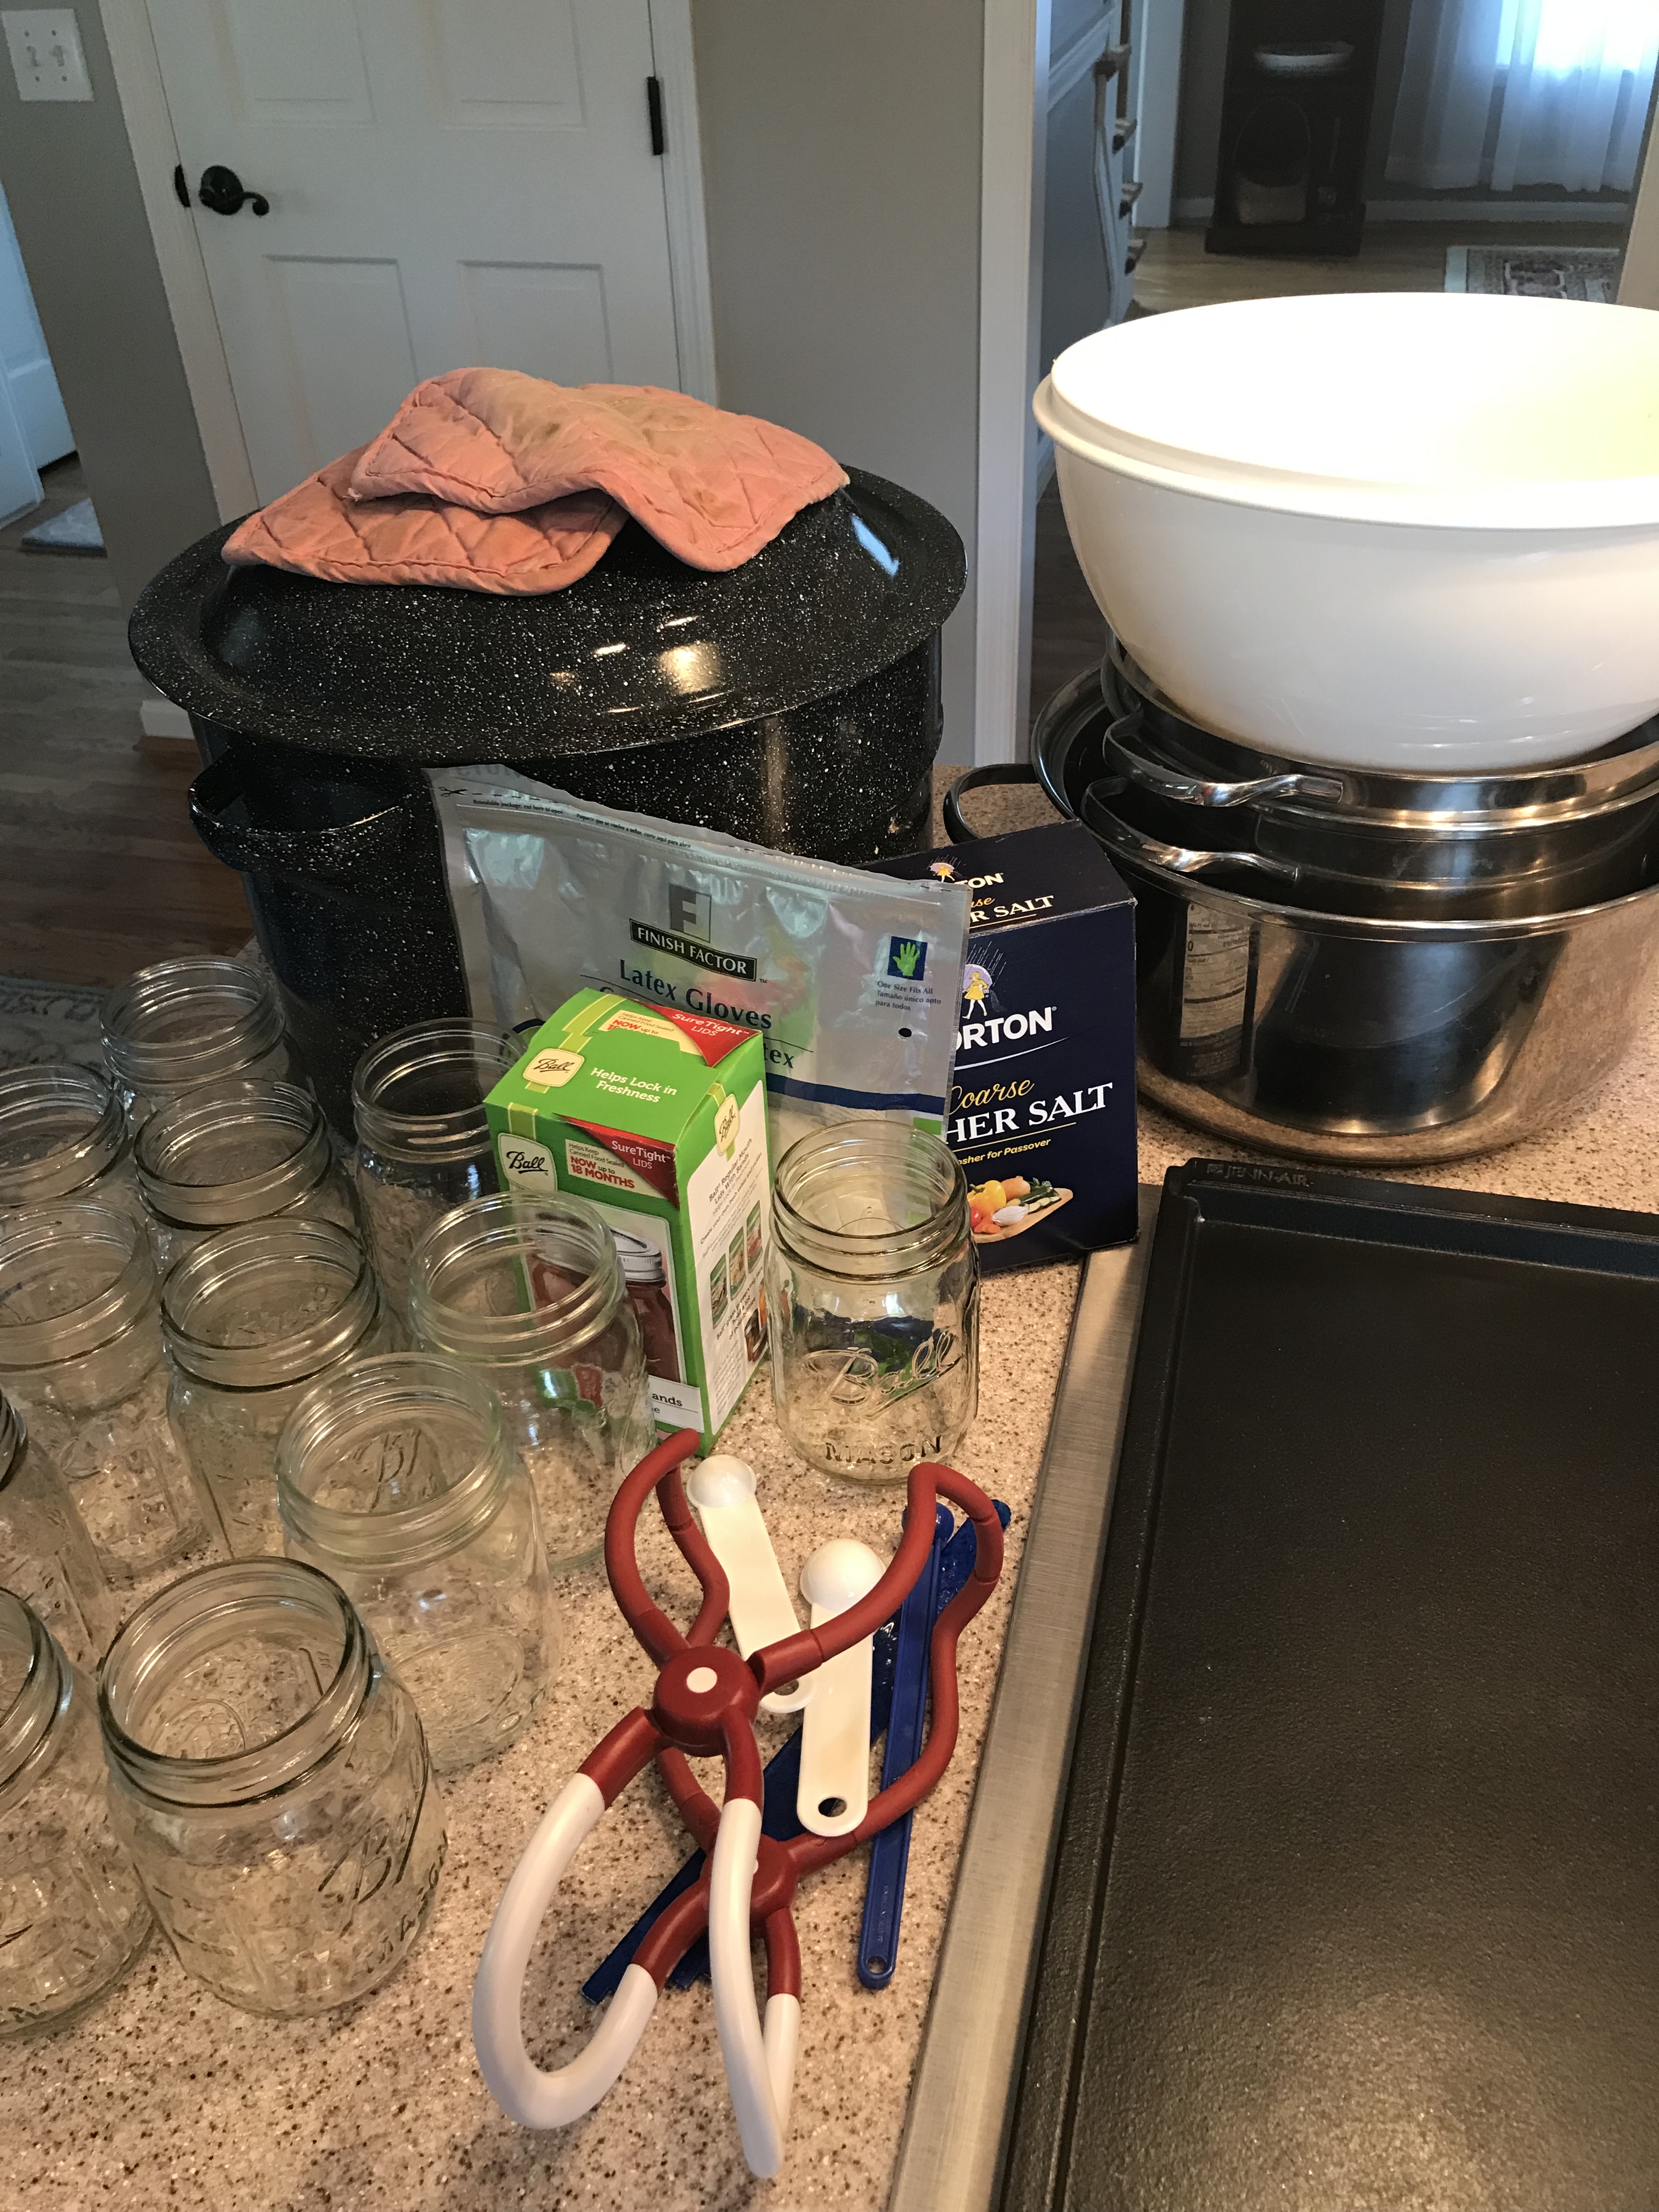
Here’s the list of equipment you will need in addition to the tomatoes:
- Large hot bath canner – I got this one at a hardware store. They are pretty reasonable to buy ( I think this one was $20 but that was years ago). I would just suggest making sure it comes with a rack for your jars in the bottom.
- Get your favorite paring knife and make sure it’s sharp. Anything you are comfortable peeling with is just fine
- I use some latex gloves for the peeling process – totally optional
- Canning jars and lids- I like a mix of pint and quart jars, but create the jars that are in the size you will use the most. I use lots of pints for us at home, but I use quarts for large batches of chili and vegetable soup. Just check out the canning section at your local grocery or hardware store and pick the size you think will use in recipes the most. I like large moth jars because they are easier to load, but totally user preference on that.
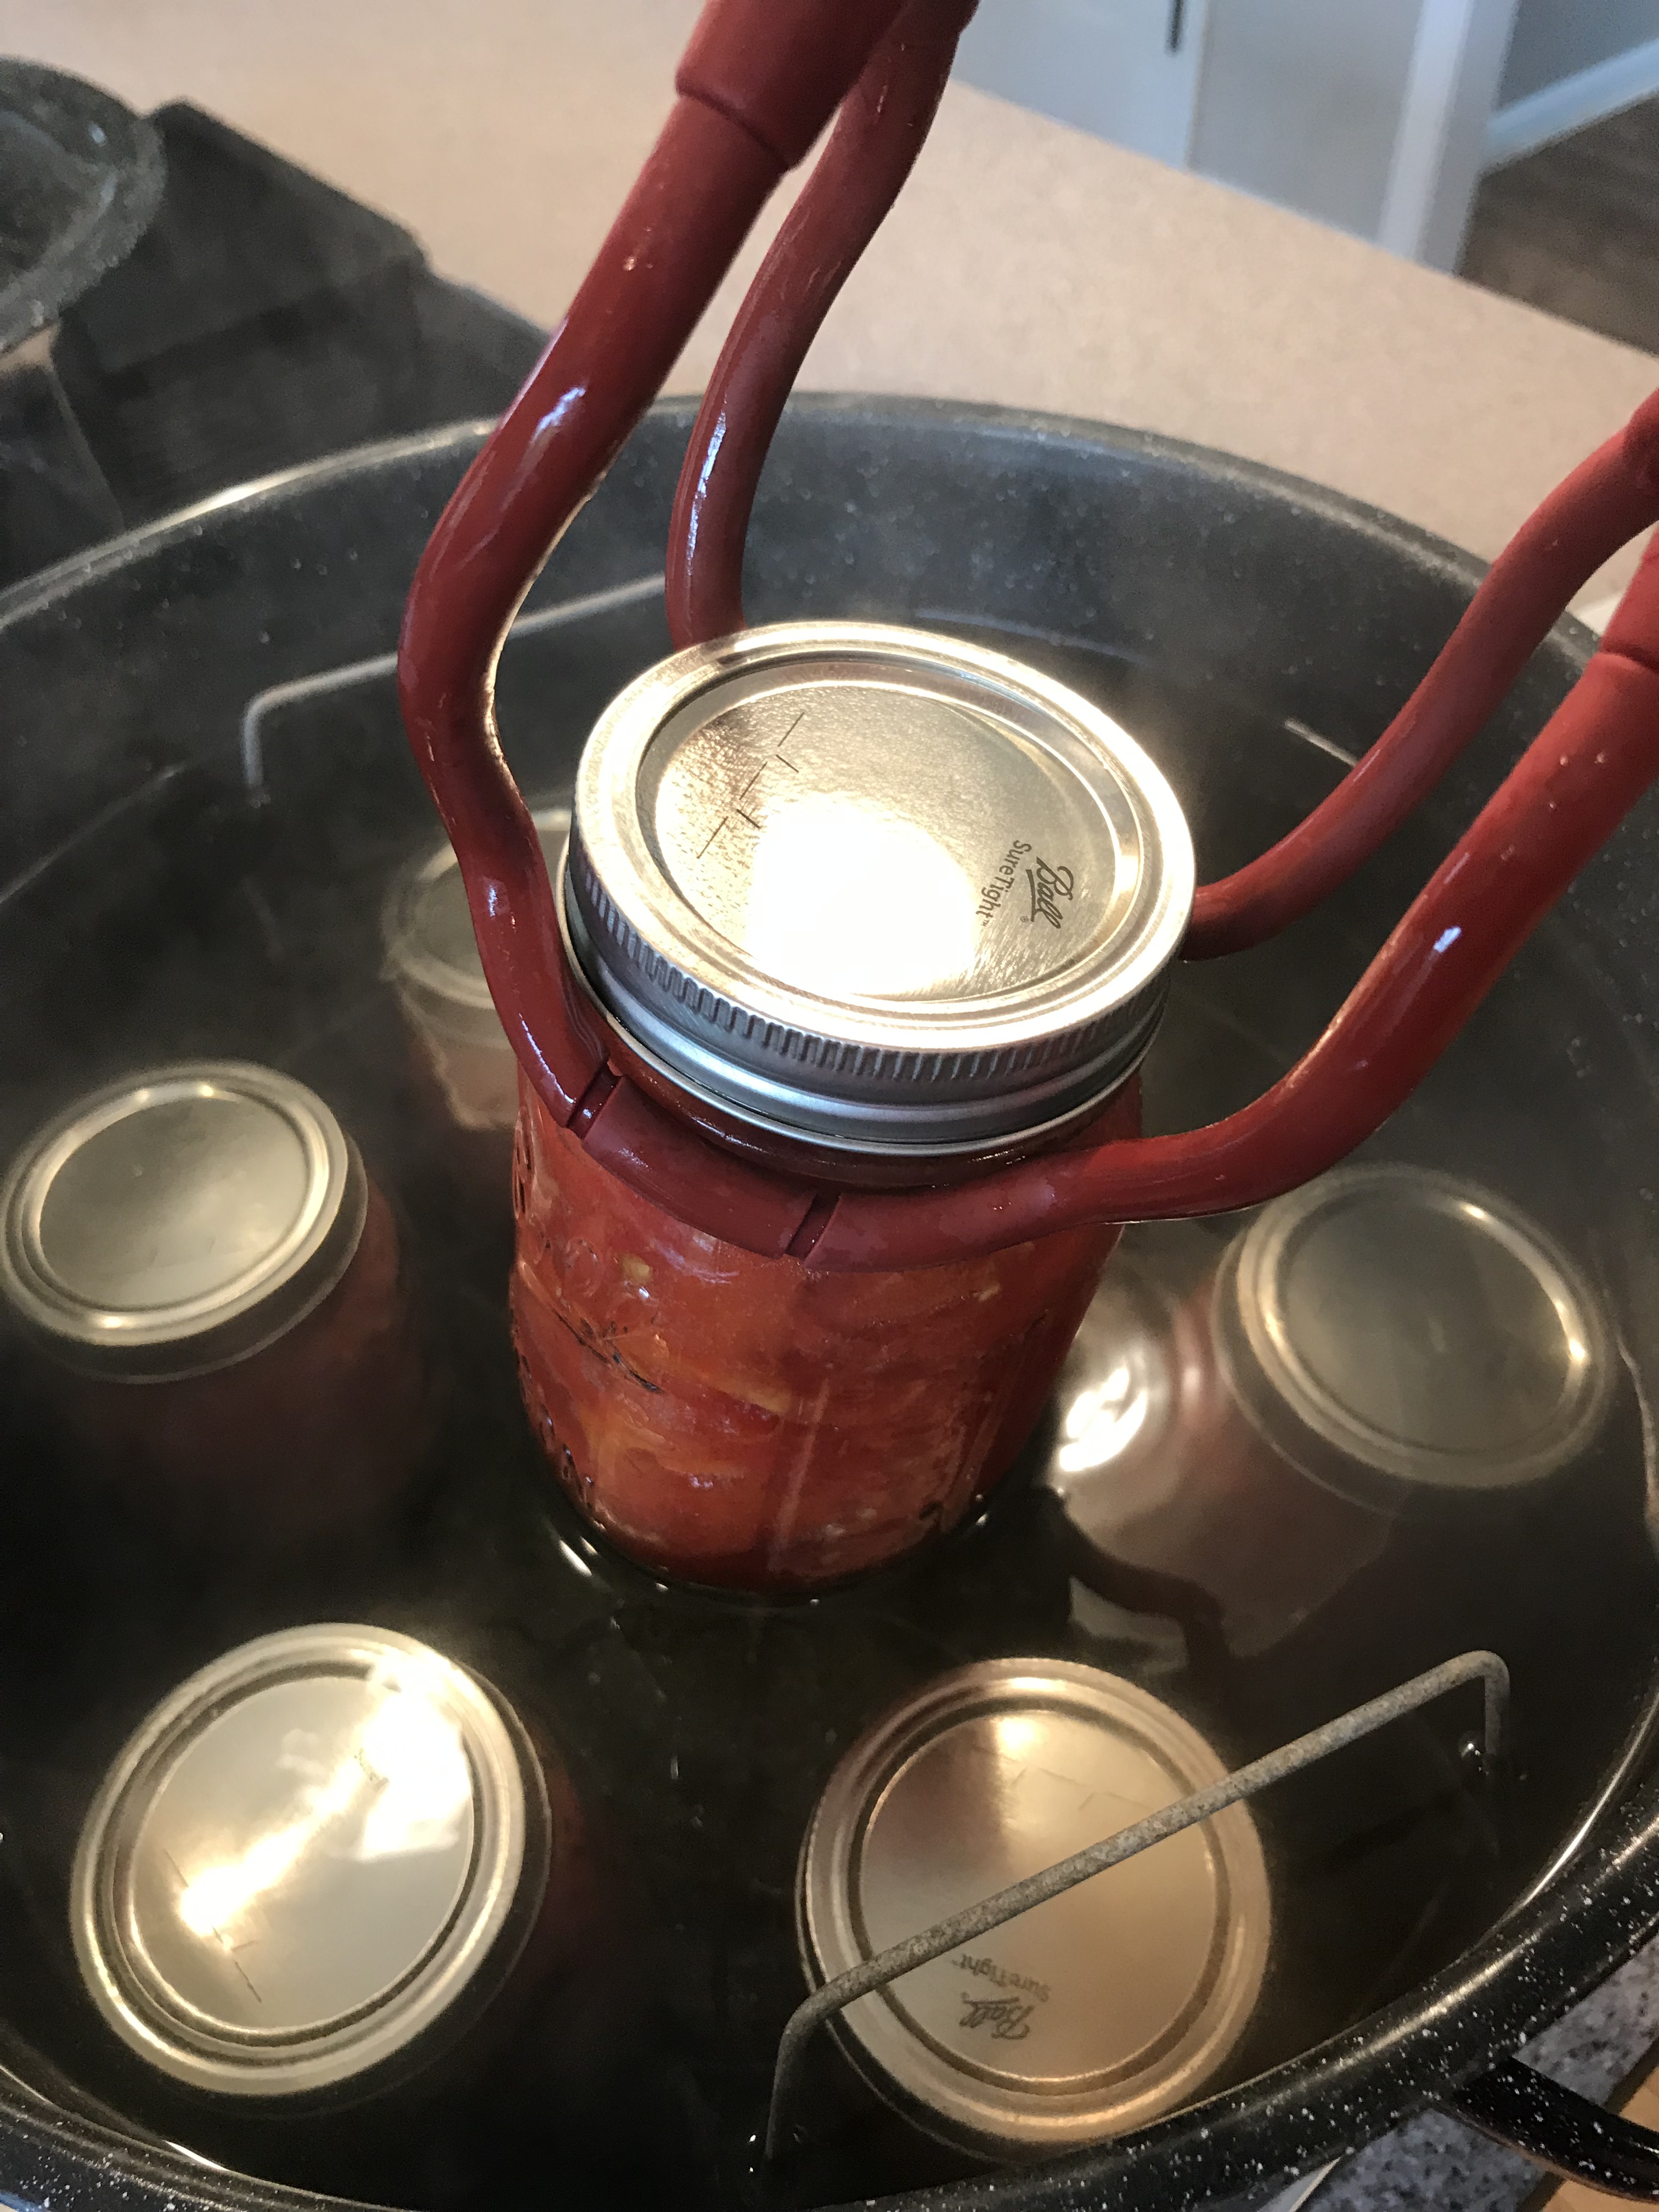
- Canning tools – a jar lifter is really essential and you can usually get those where you buy jars or on line. It’s a rubber coated clamp that helps get the jars in and out of the hot bath. (that’s the red and while thing in the picture above). Other helpful tools are a magnet to remove the lids from hot water (that’s the blue stick in the picture), a silicone spatula to get the jars packed, old towels and pot holder because this gets messy and tomatoes stain stuff, large stock pots to heat the tomatoes in, a large colander, a funnel, and measuring spoons are needed as well. A large slotted spoon or a spider will be helpful too. There is a kit you can buy with a lot of canning tools in it. Check where you buy your jars or online.
- Bowls – I peel the tomatoes into a large bowl on the counter just because it’s more comfortable. You can peel them onto a cookie sheet or anything else that works for you.
- Salt – I use Kosher salt but regular table salt works fine.
- Ice – I just buy a small bag, but whatever you have around is probably fine. You just need enough to cool off the tomatoes so that you can to peel them.
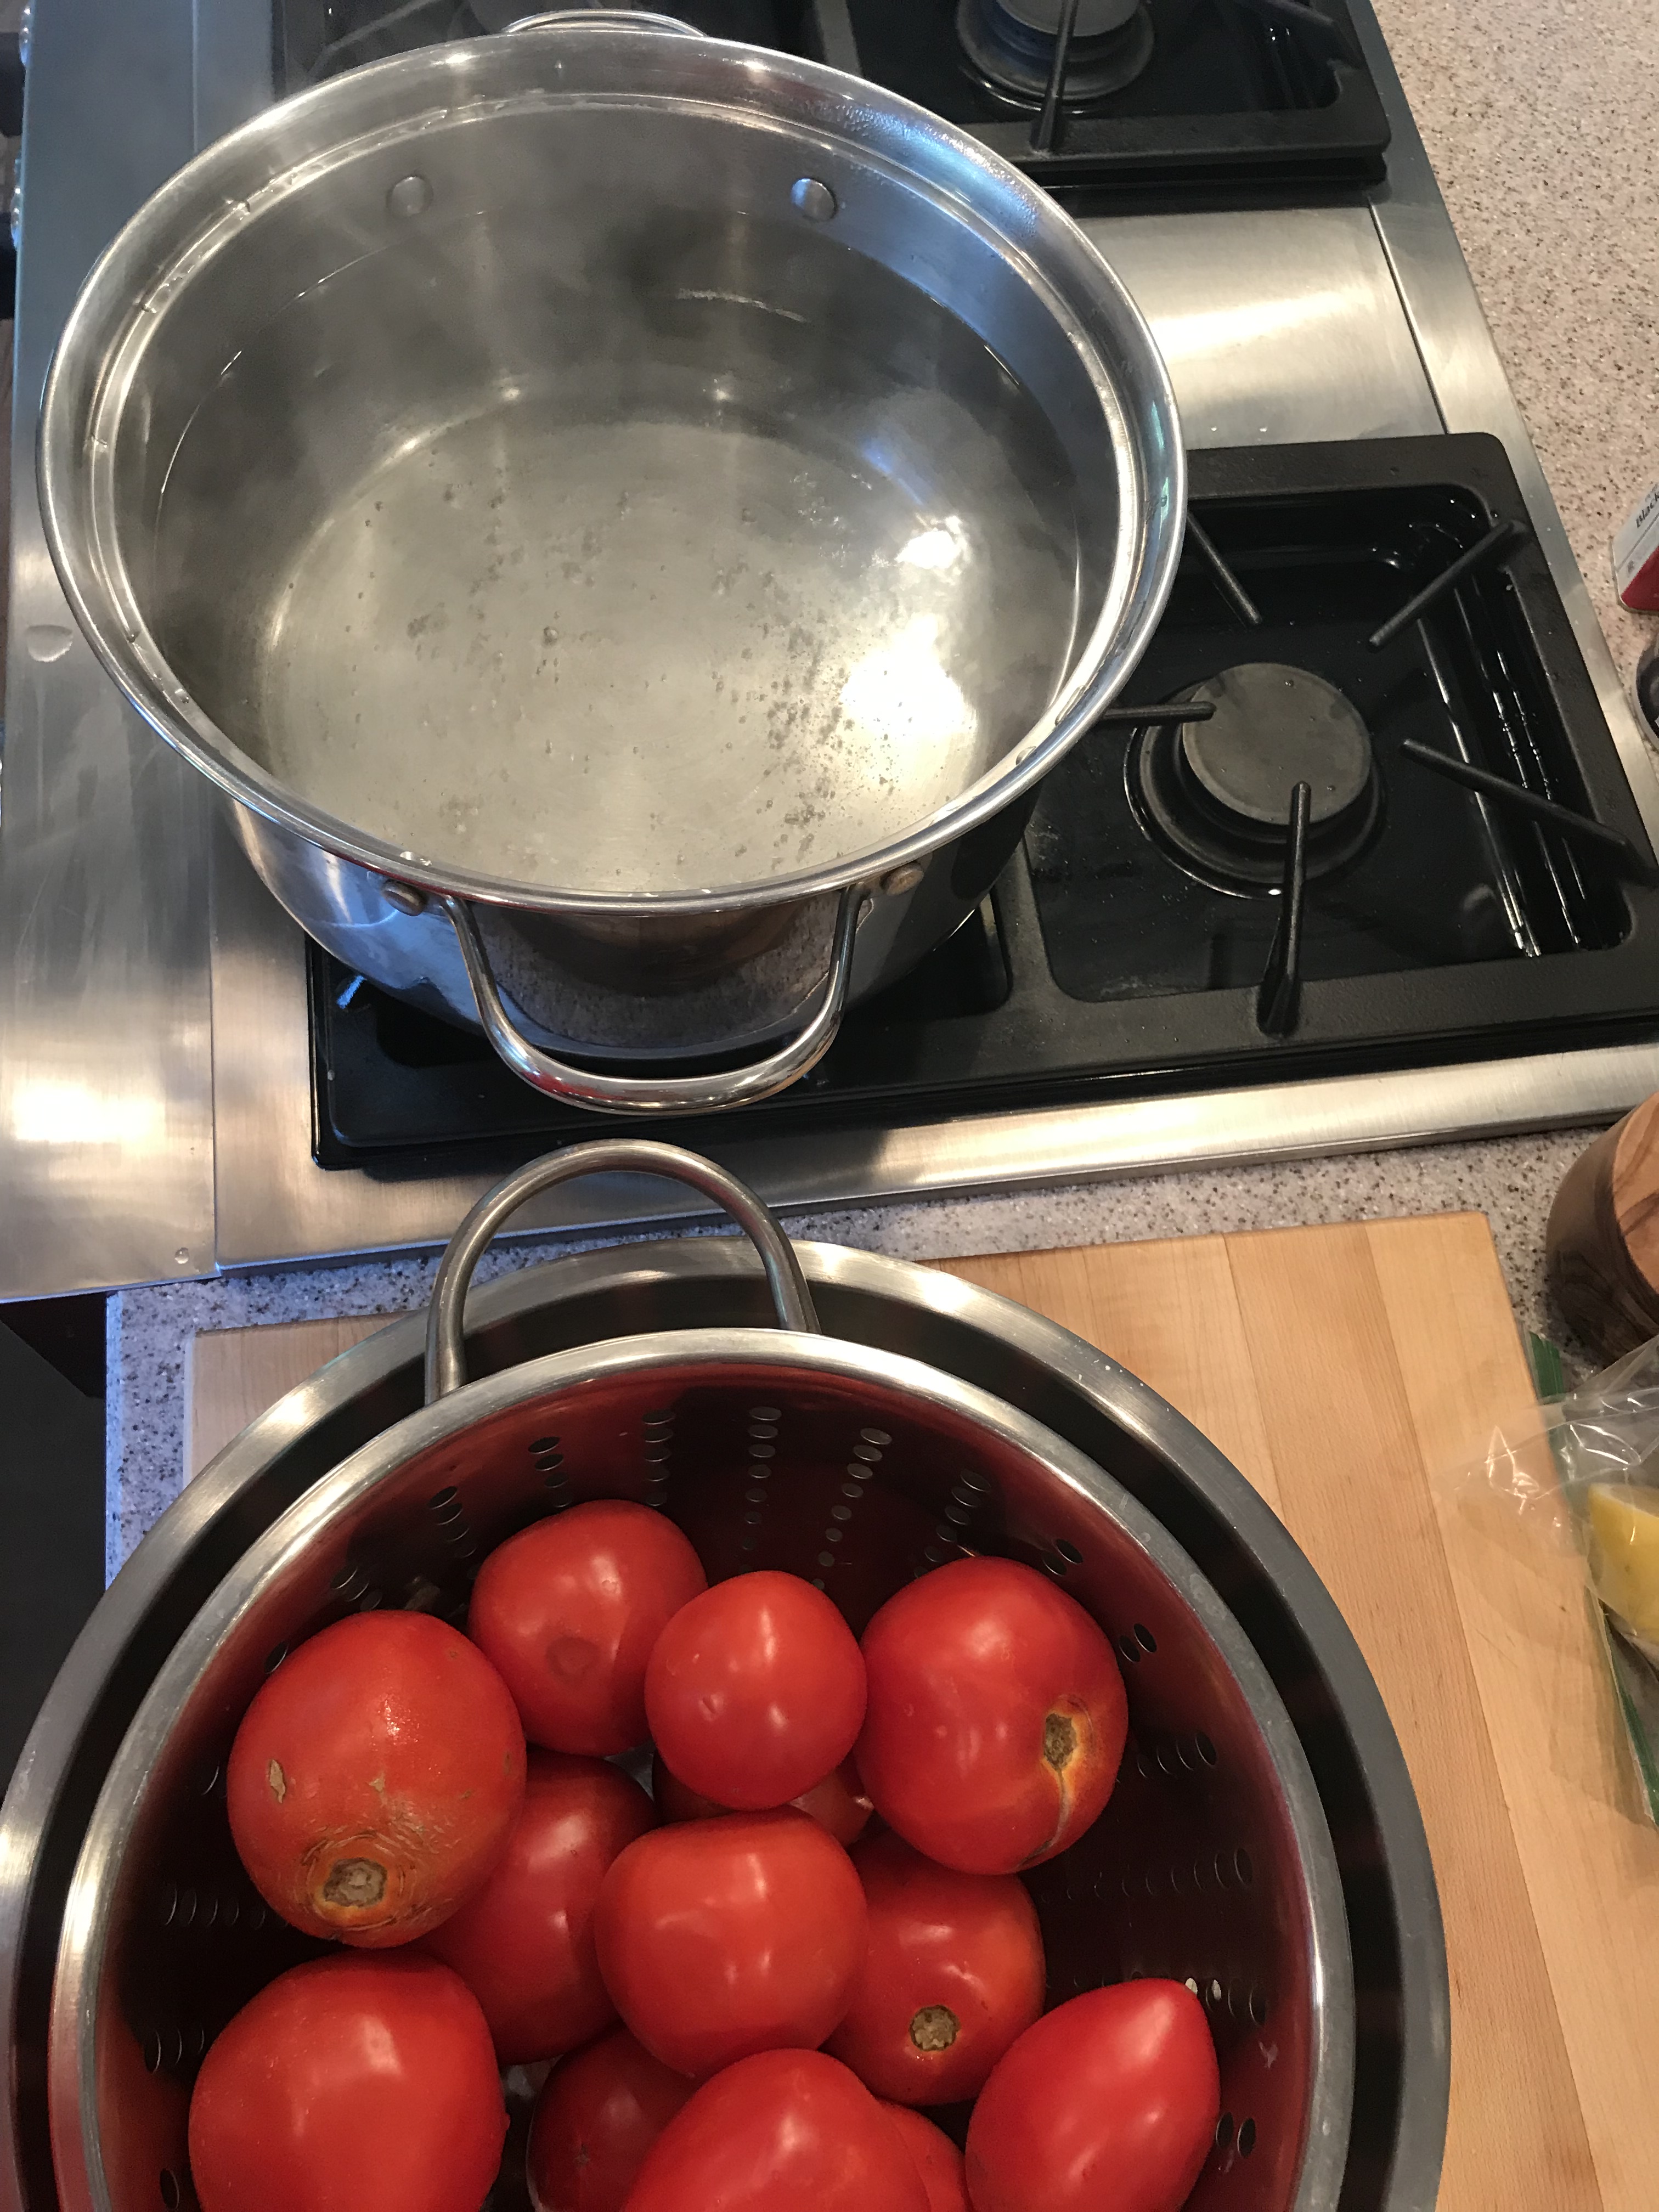
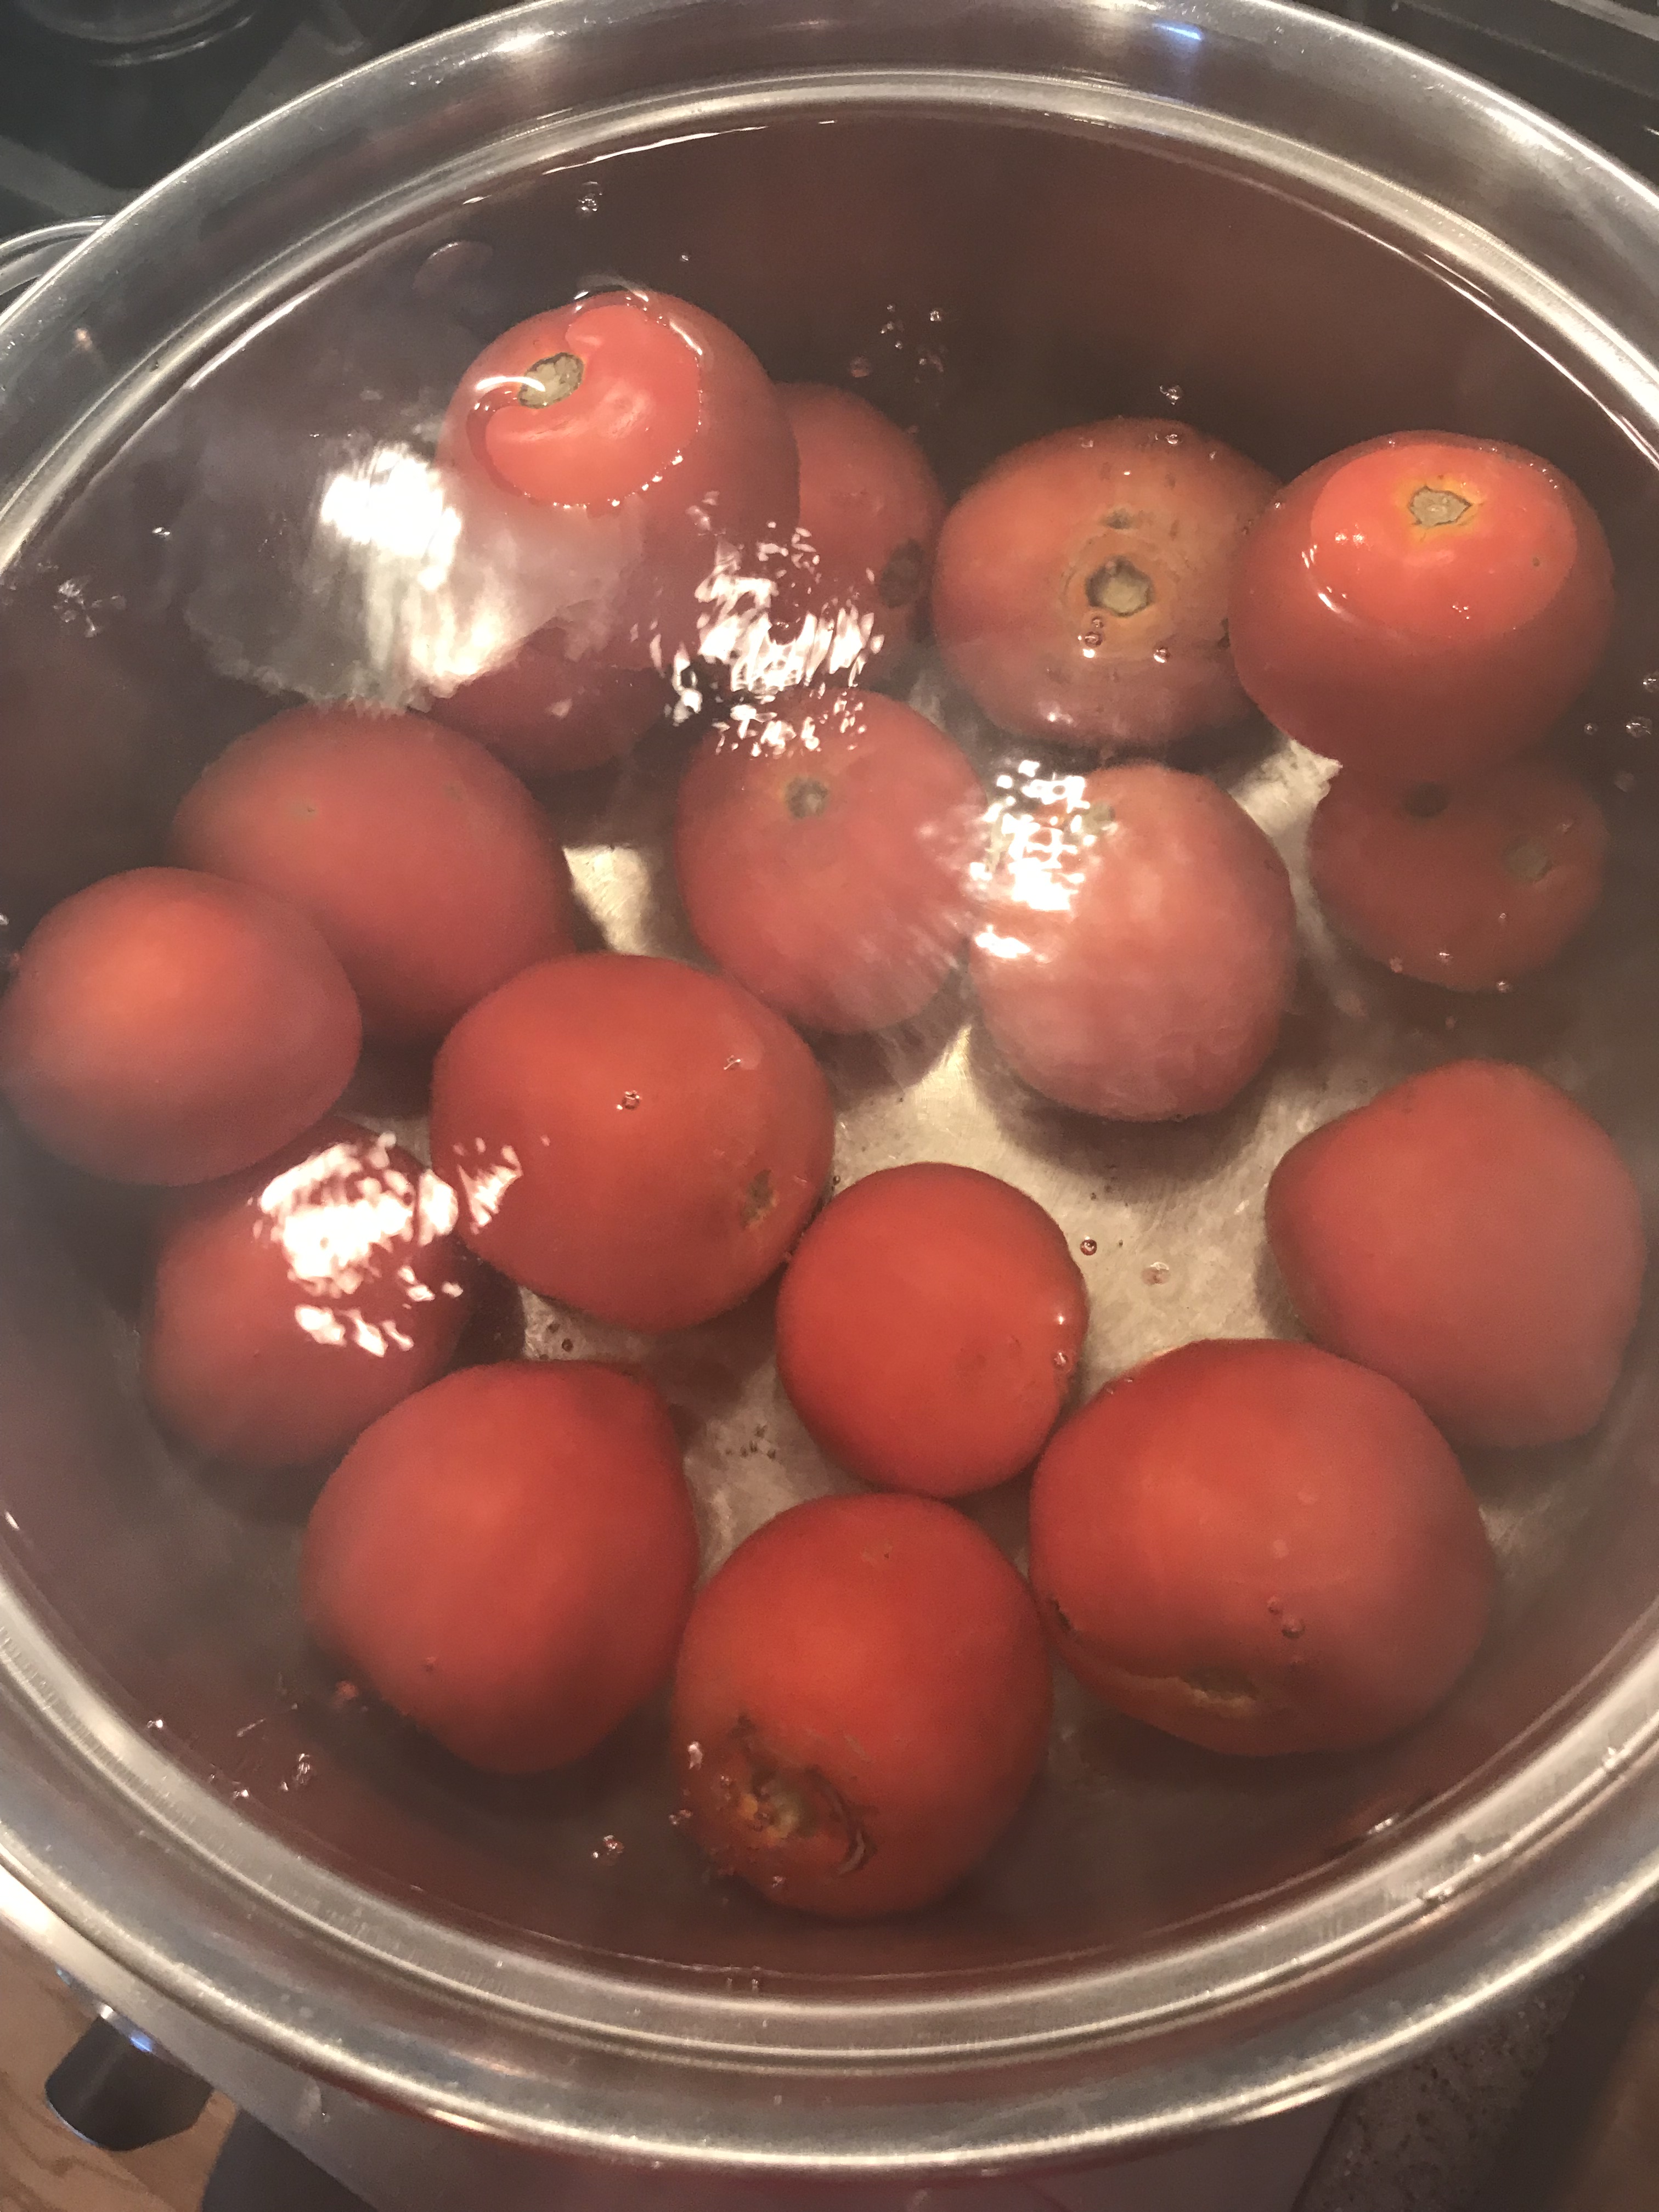
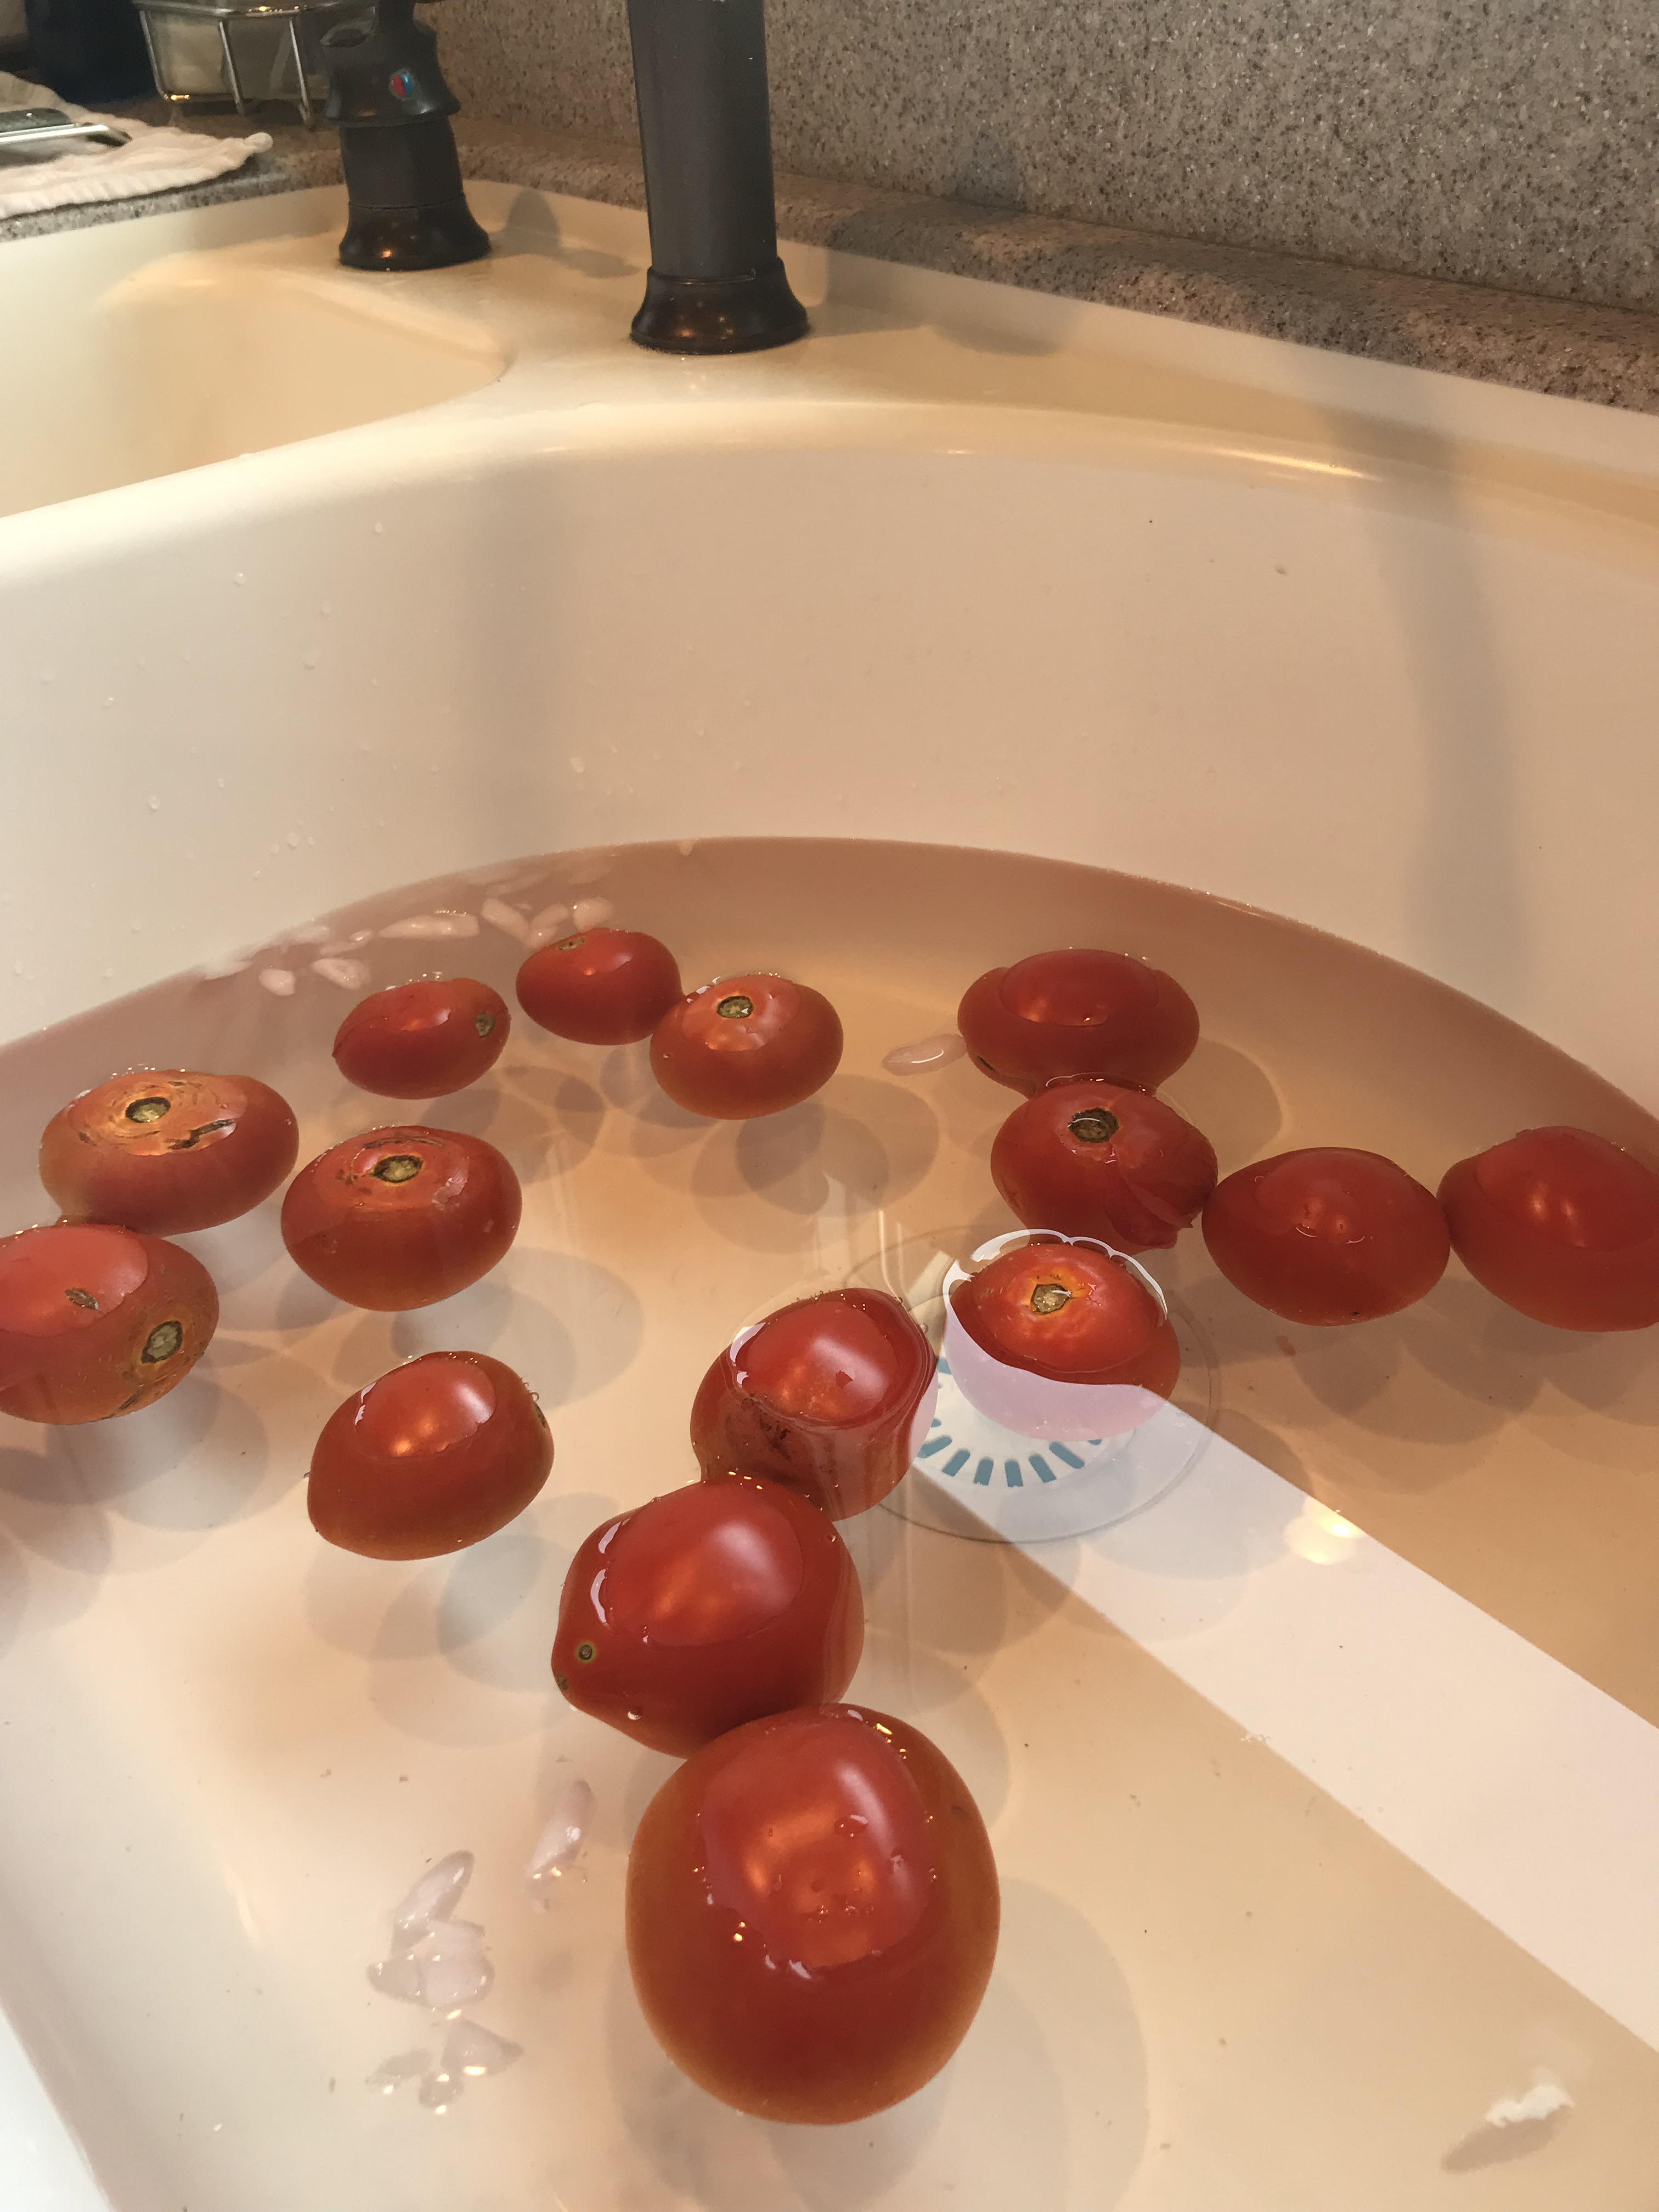
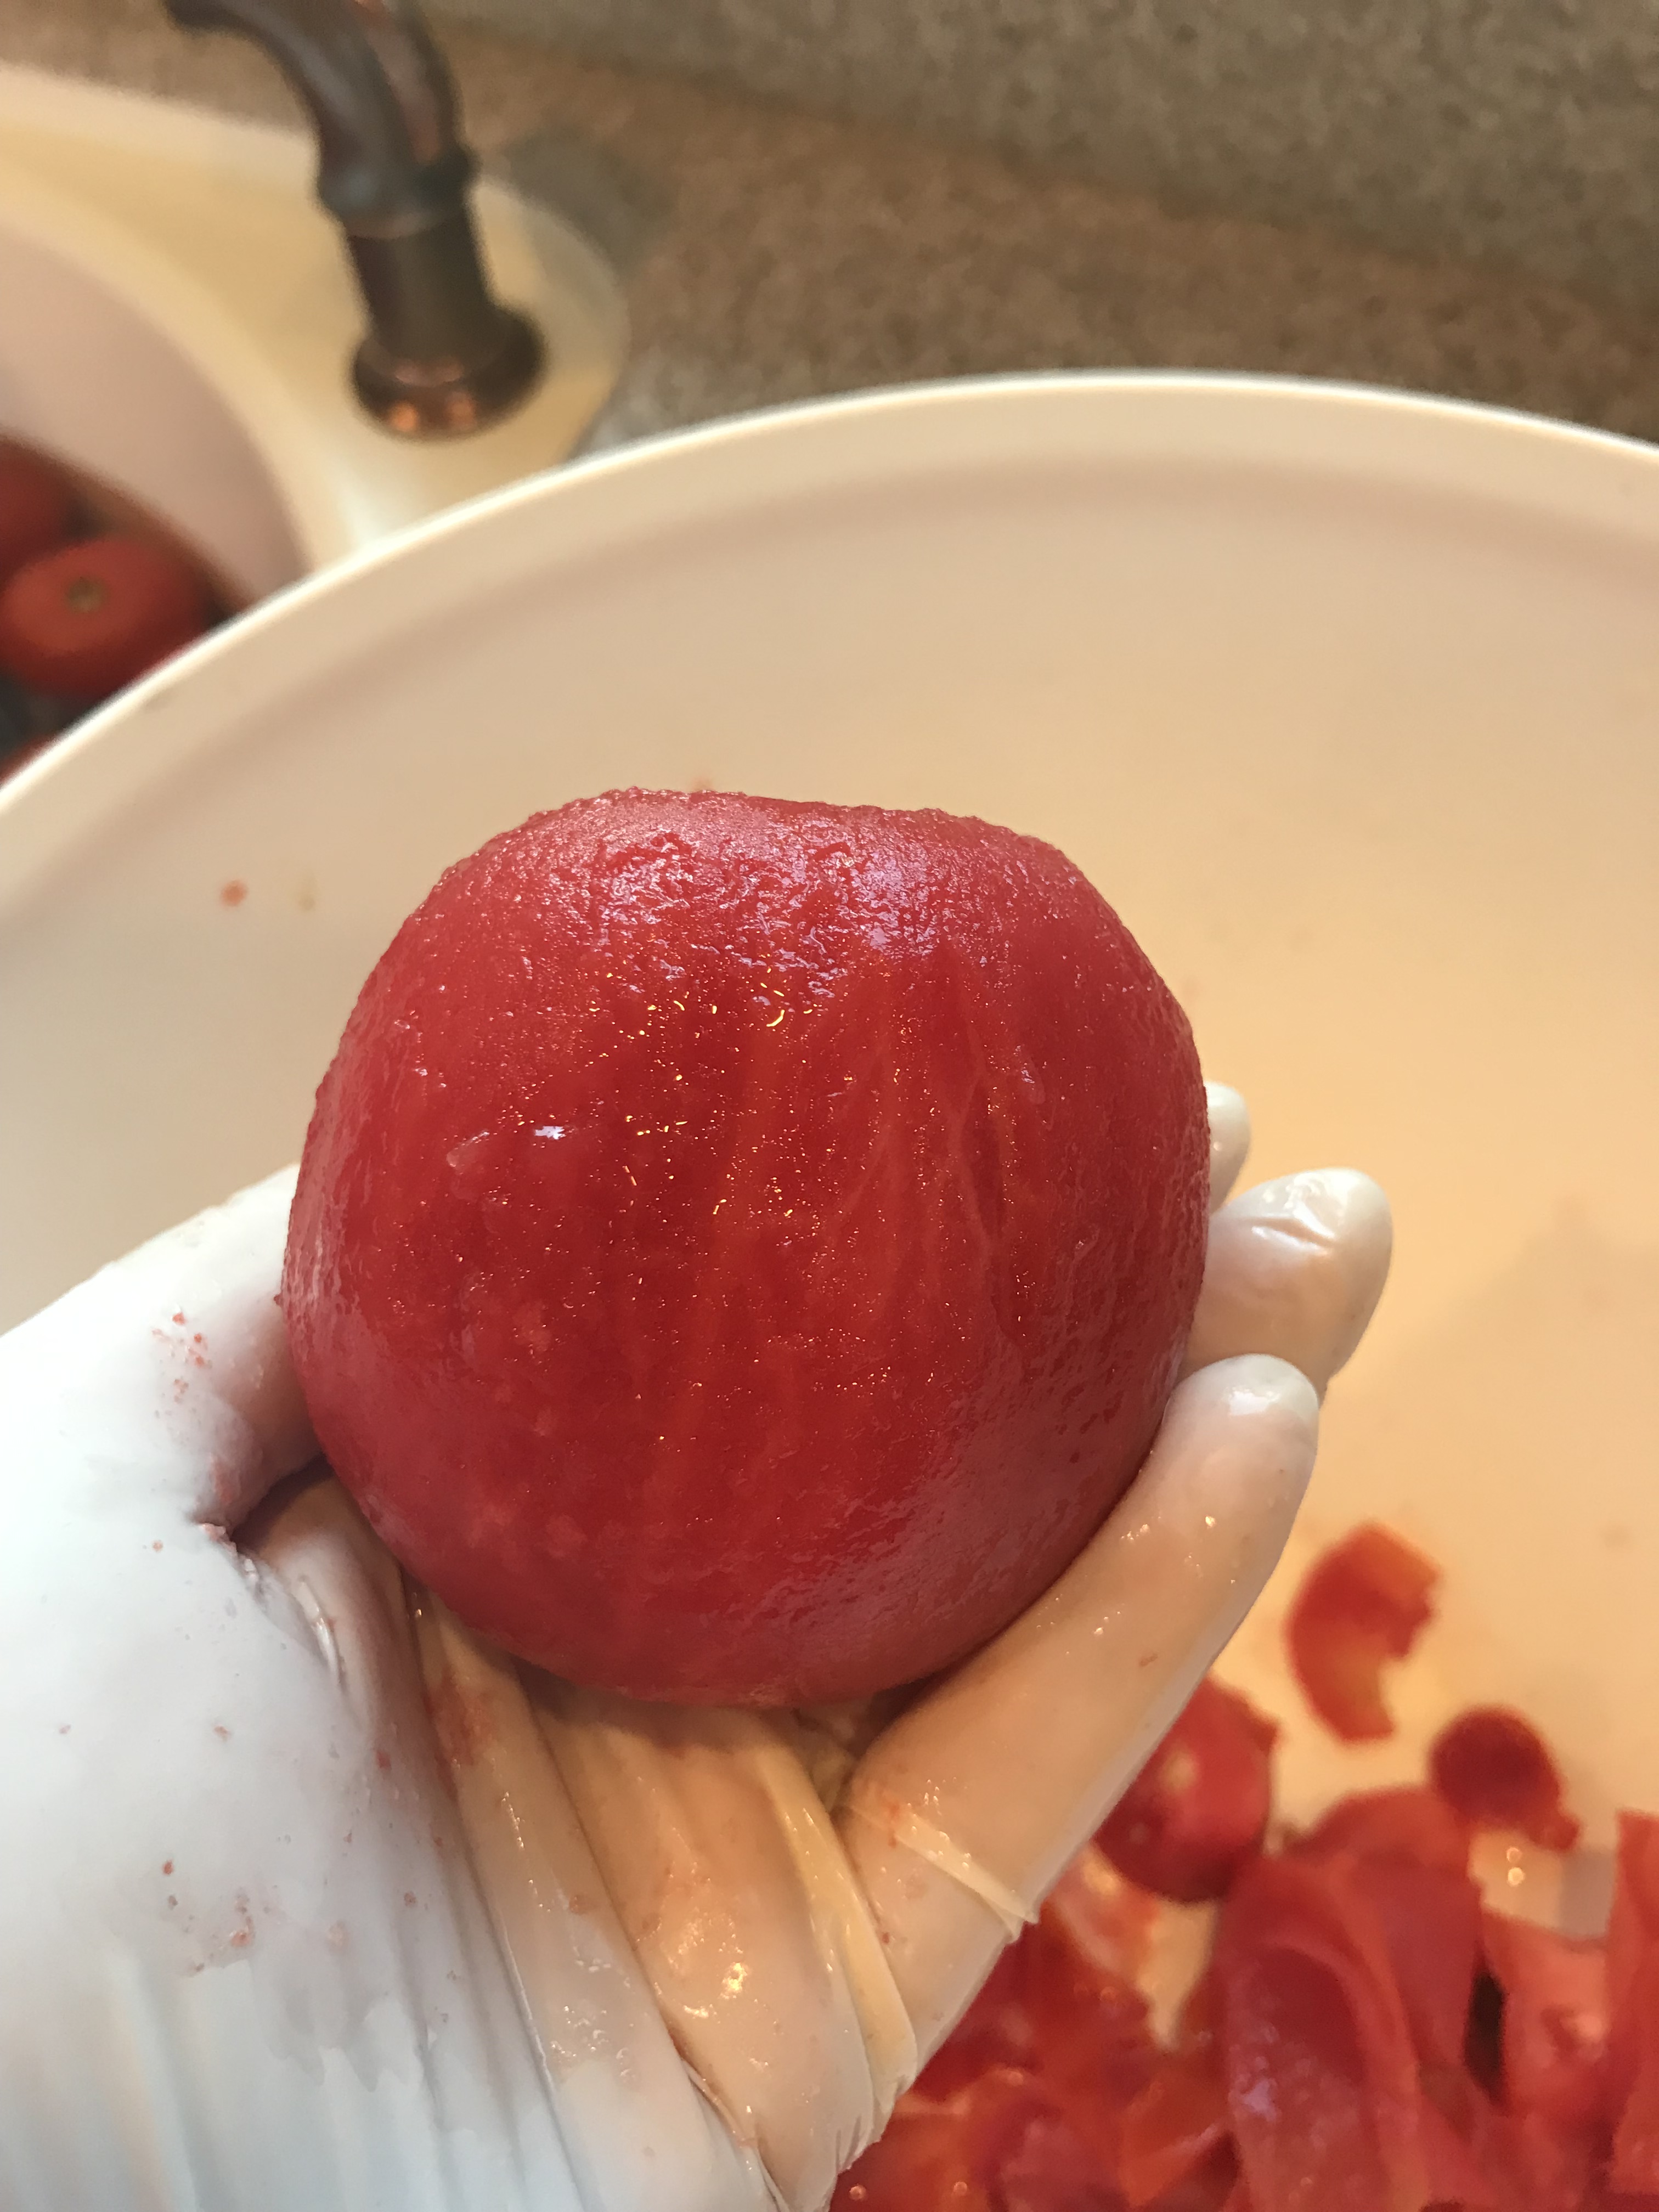
After you give these guys a quick bath, start filling up your sink again with very cold water and ice. Bring a large stockpot of water about 3/4 of the way full to a simmer. Add the tomatoes a few a at time. Let them simmer for about a minute, depending on how big the tomatoes are. The idea is just to heat up the skins so that they will slide off easily. Remove them from the hot water to a colander in a bowl so you don’t get water everywhere. Get them into the ice bath in the sink. Repeat this process until all of the tomatoes have been through the hot water and are chillin’ in the sink.
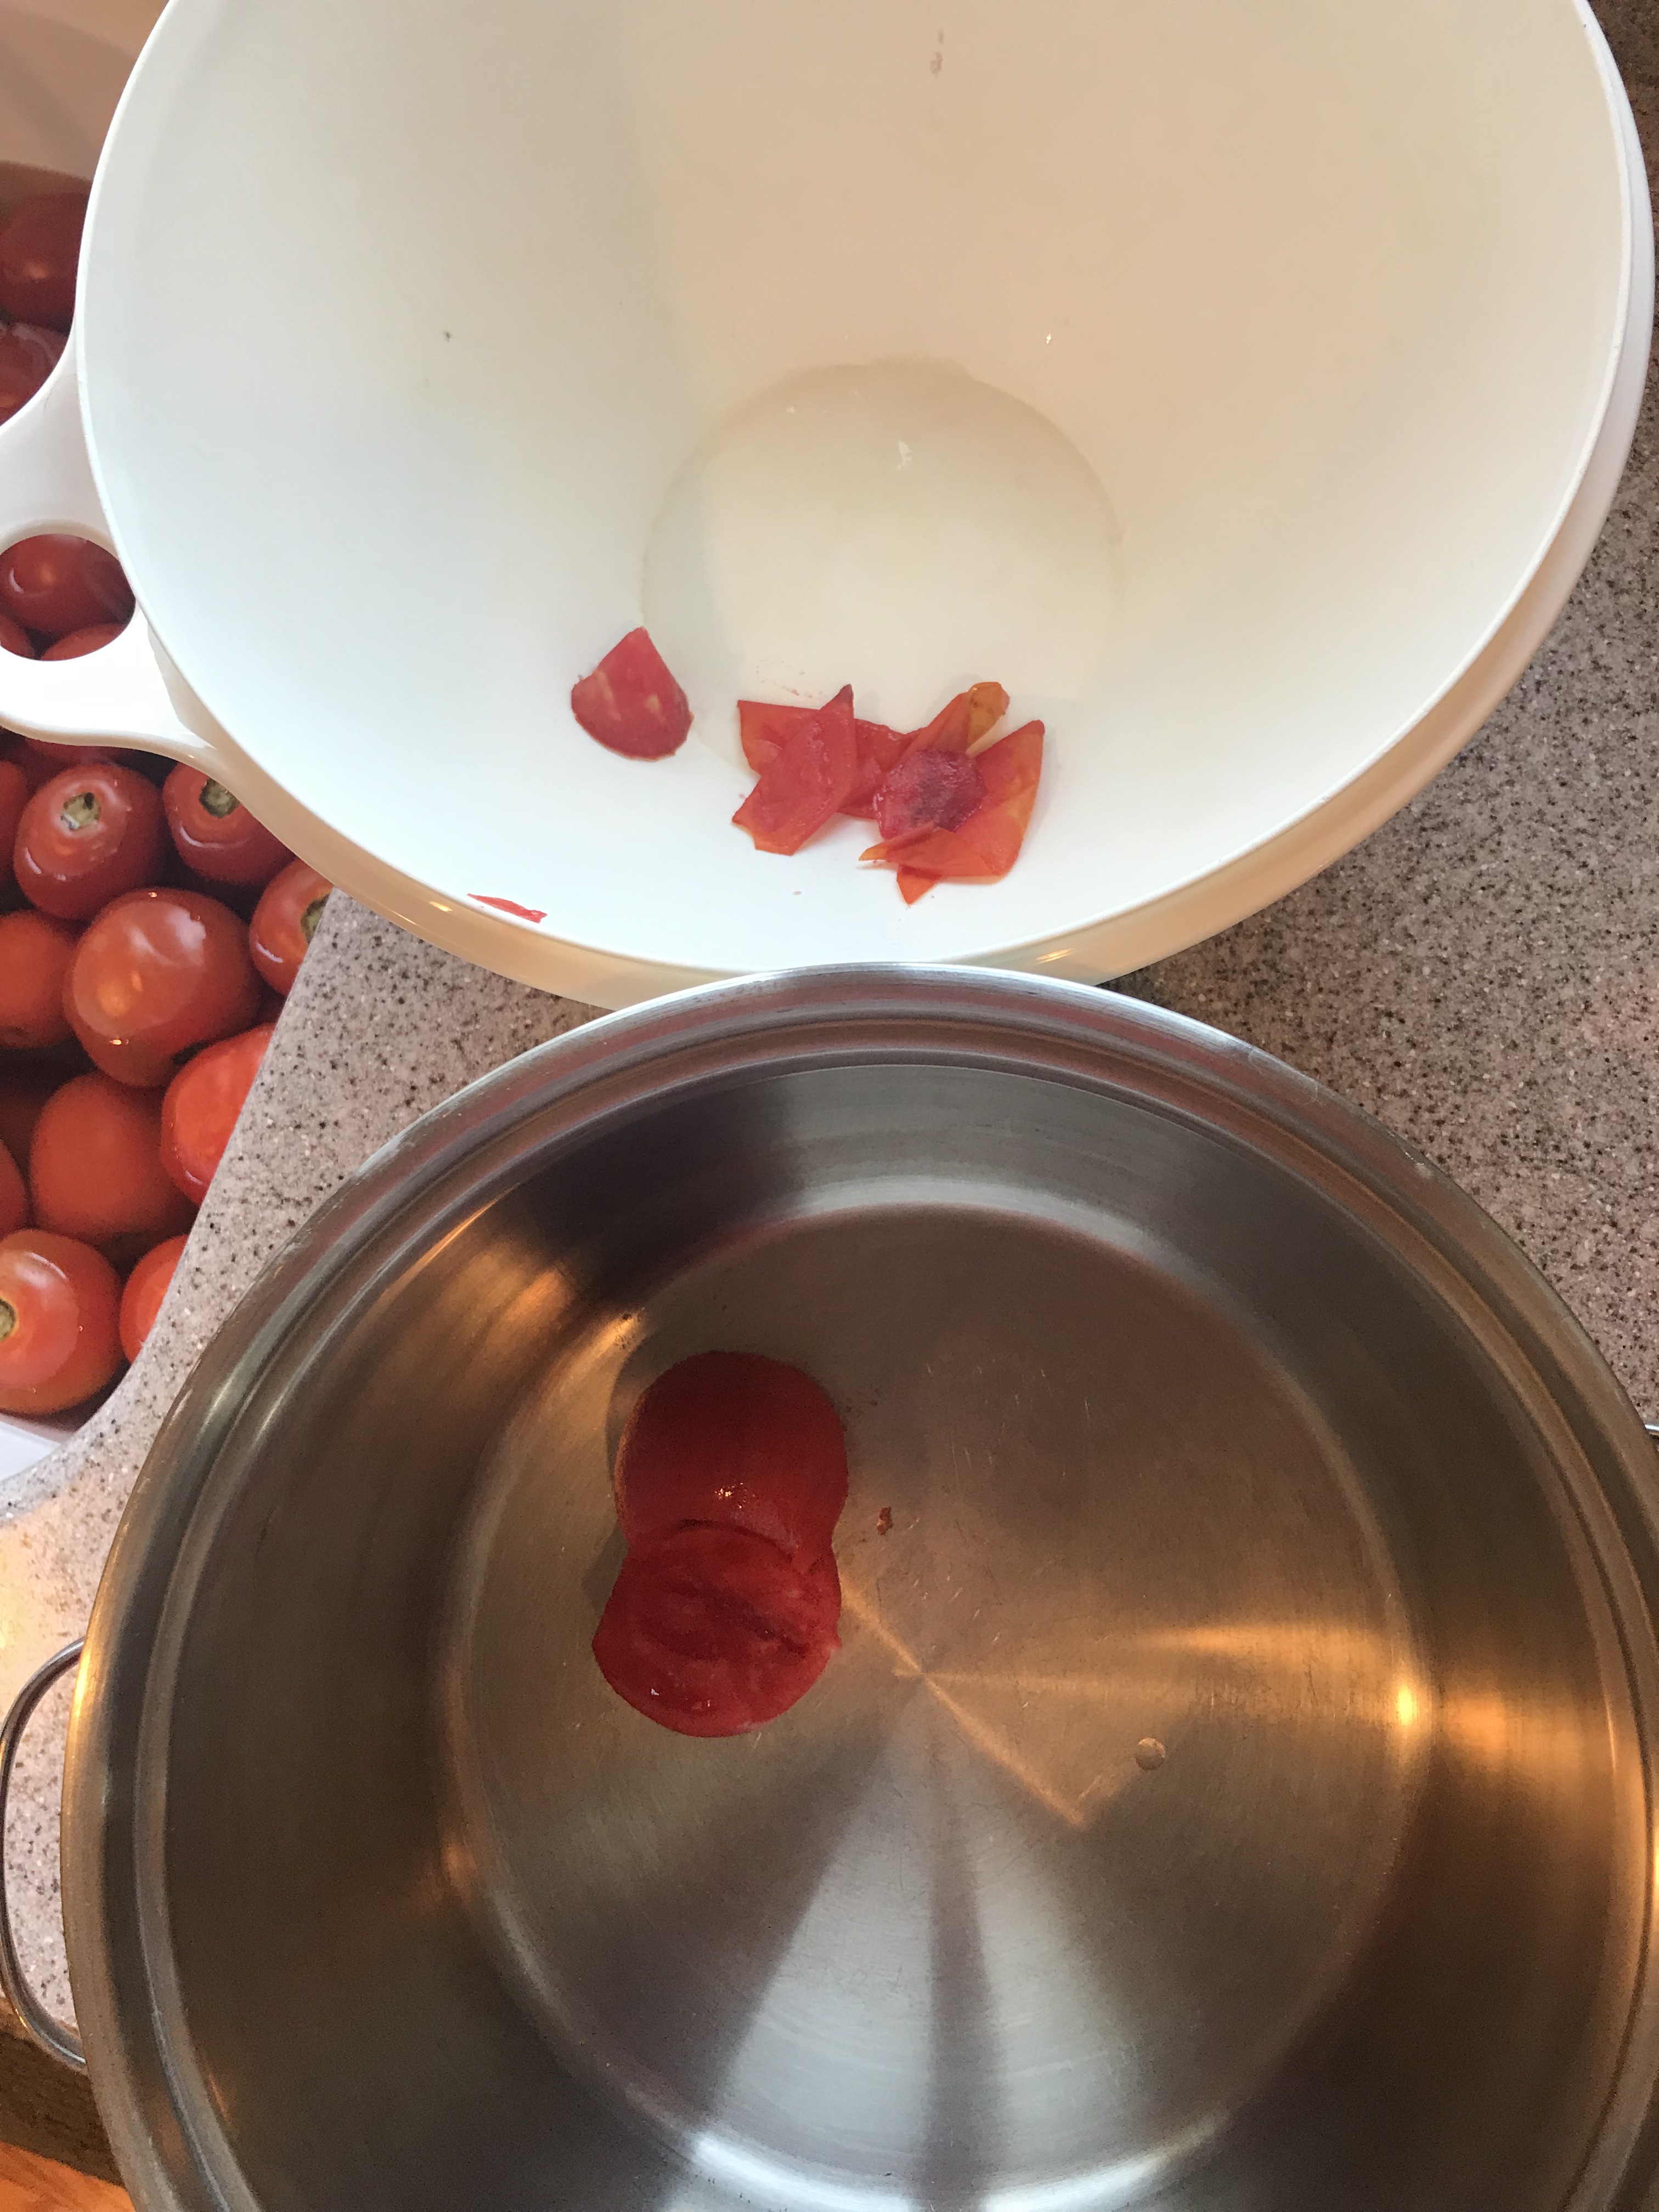
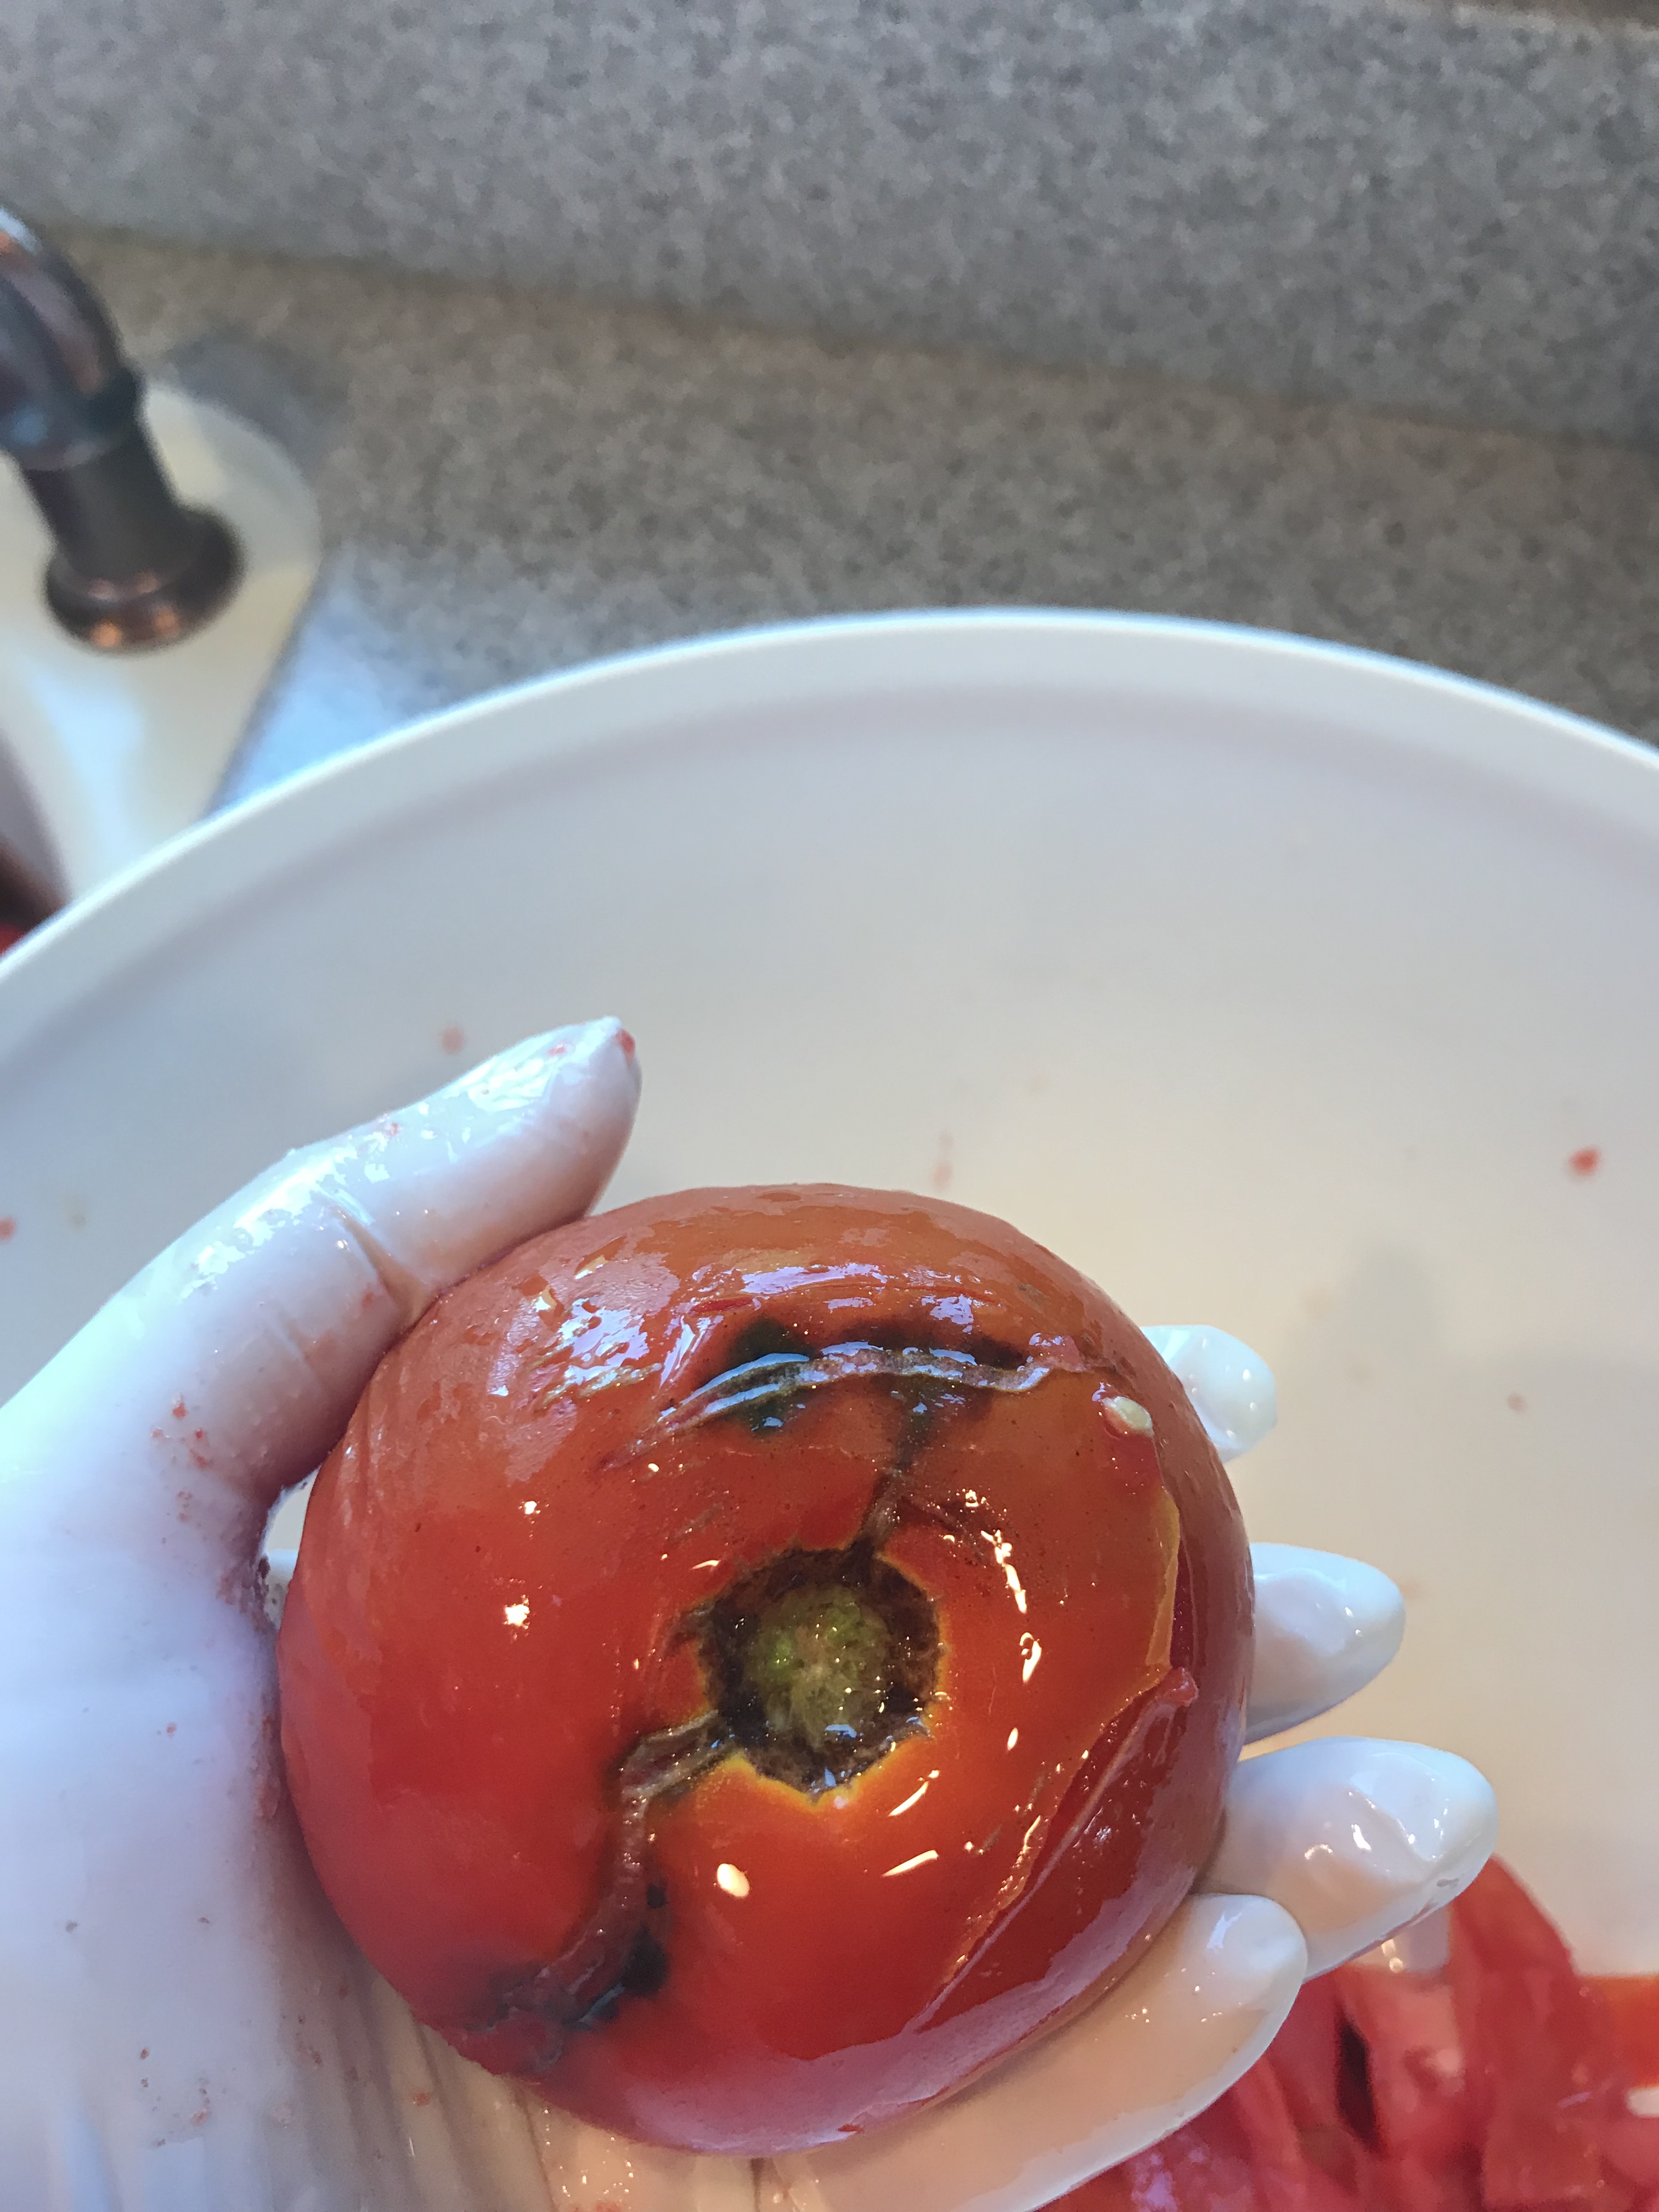
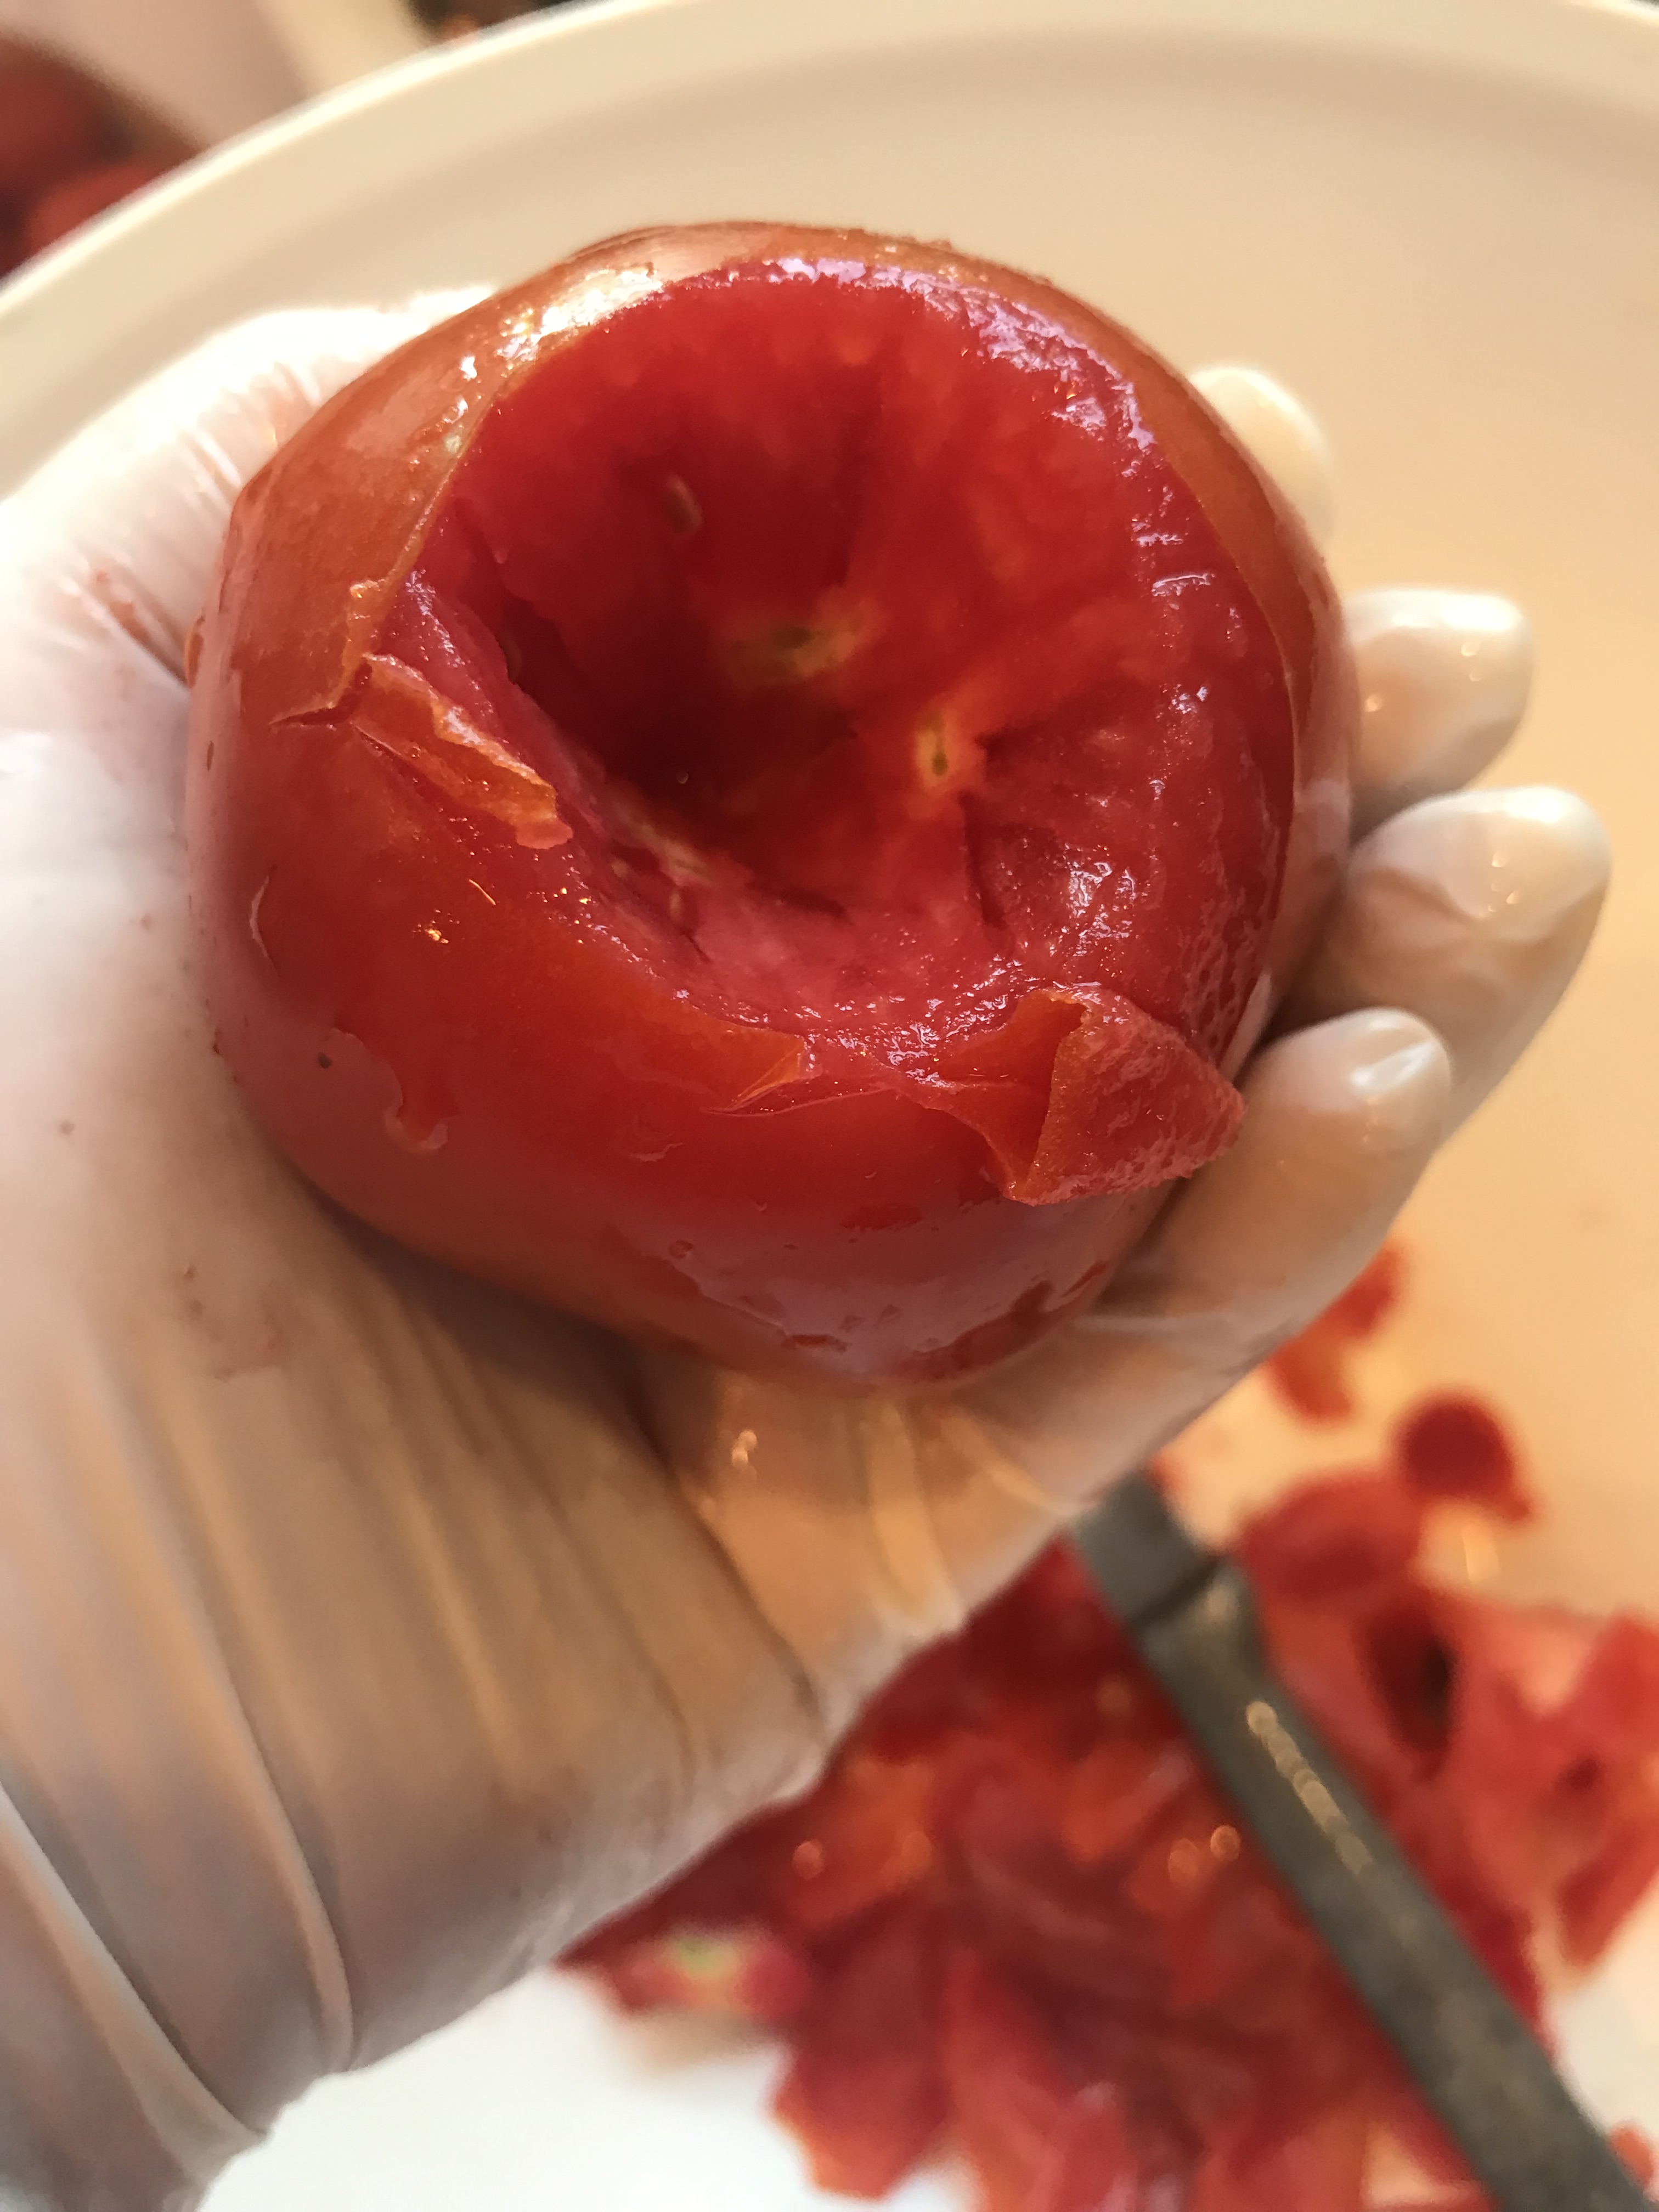

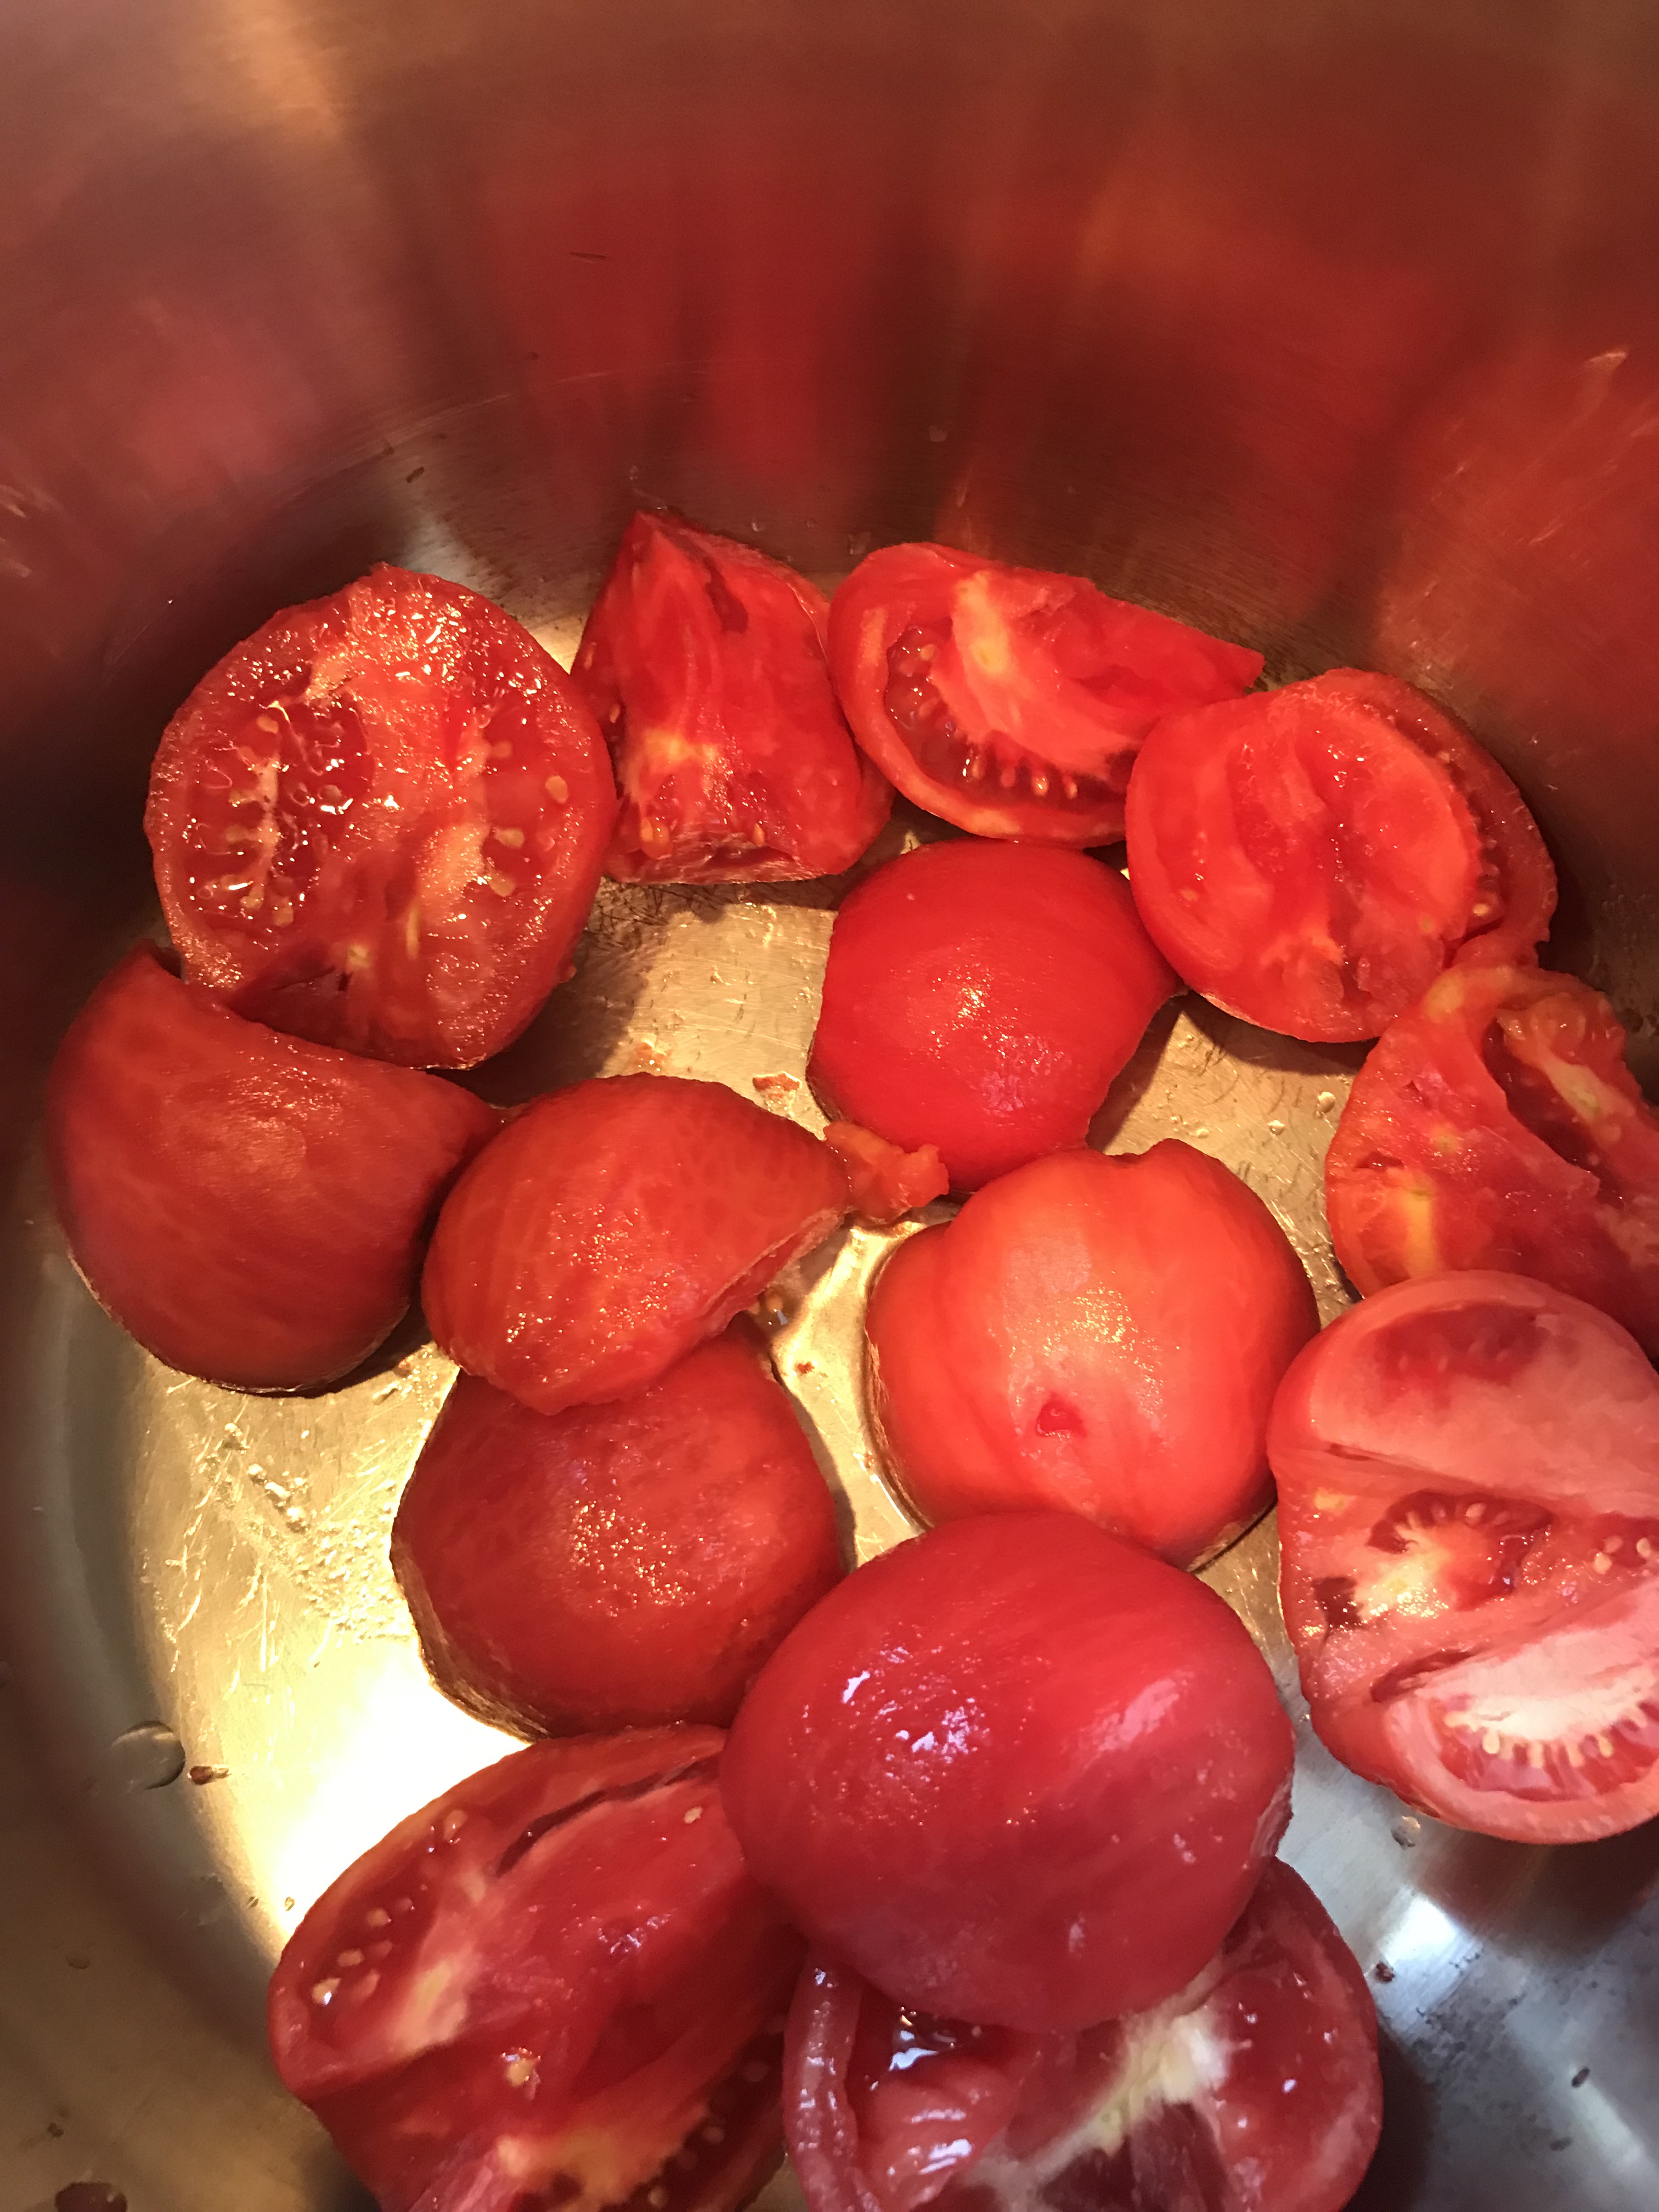
Time to cut these babies up! I set up a bowl for my peels, then a large stock pot to collect them and cook them in. I start with the core, move to the skins and then cut them up. Remove any bad spots and any hard cores that you see. As for how small to cut them, that’s up to you. I like to leave them as large as possible, so I either cut them in half or quarter larger tomatoes. Some smaller ones I even leave whole. Again, what you plan to use them for should guide how you process things.
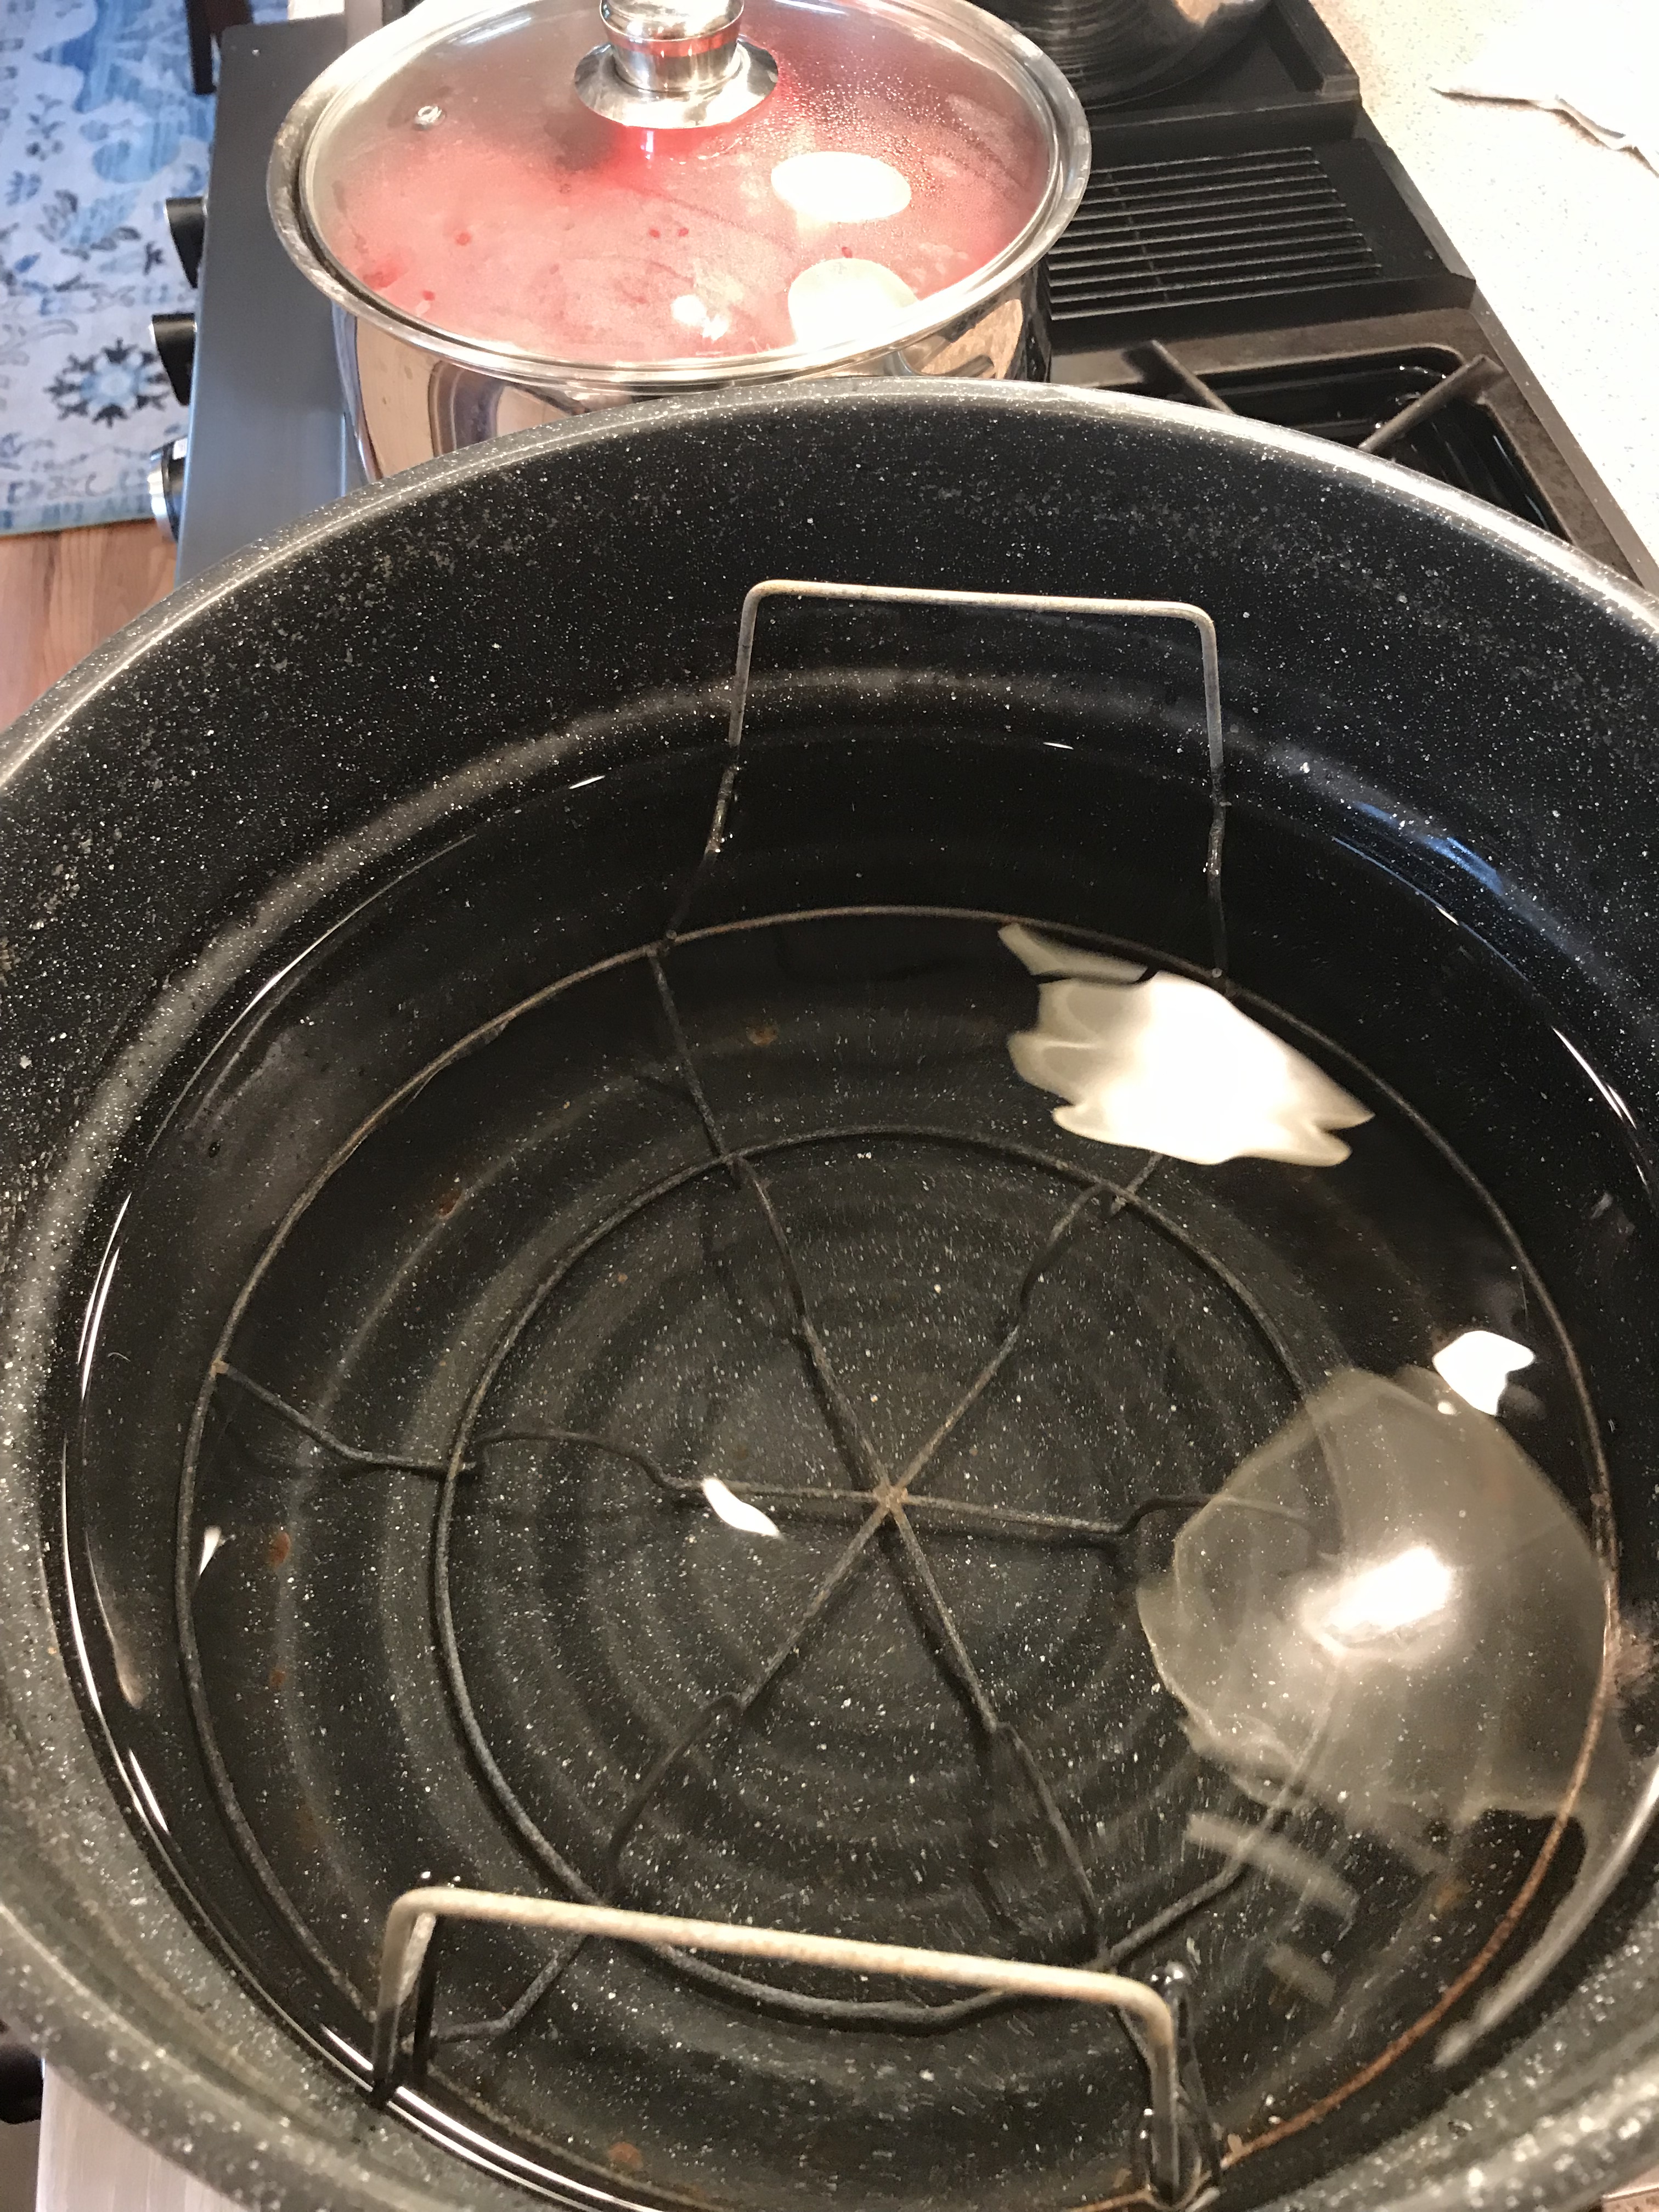
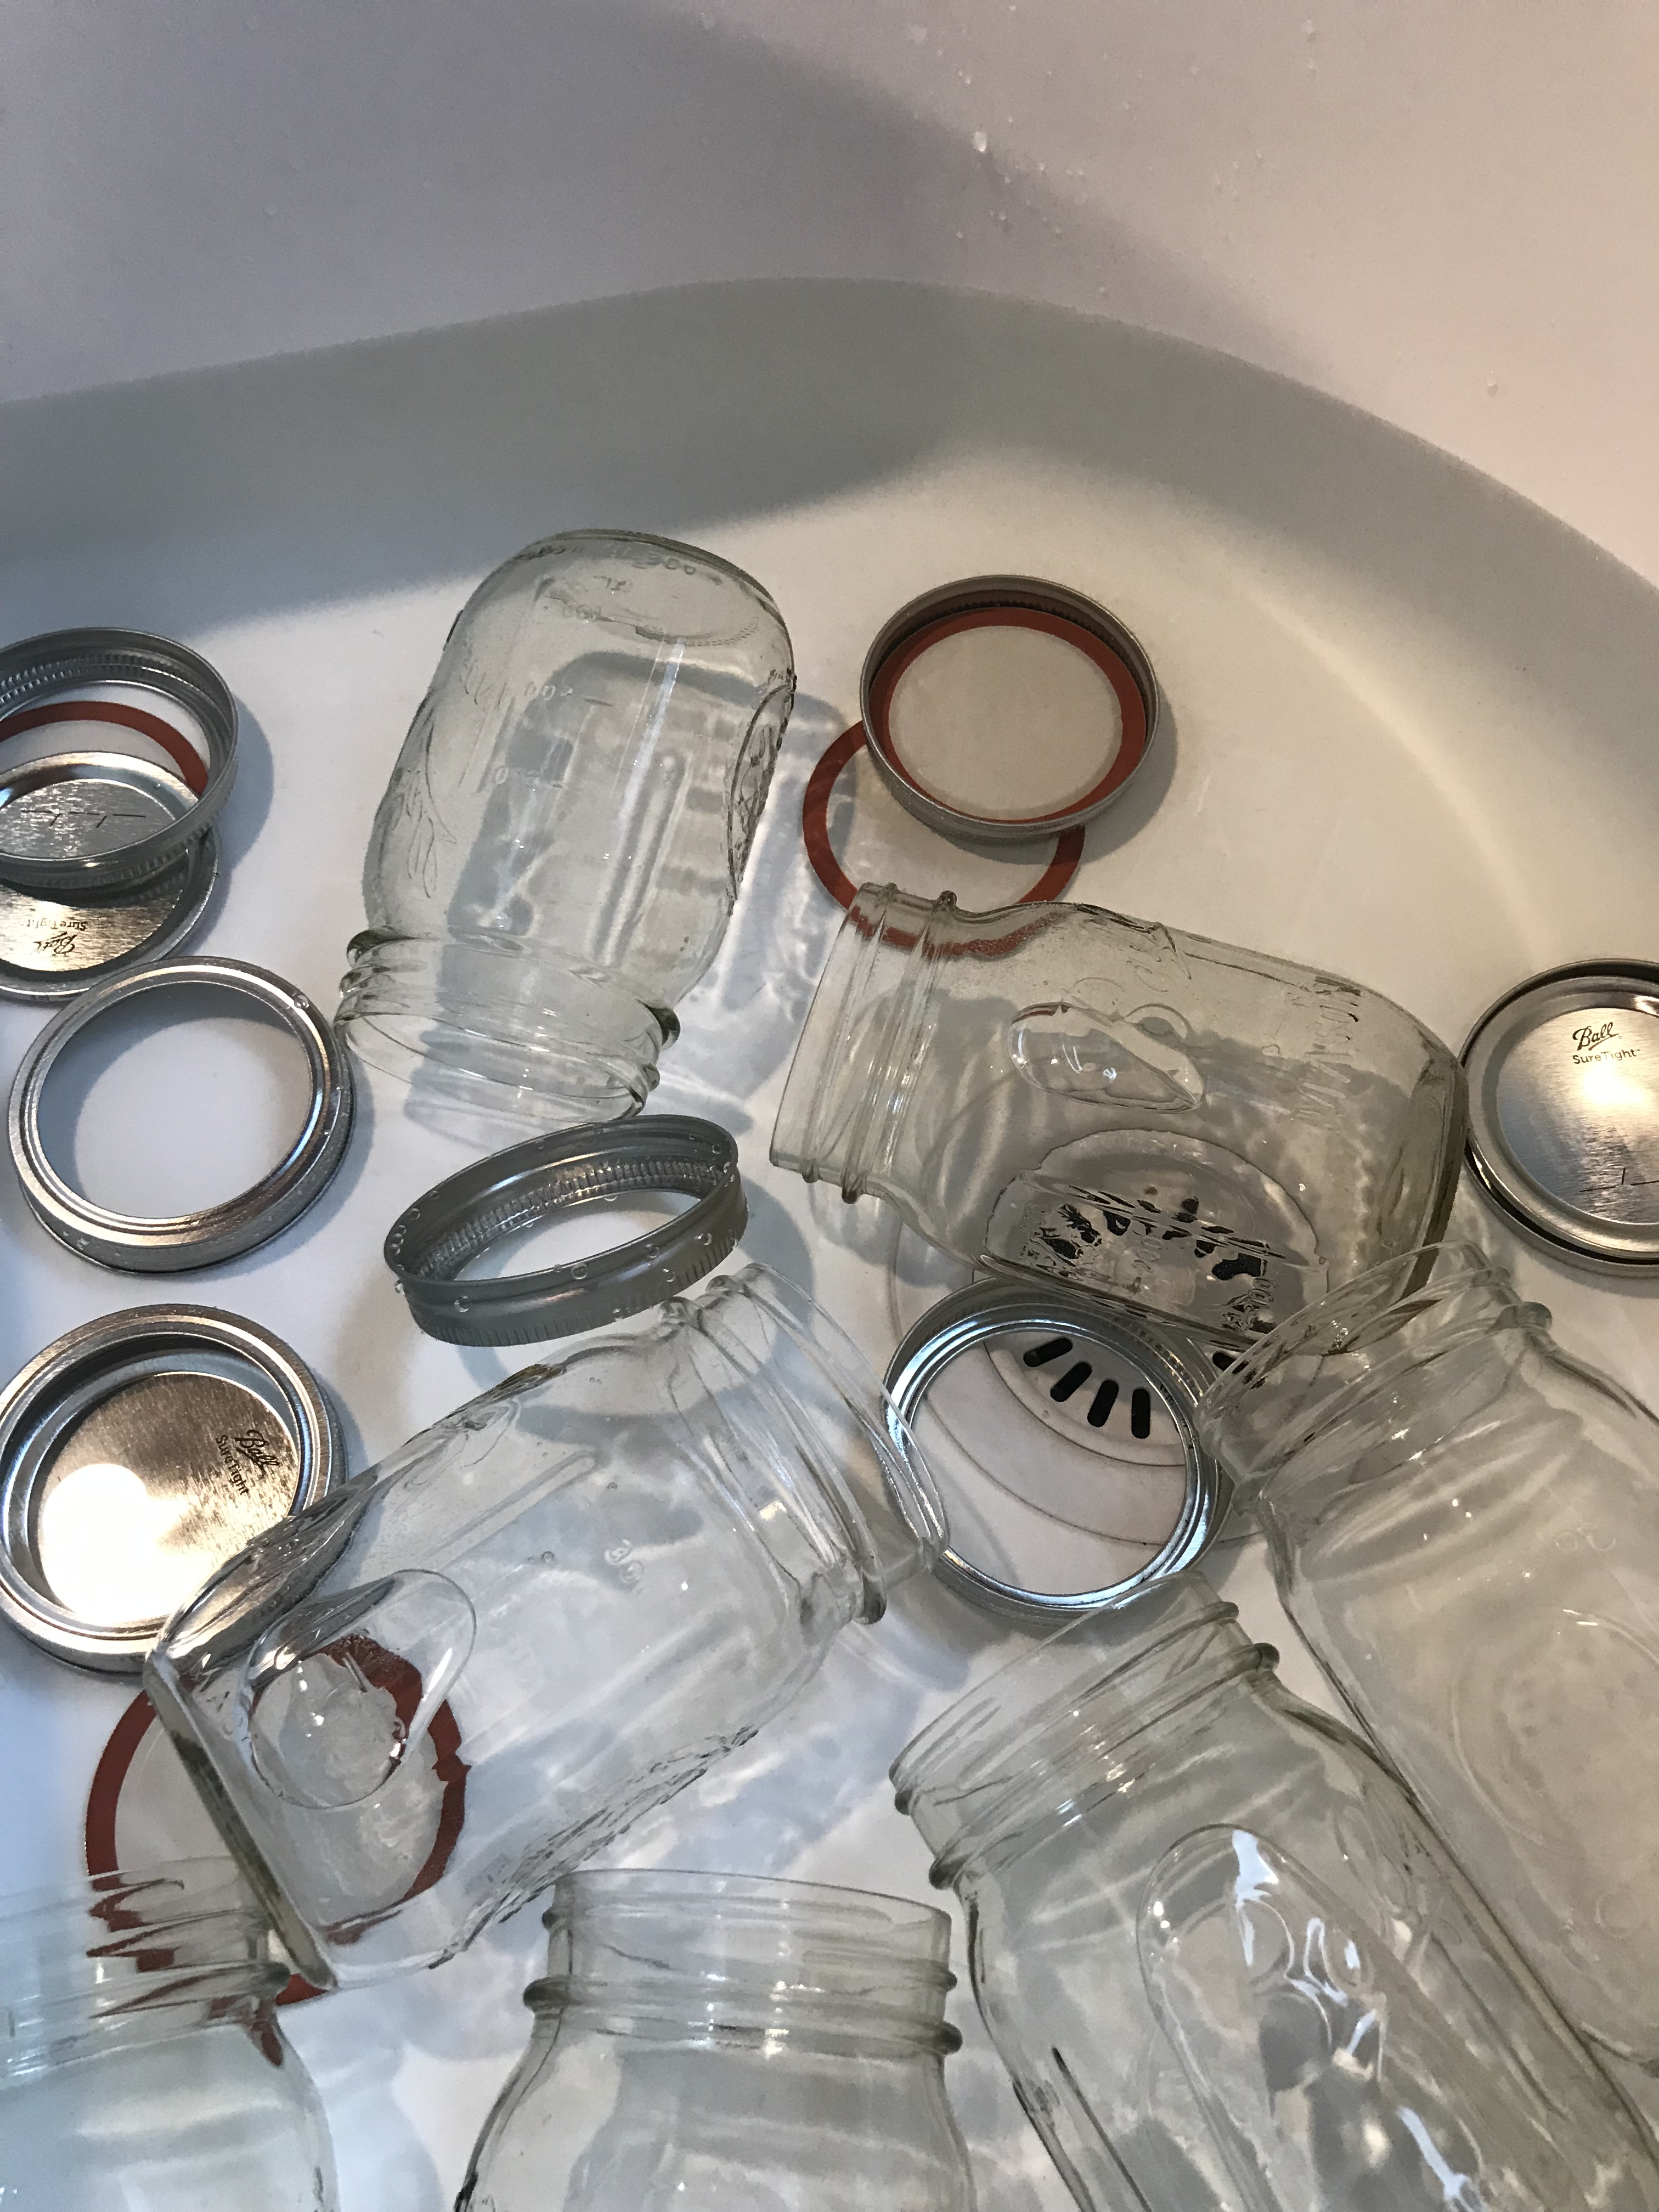
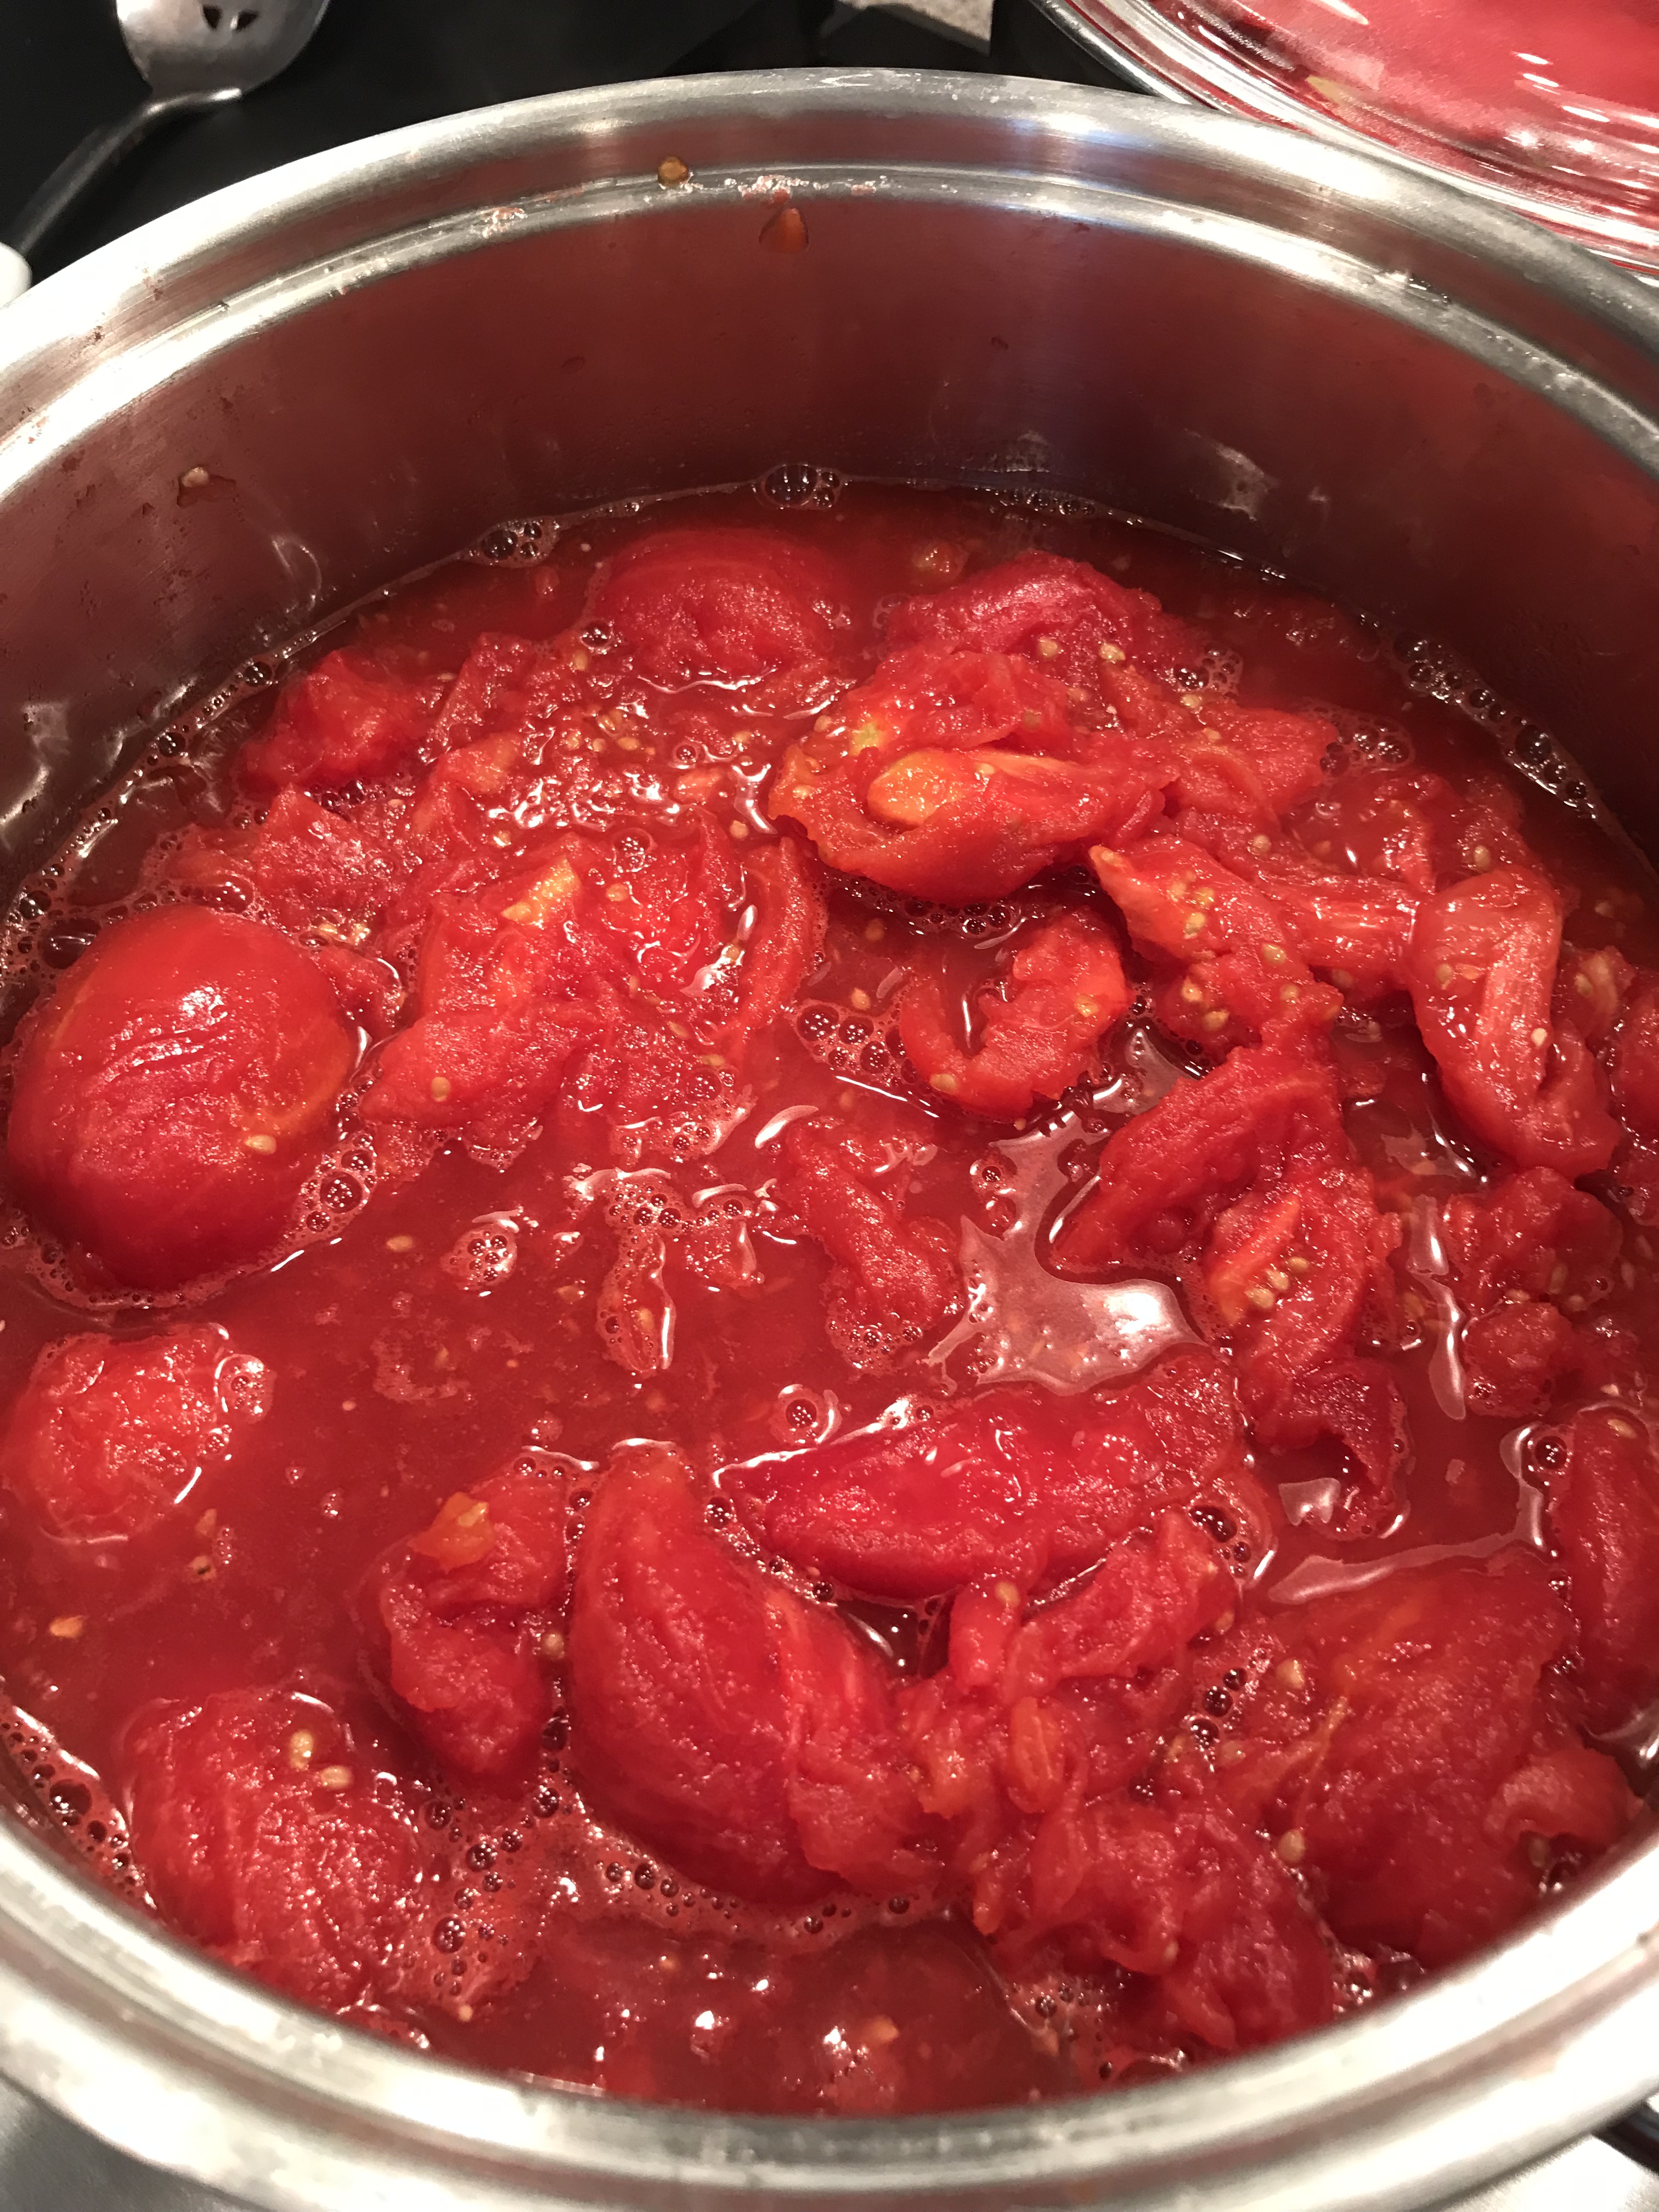
The good news is the cutting and peeling part is the hardest part of this whole thing. Now it’s time to get them in the jars. I start by fulling up my canner about 3/4 of the way full and get it on high heat to start heating up. Heat up the tomatoes on medium heat to a gentle simmer. The reason for getting them nice and hot is to kill any bacteria that could be hanging around in there. While you are waiting for the tomatoes and water to heat, start prepping the jars. Either run them in dishwasher before you start any of this process or clean them by hand in hot soapy water. Put the freshly cleaned jars into some very hot water in the sink, along with the lids. A standard canner holds 7 jars, so only heat up what you need for one canner load. I usually scrub the sink down with a little bleach cleaner before I put them in there just to clean up the mess from the tomatoes in the cooling water. If your water isn’t exgtremely hot, heat some up on the stove and add to the sink . Try to time this so that as your jars are heating up your tomatoes are almost heated through. Be VERY careful with all this hot stuff going on. It’s easy to get distracted and end up in the ER – that’s a NO! NO!
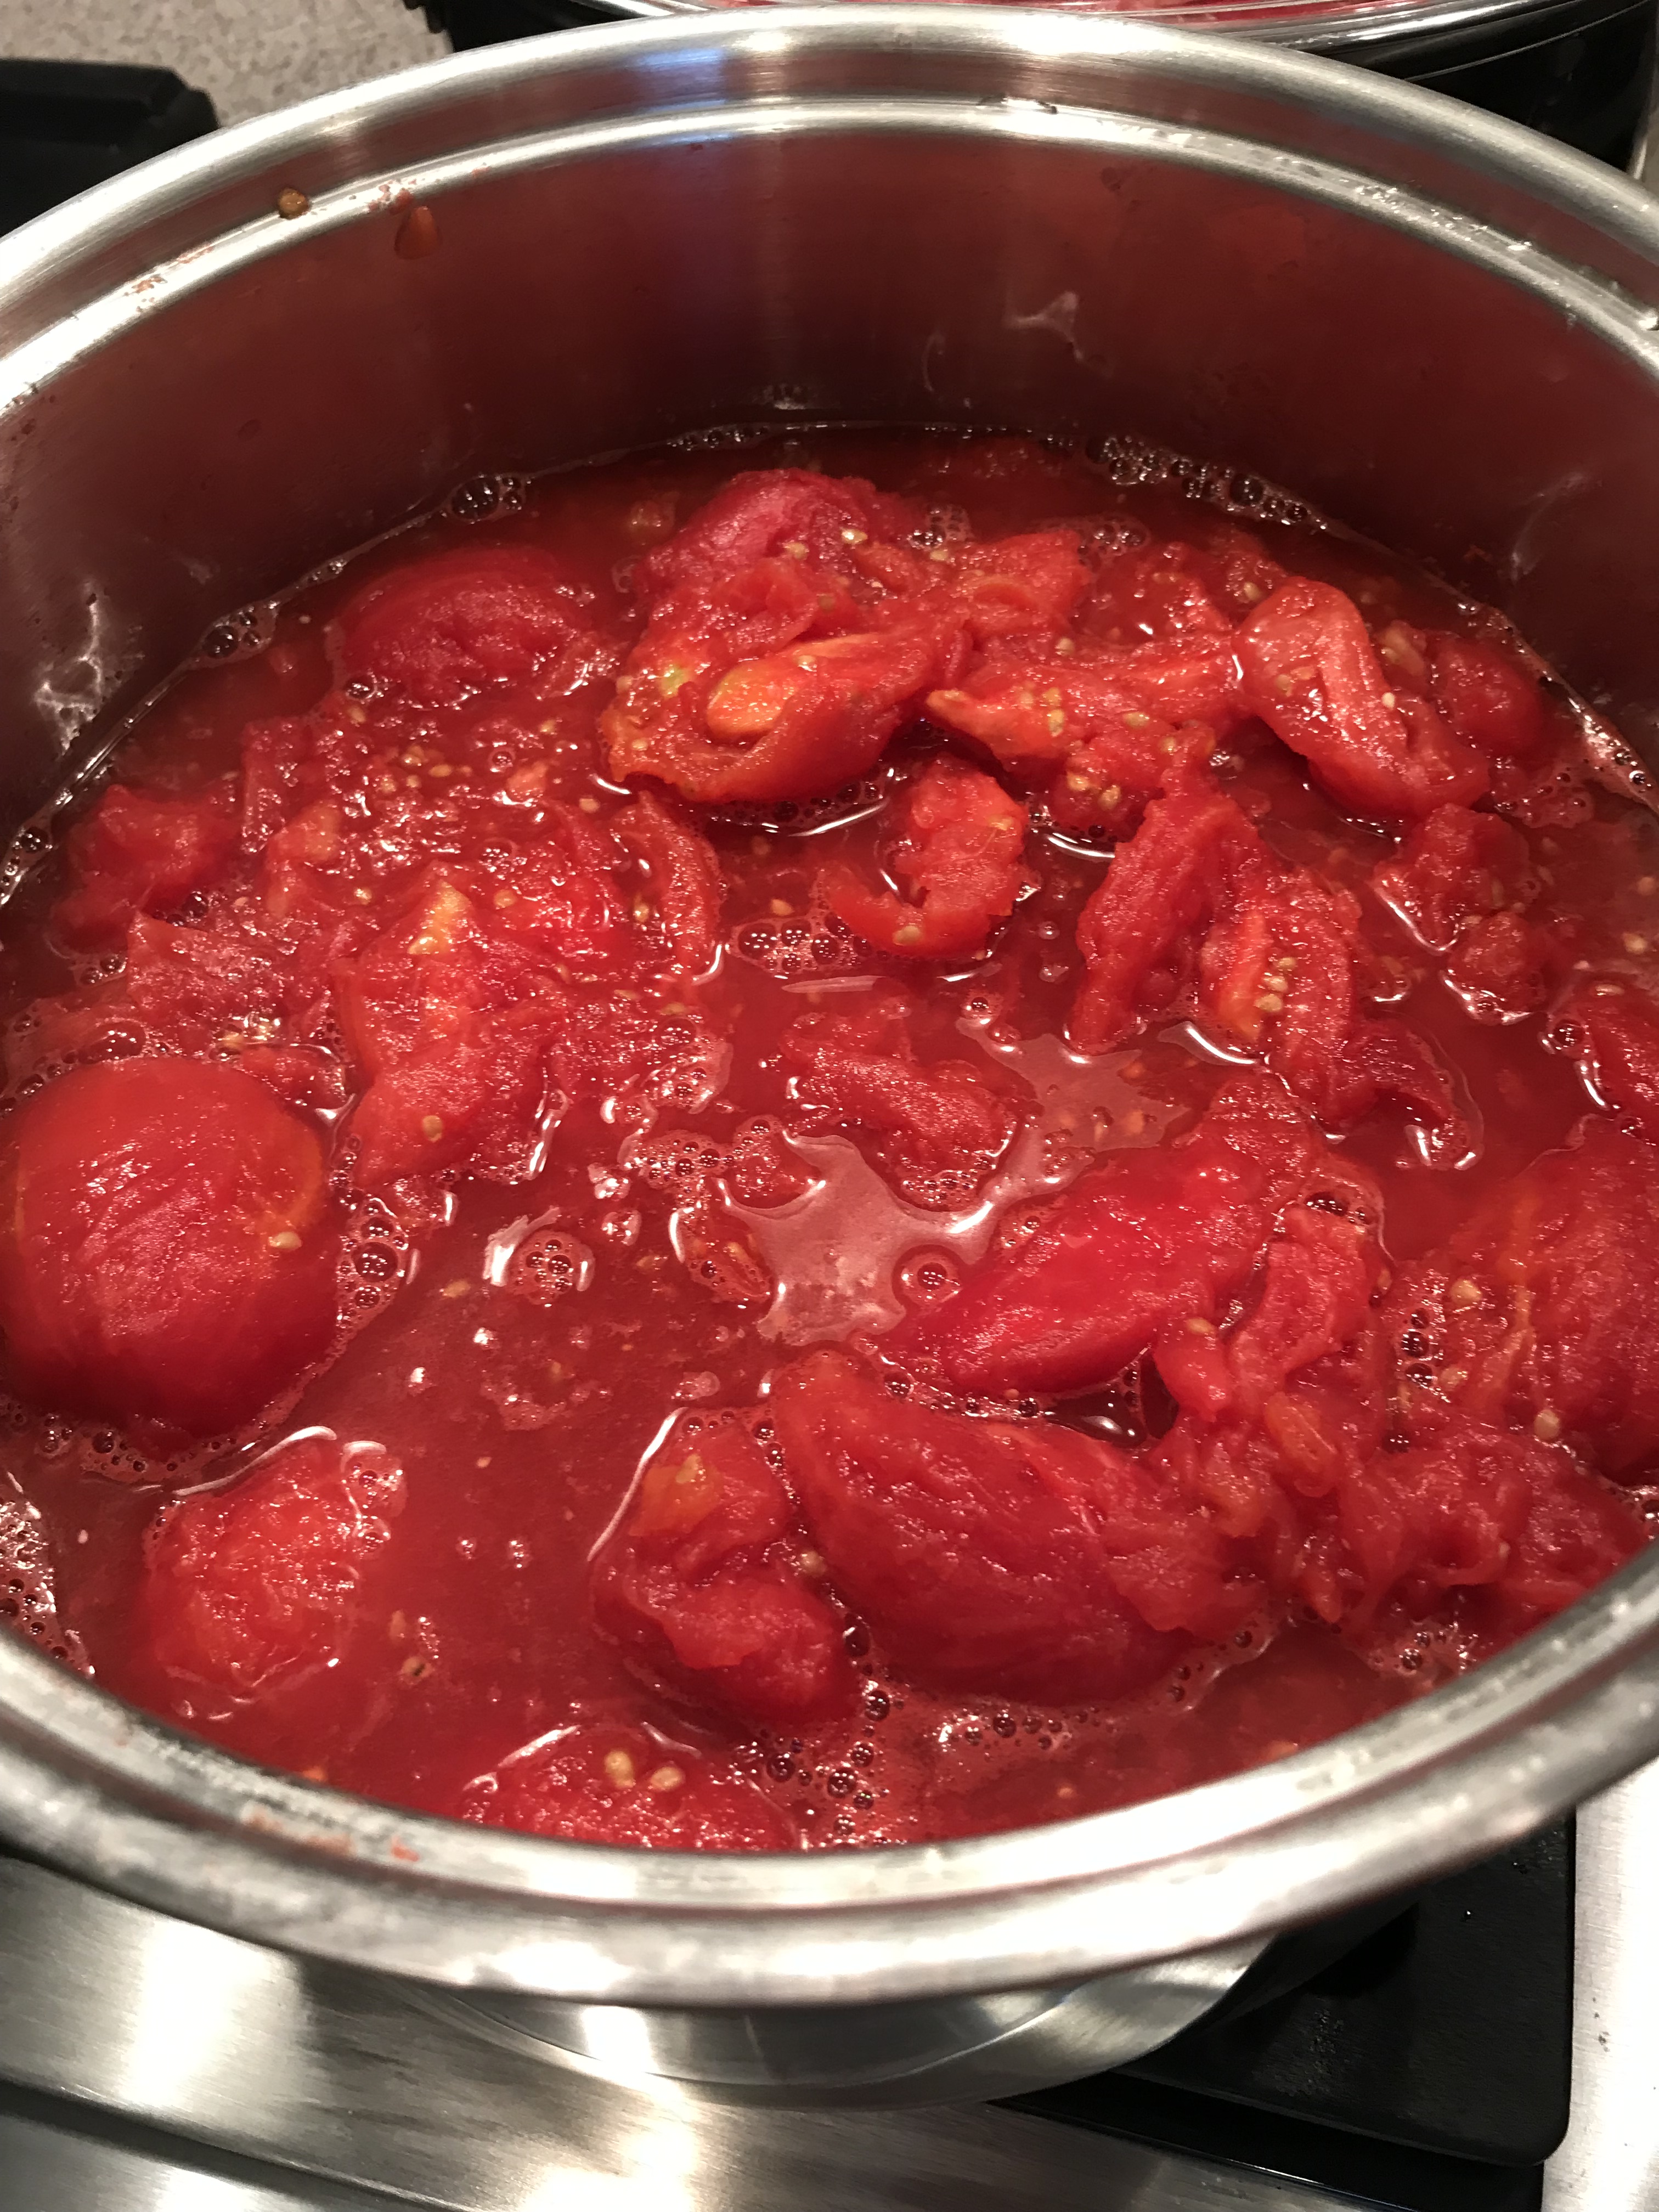

The tomatoes should start to break down a bit as they heat up.
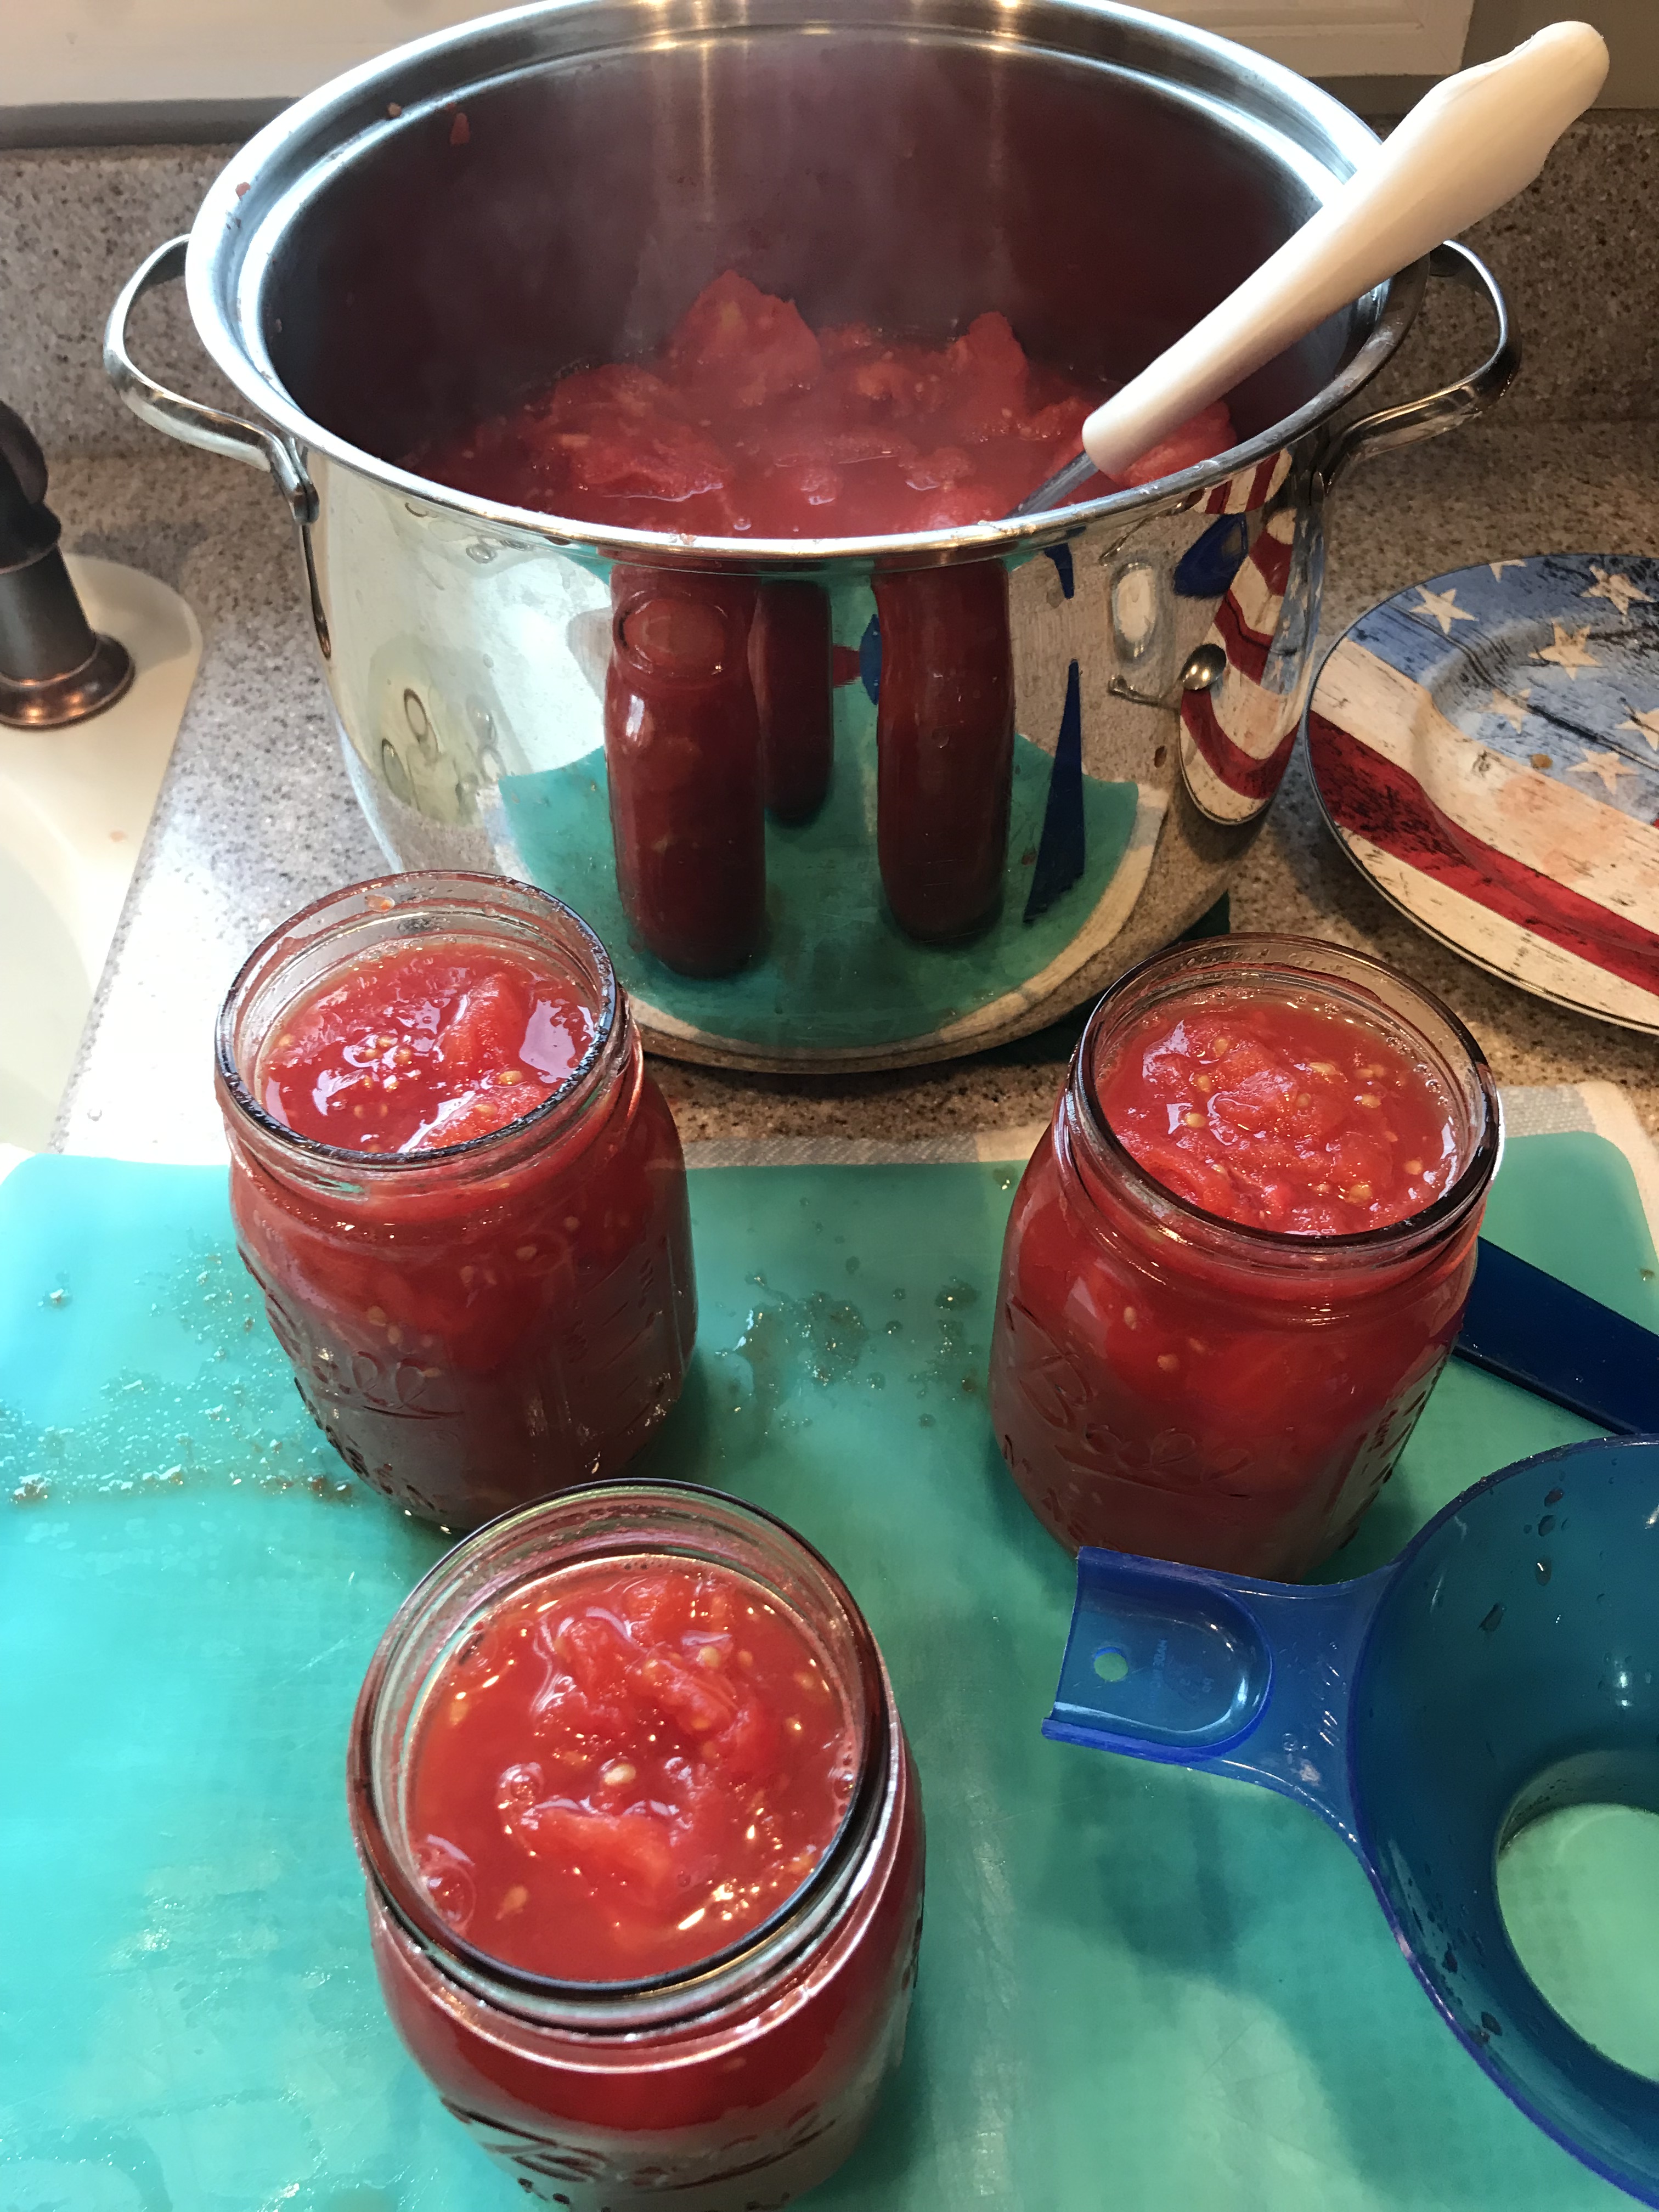
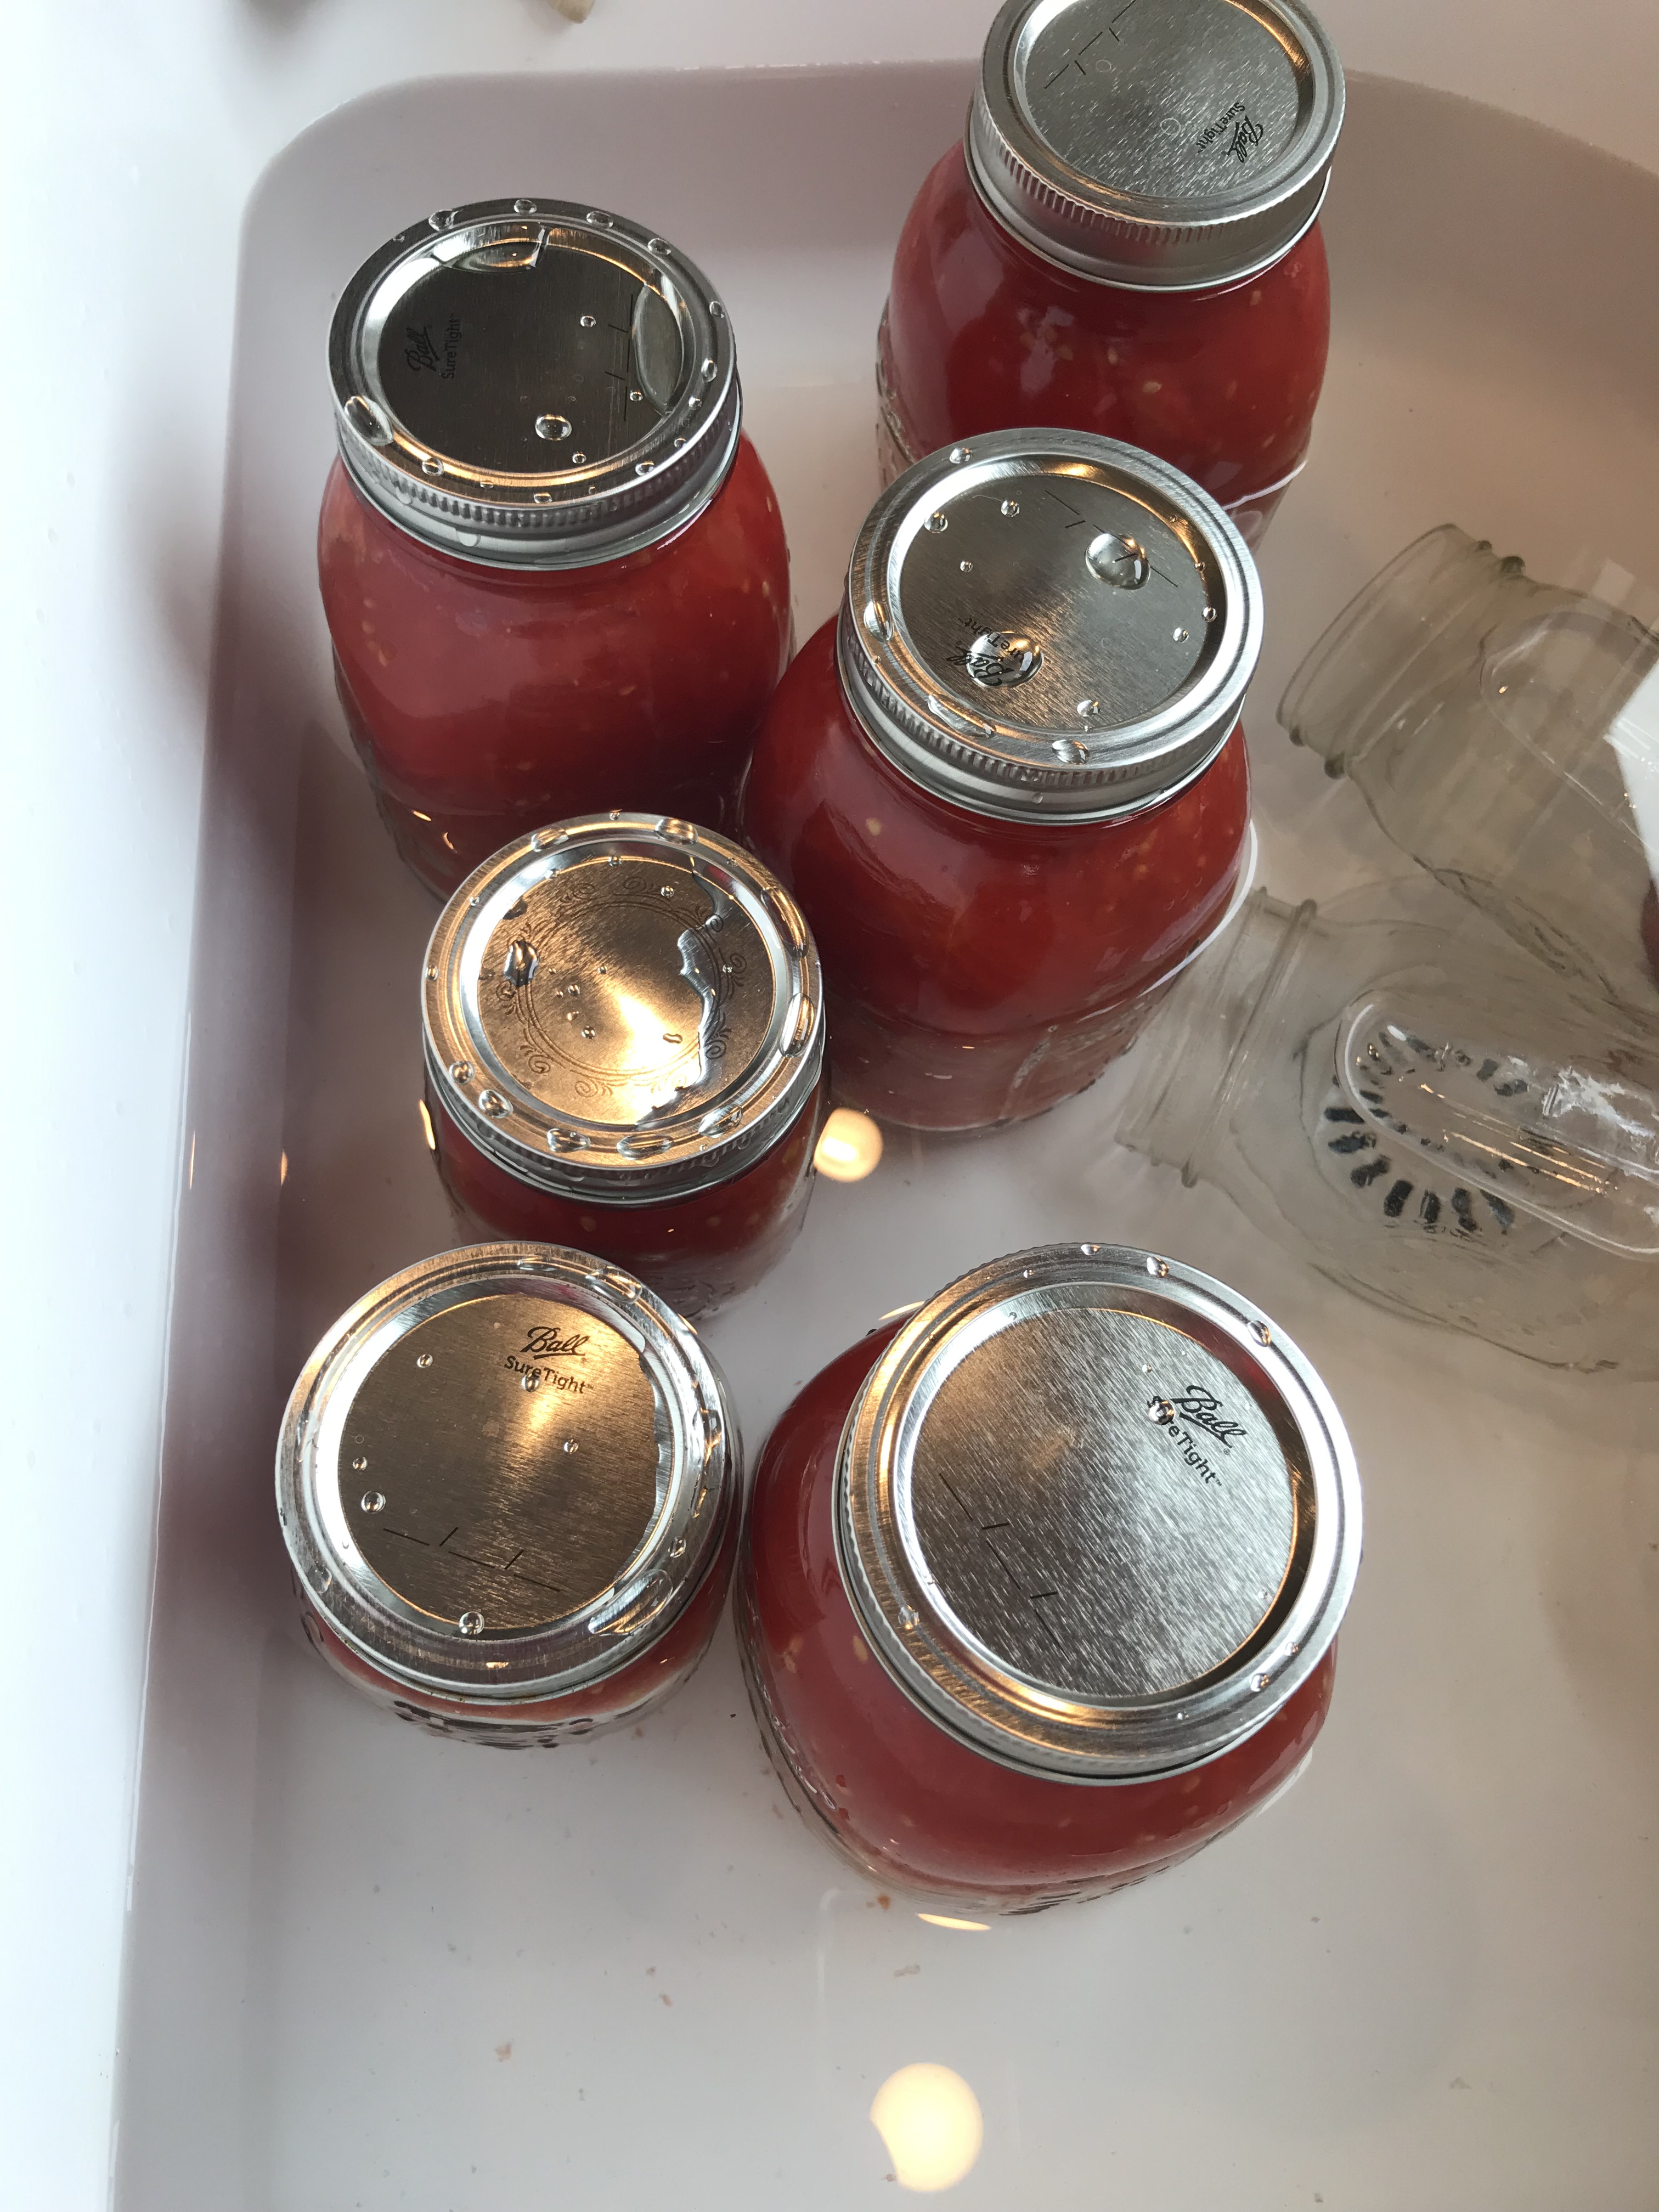
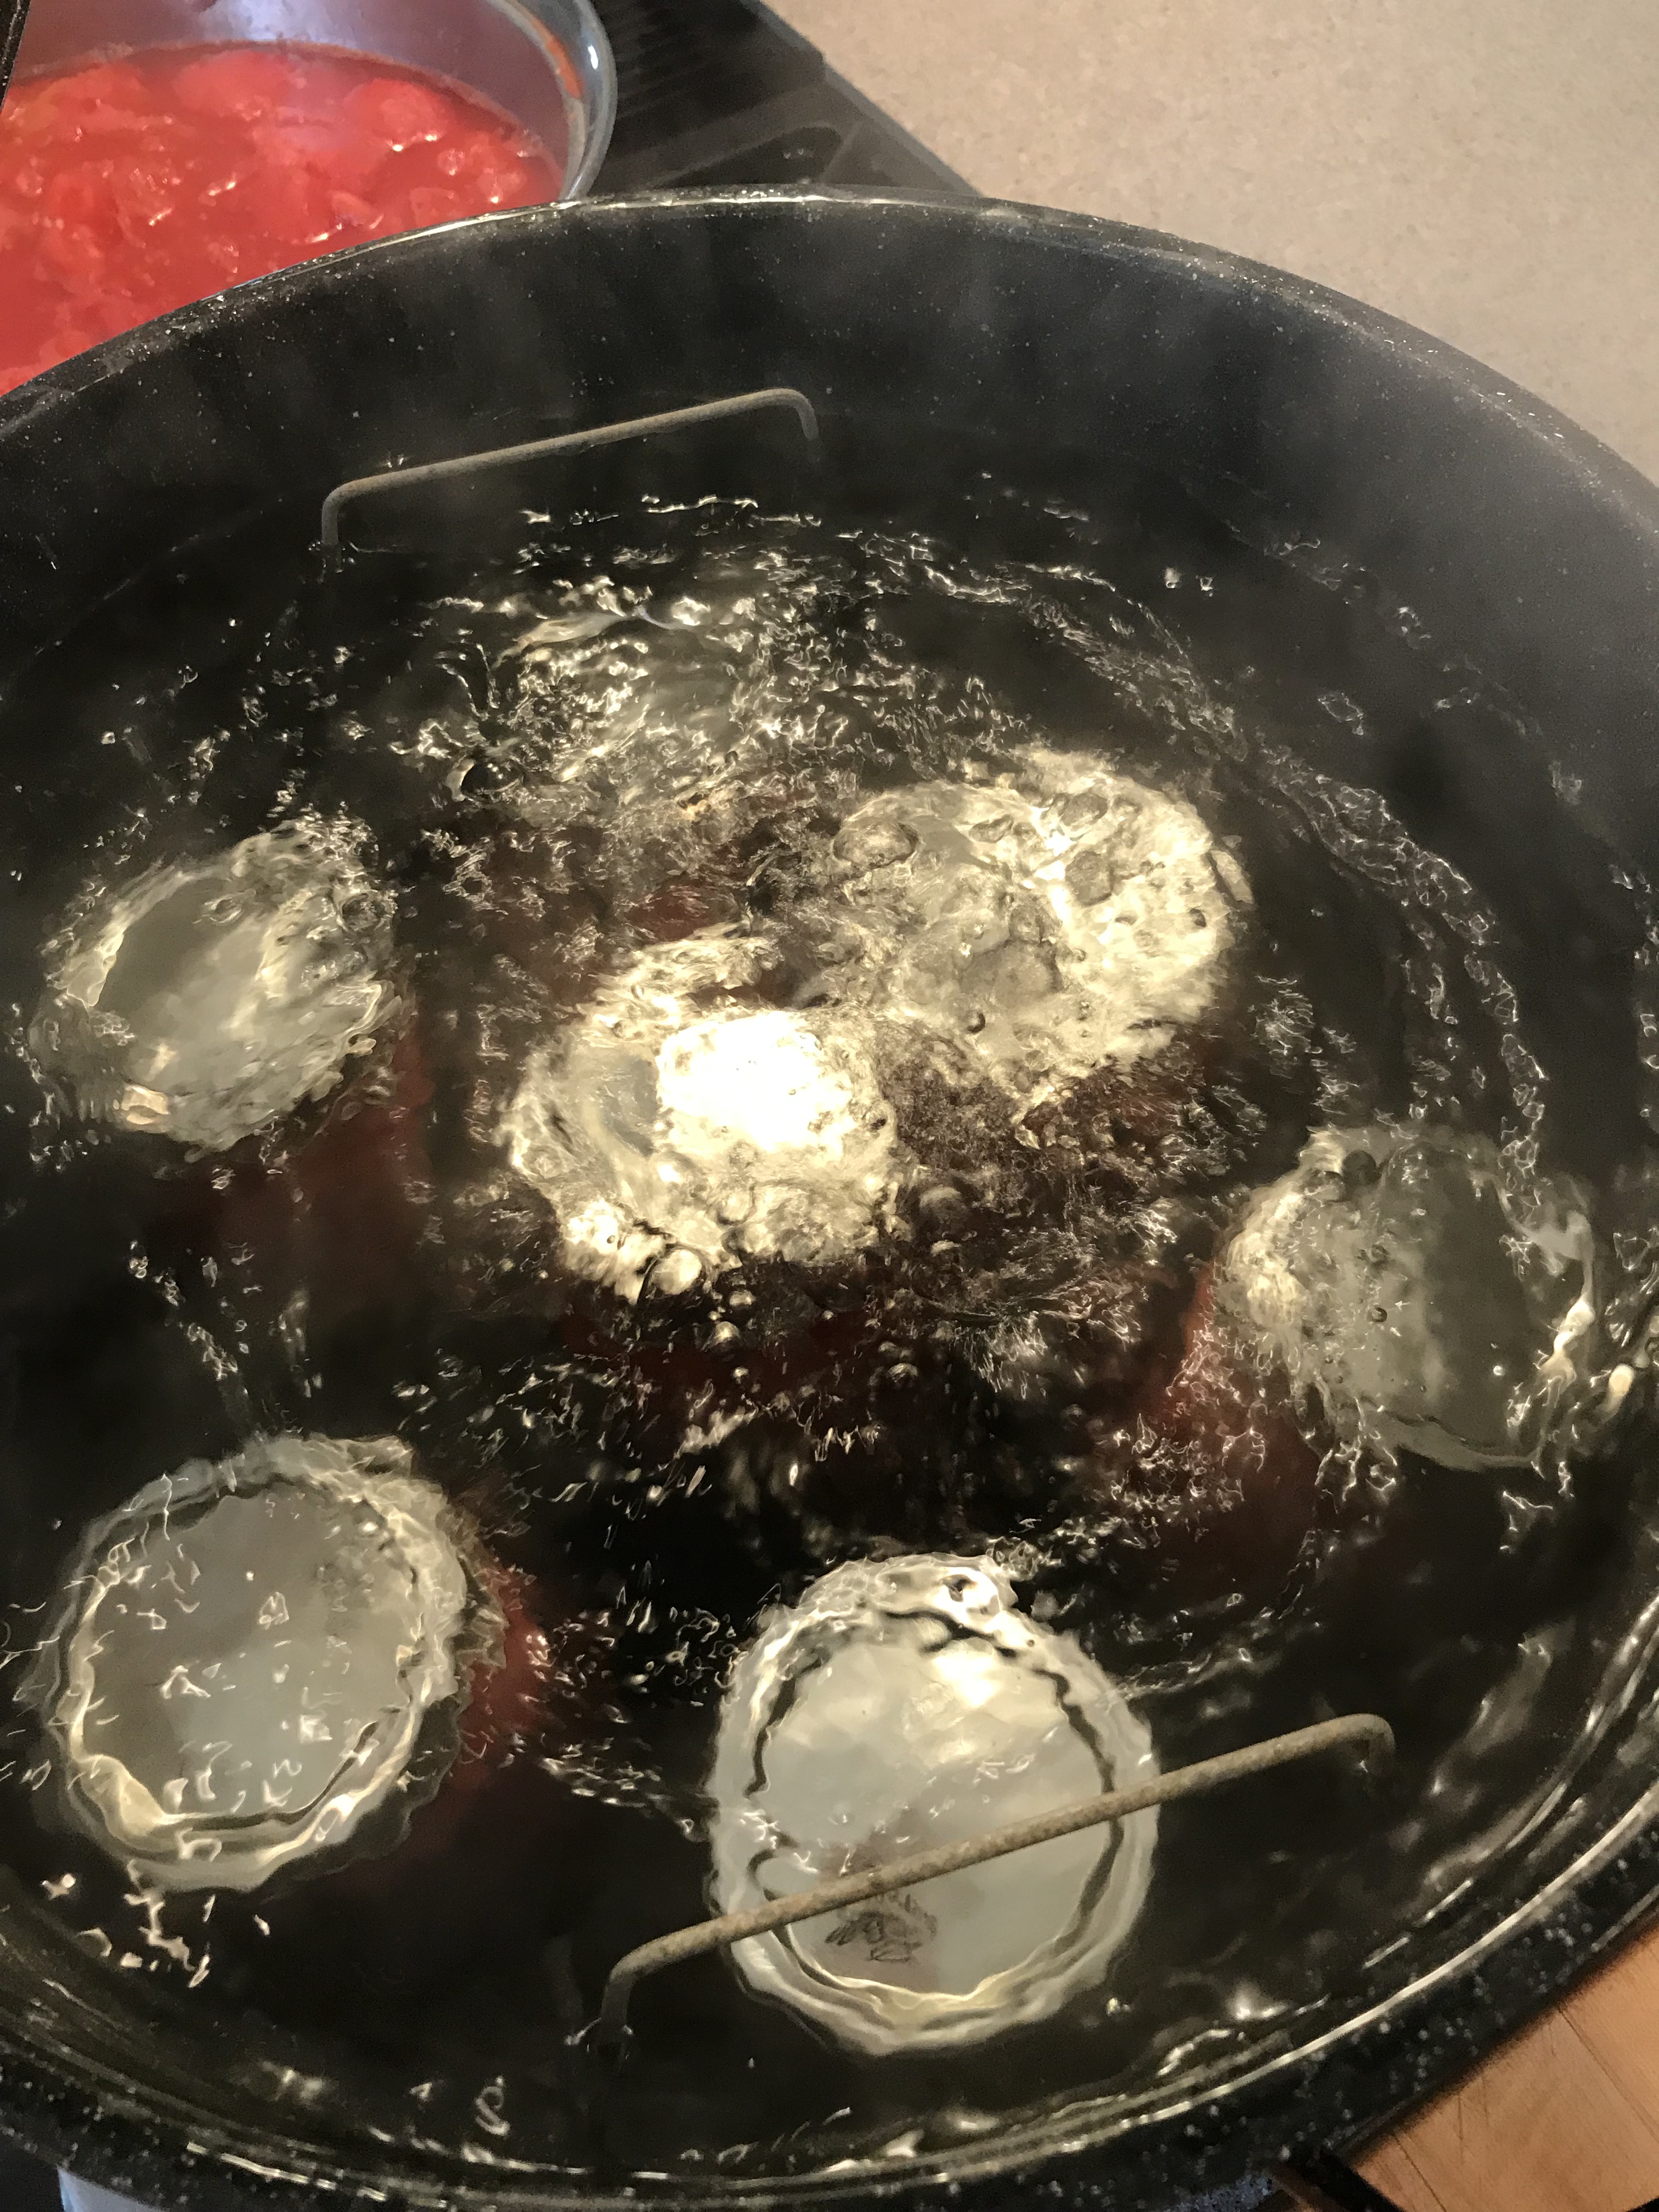
Jar time! I get a station set up with a towel and/or a cutting board underneath. You will need your jars, lids, extra towel for cleanup, salt with a 1/2 teaspoon (for pints) or a tablespoon (for quarts), a funnel, silicone spatula, jar lifter, spoon and the magnet to fish you lids out of the hot water. Grab a jar from the water and drain it, and pack it full of tomatoes use the funnel to help you. Leave about a 1/2 inch head space to start. Use the spatula to run down the sides to remove any air pockets. Add some additional juice to the jar if needed. For pints add 1/2 teaspoon of salt, for quarts add a whole teaspoon. Wipe off the rim and top of the jar to make sure you get a good seal. Put the lid and ring on and tighten, but no need to get TOO tight. Just enough so that it’s sealed. If the canner is not up to a simmer yet you can just use the jar lifter to put them back in the hot water. Fill the rest of the jars until you get 7 completed. As soon as the water in the canner is up to a boil add them to the canner. Make sure the jars are covered by about an inch of water. Make sure they come back up to a rolling boil, then set to a simmer. Set a timer for 40 minutes for pints, and 45 minutes for quarts.
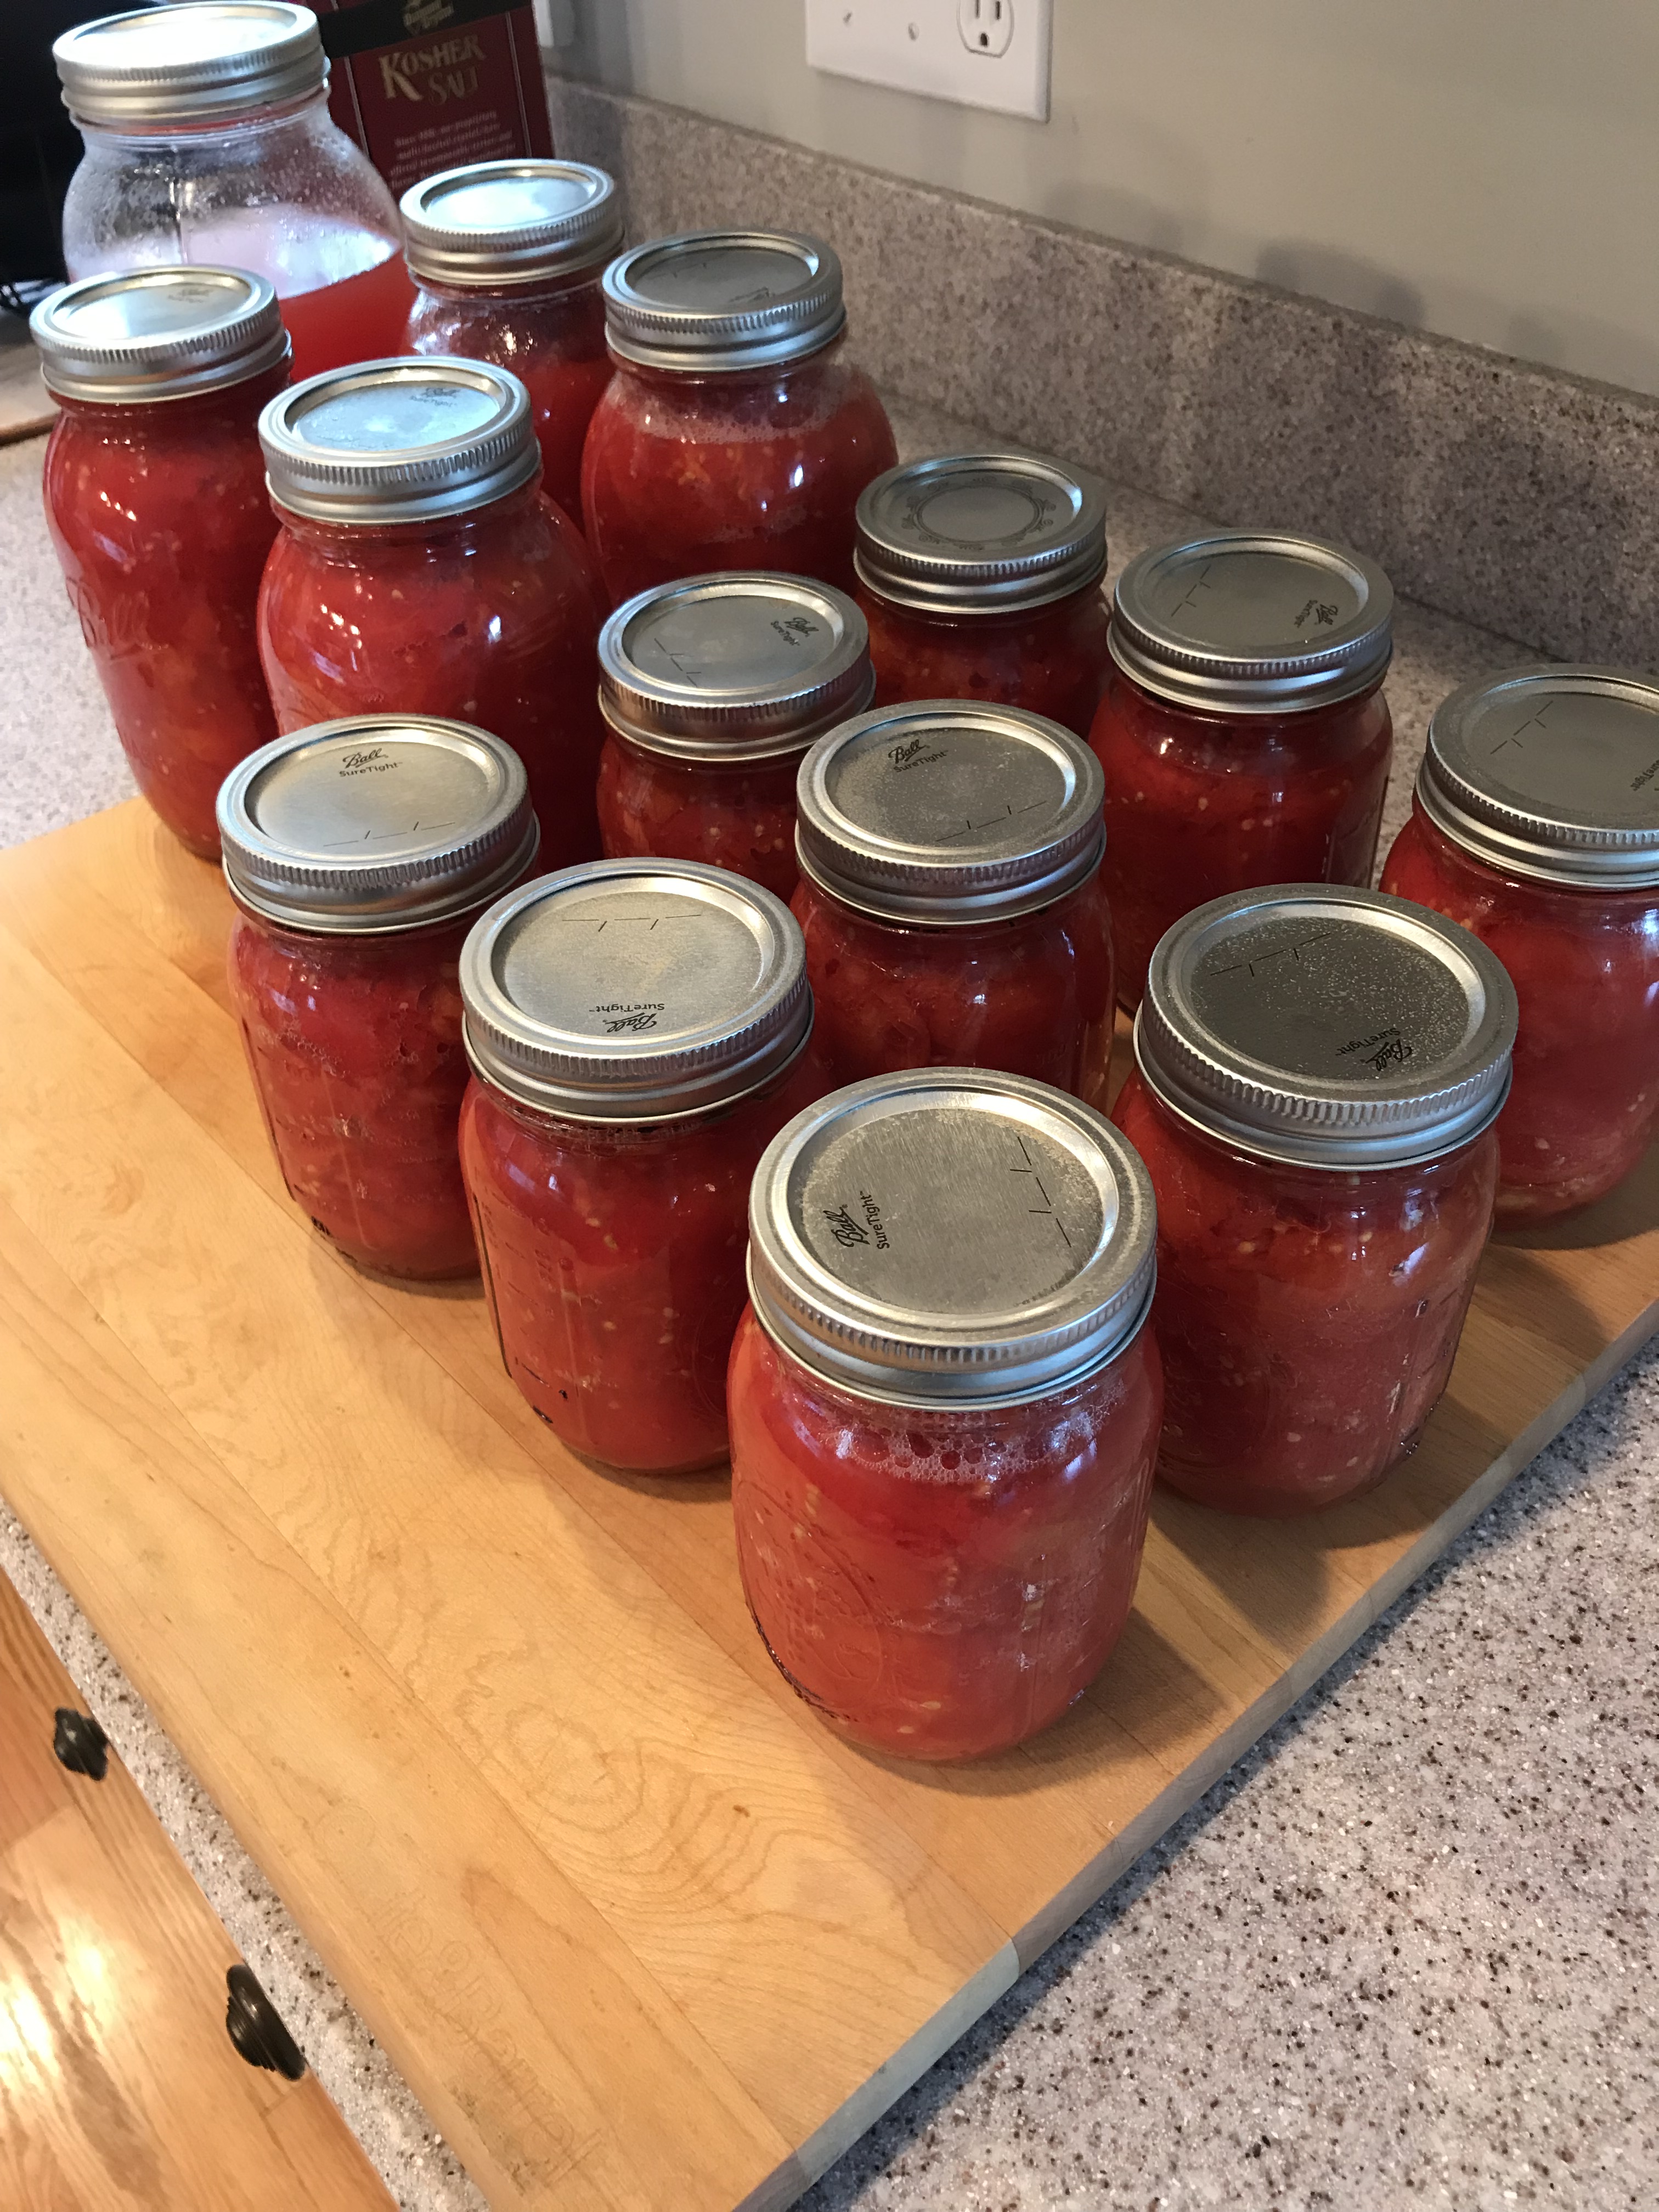
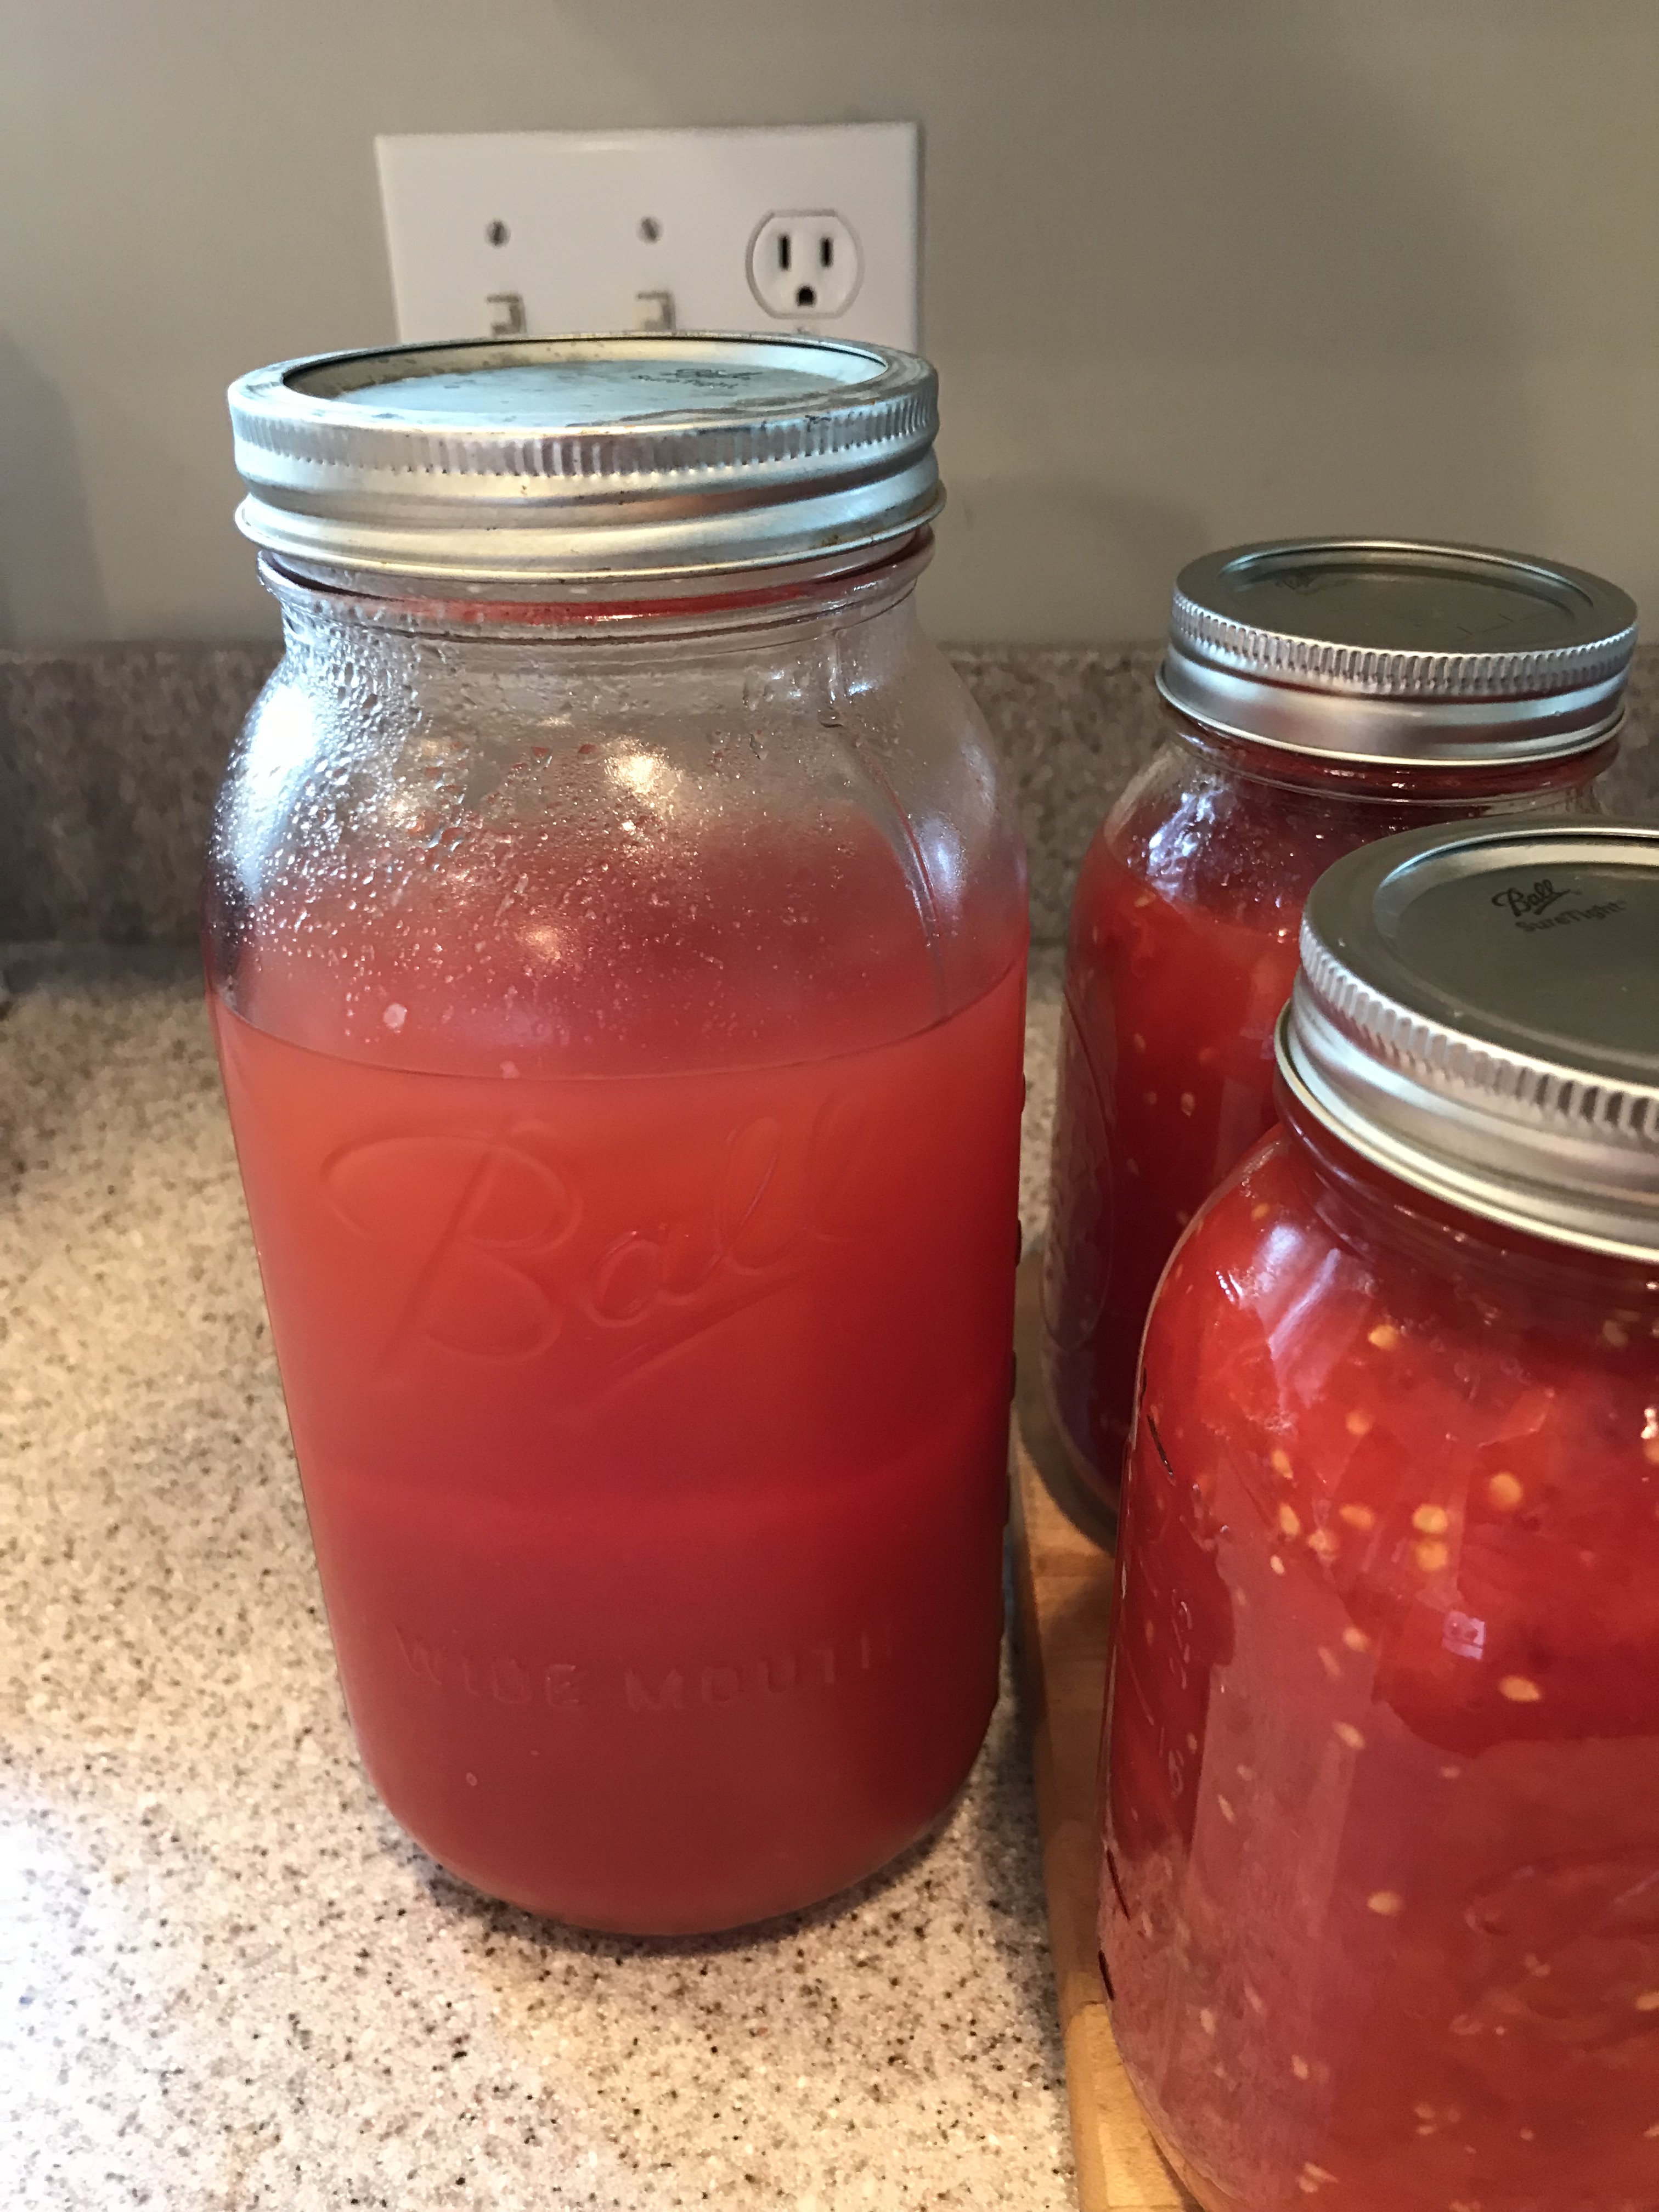
Note: You can save all that juice that is left and process it as tomato juice. The LARGE jar in the picture is what was left after I strained it through a fine sieve. Let this sit in the fridge for a few days and separate out the water on the top from the sauce on the bottom. The more you strain out, the thicker the juice/sauce will end up. Can this using the same process – heat up the jars and juice, fil up the jars, add salt and process in the canner. Excellent bloody Mary base…I’m just sayin’. 🙂
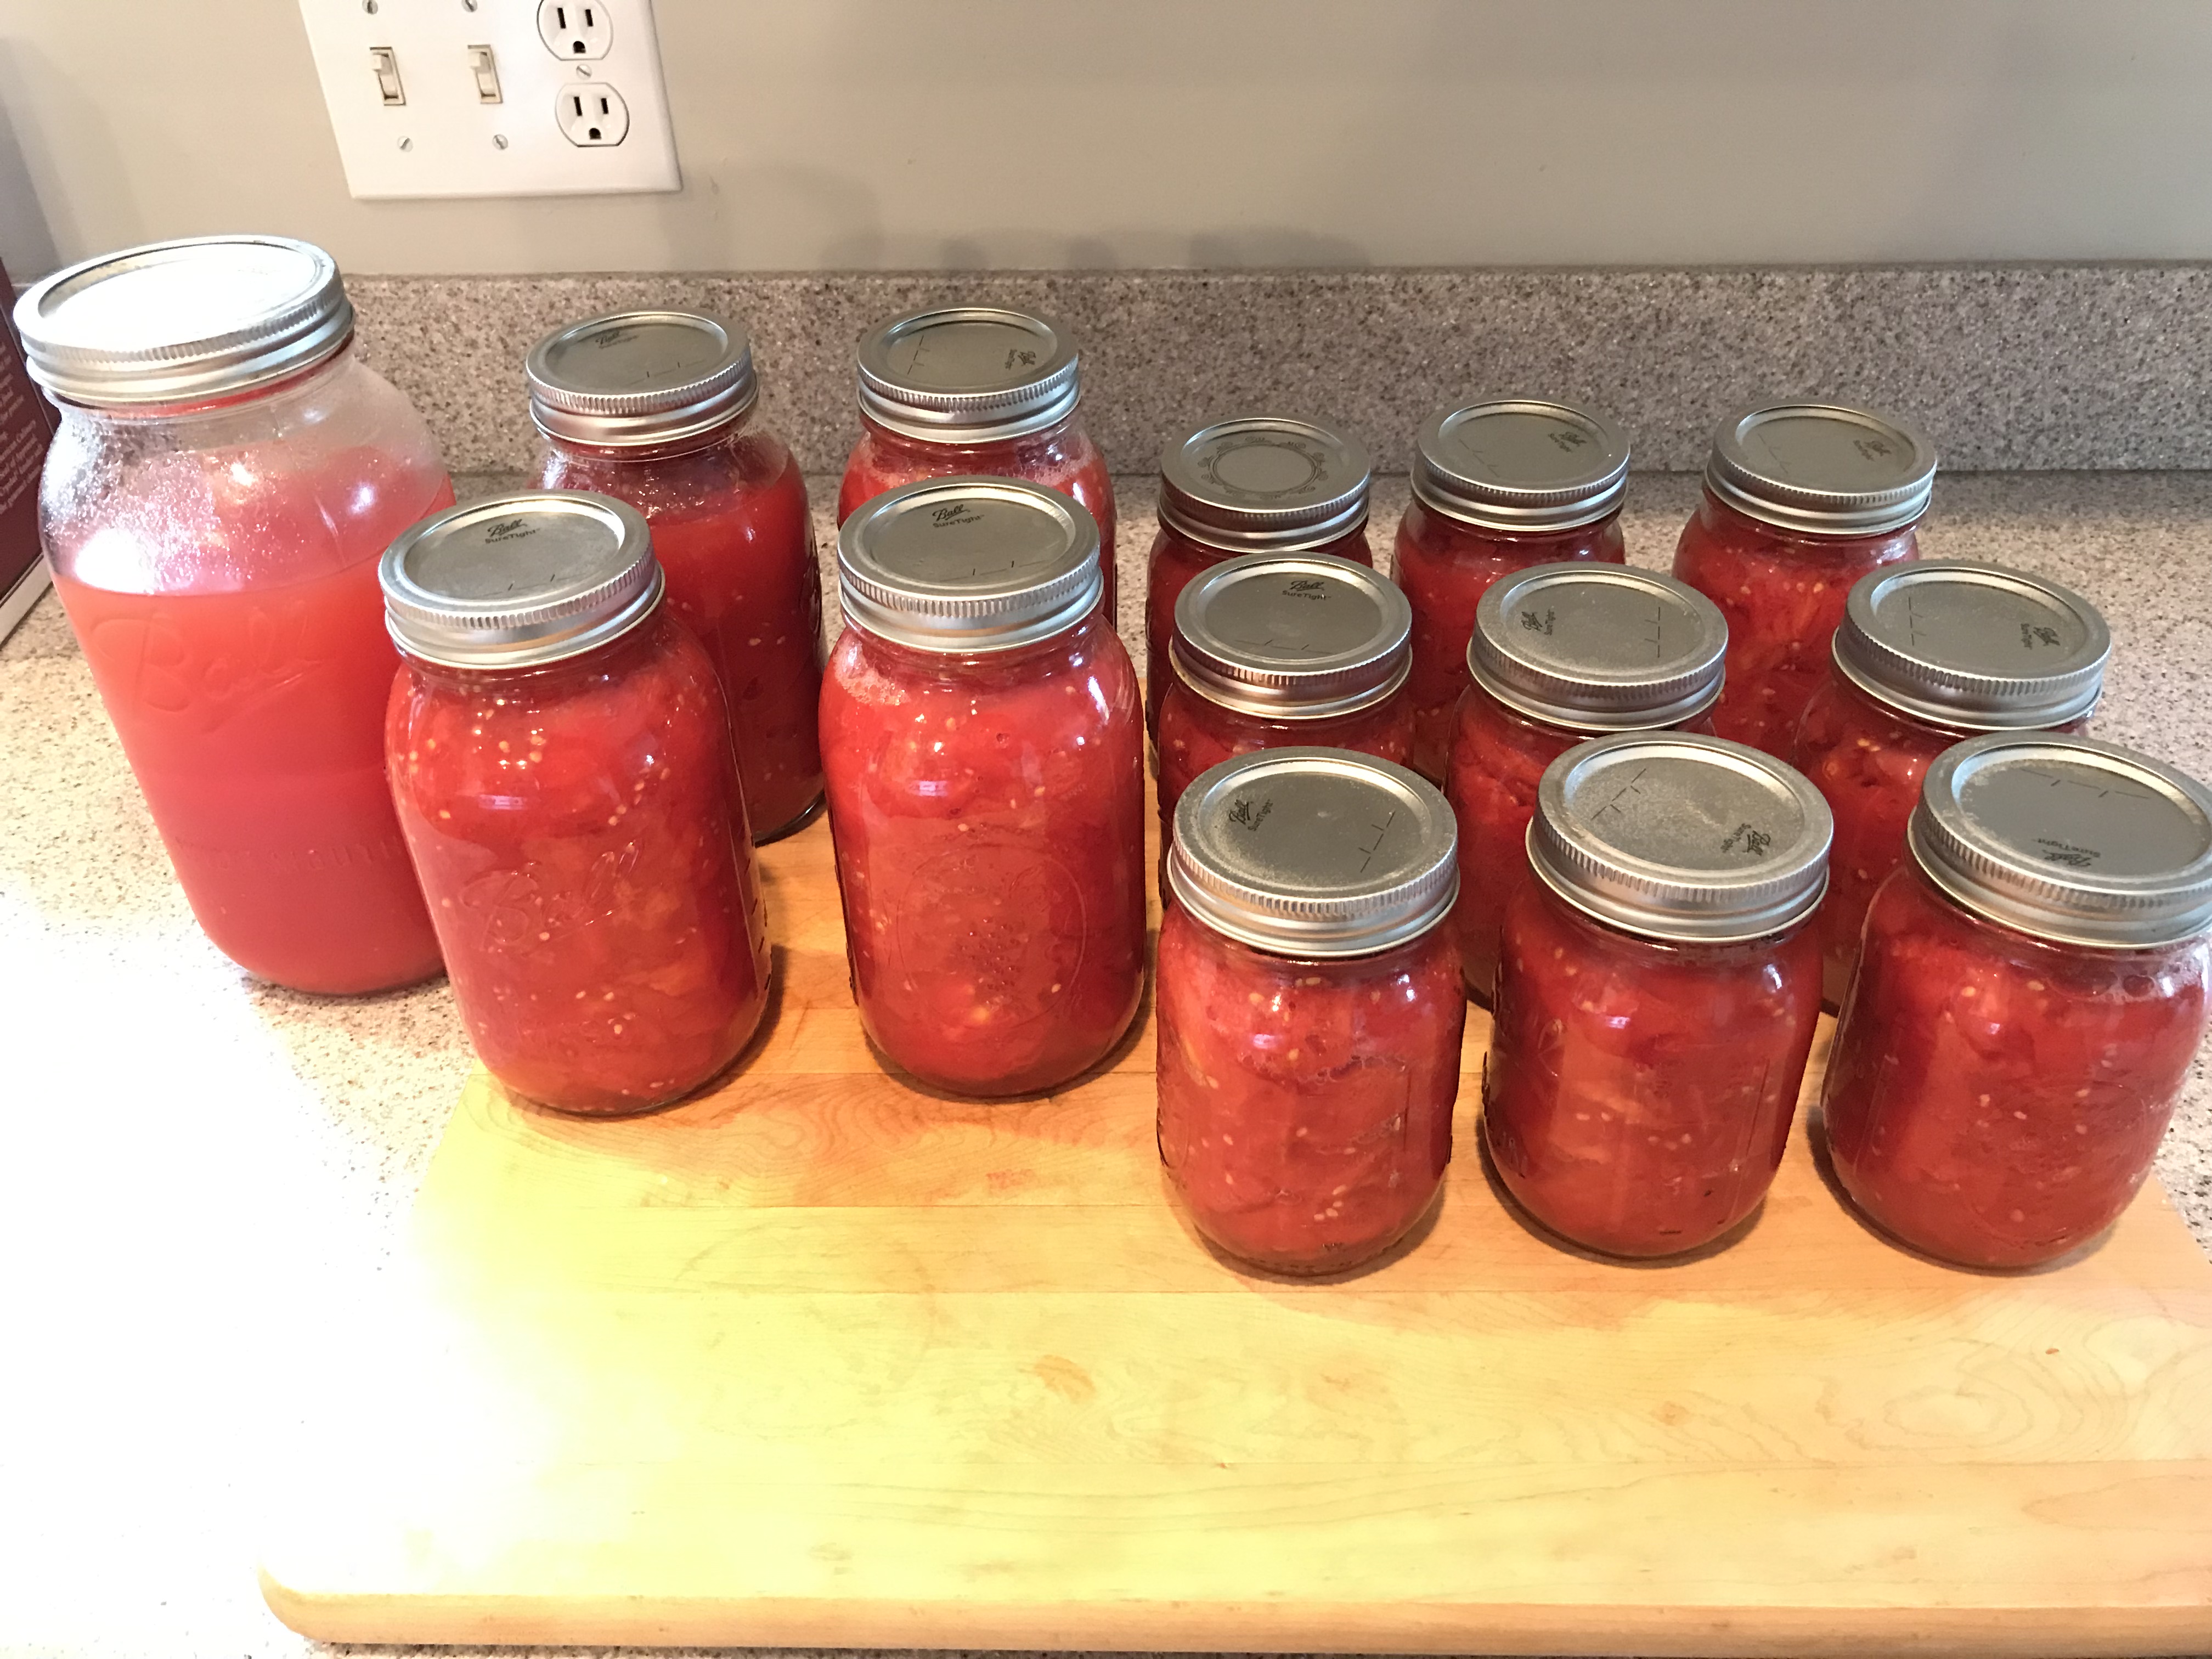
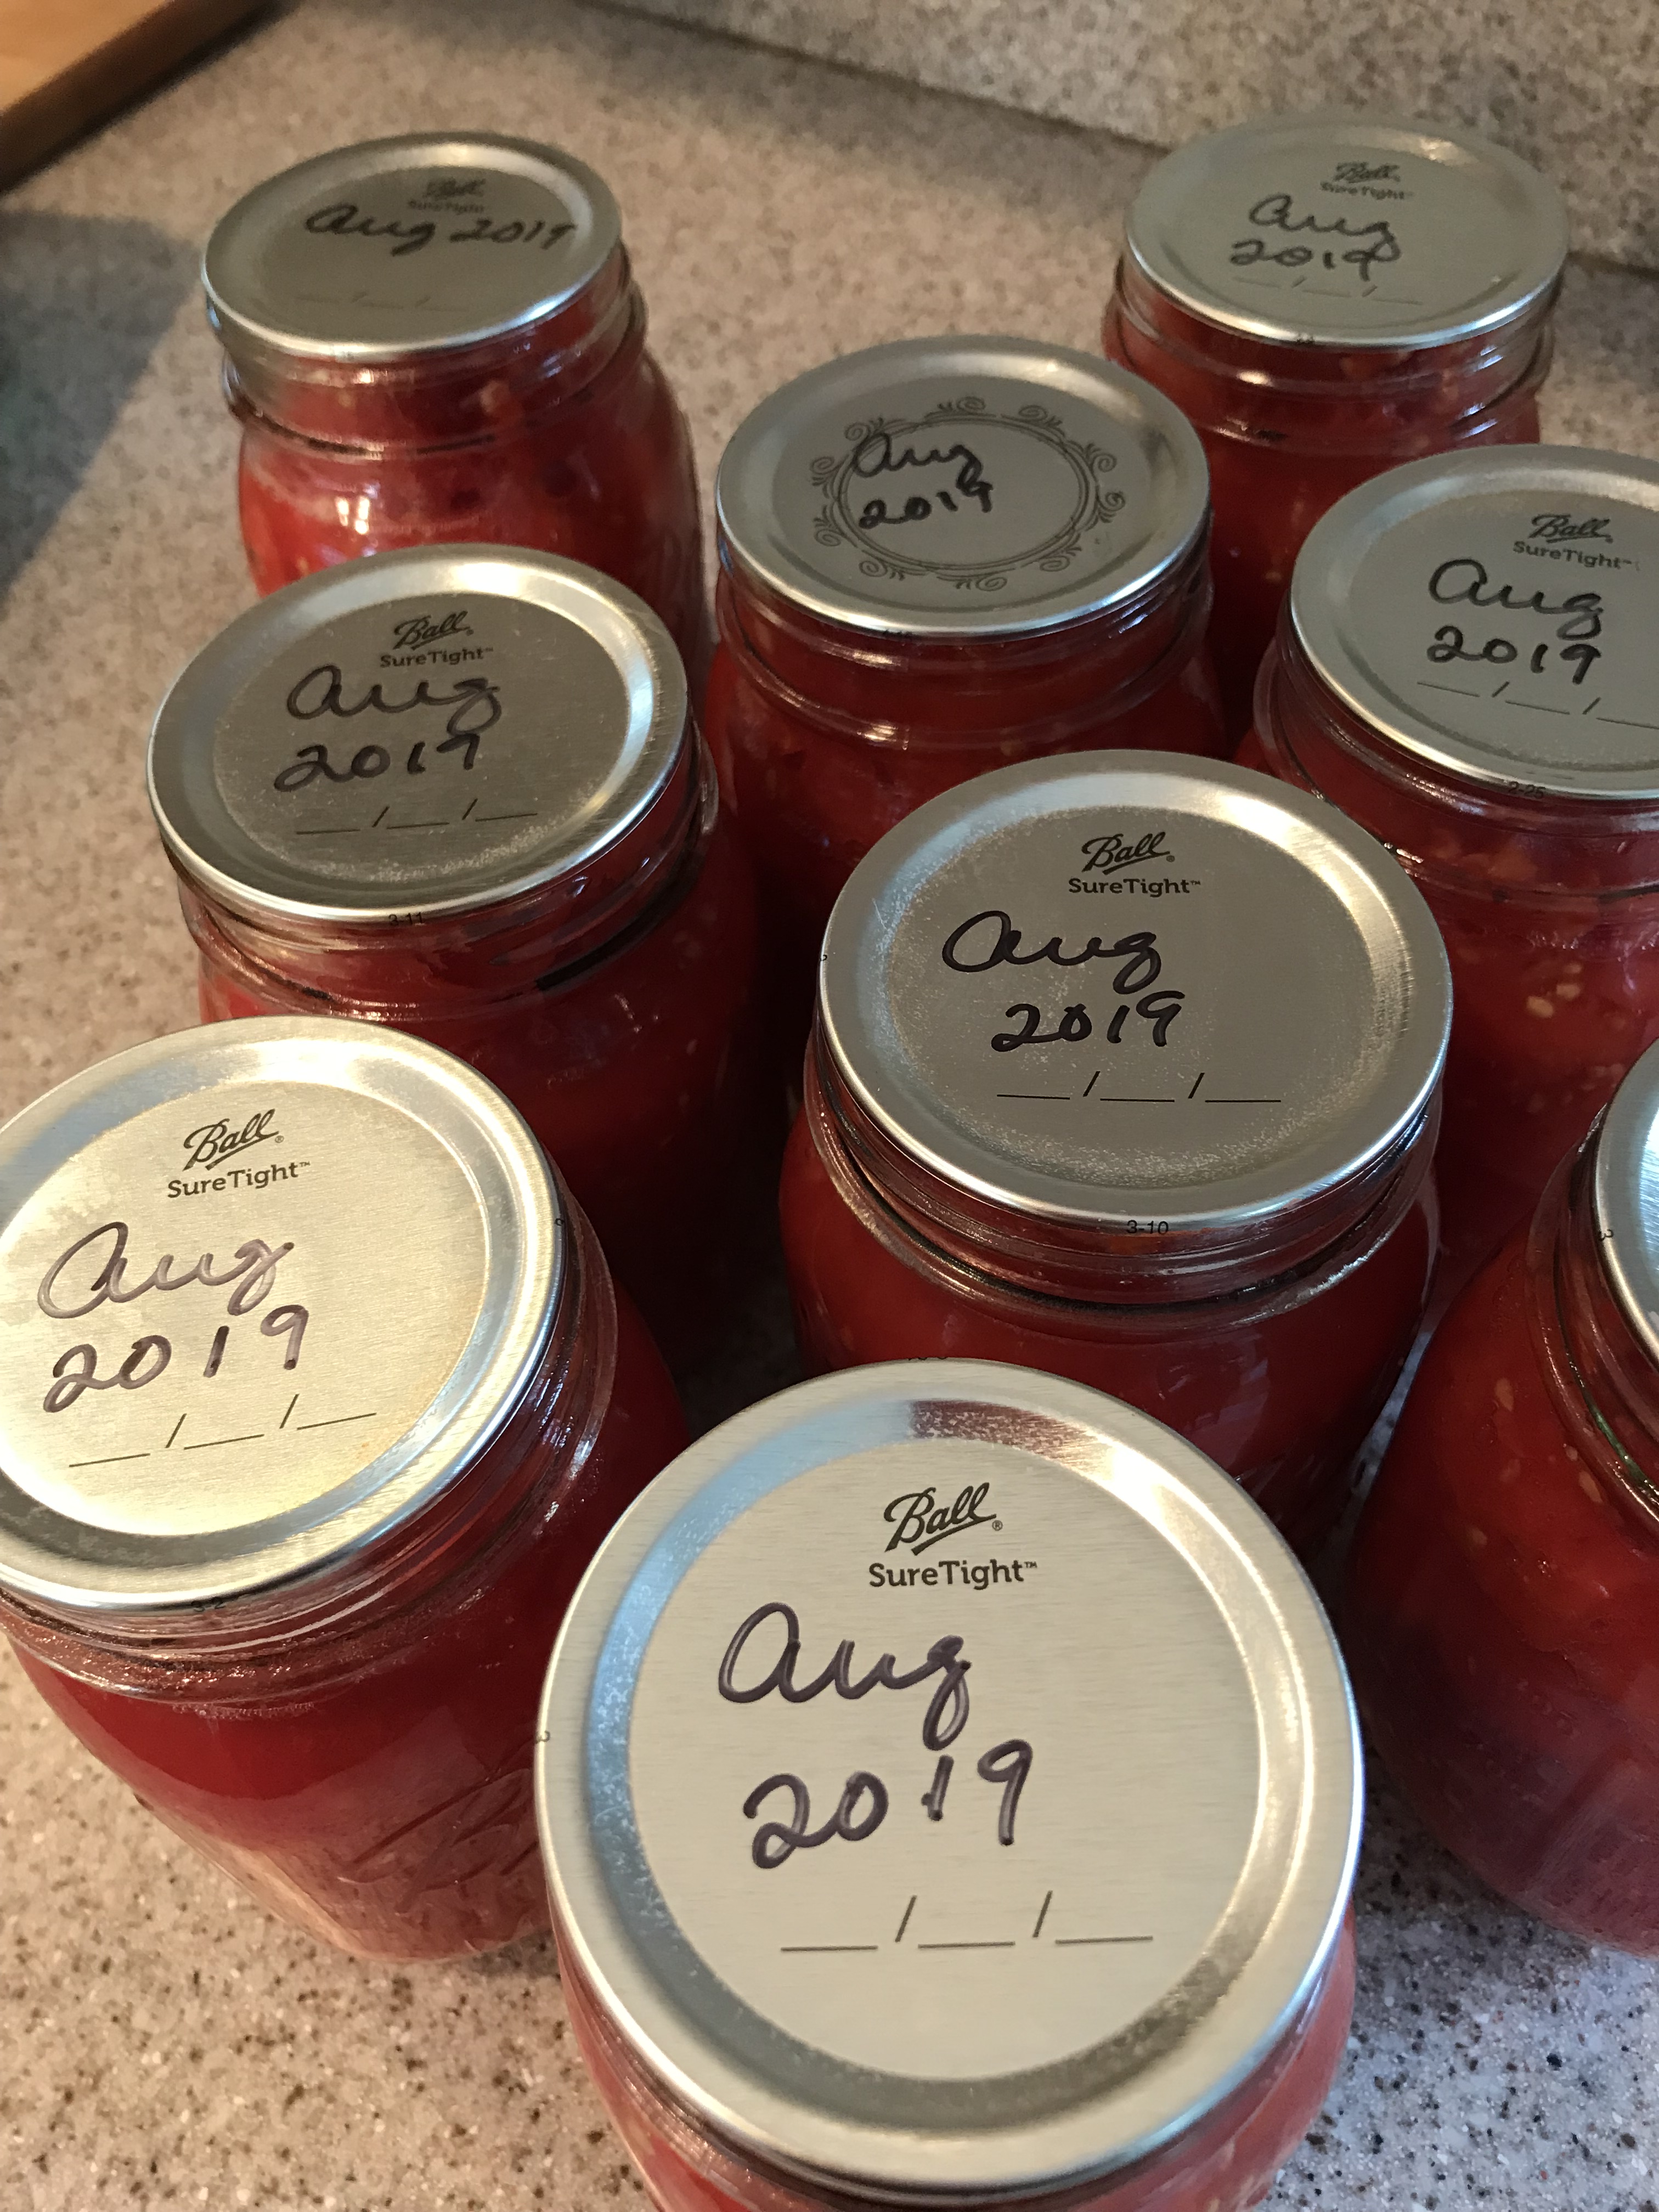
After the processing time is up, gently remove the jars using the lifter to a towel or an old cutting board like I have here. Just make sure it’s heat proof and be careful since these are VERY HOT! Some juice may leak out and that’s OK. Allow the jars to cool for 24 hours before handling them too much. Clean the jars off and remove the rings to keep mold from building up under them. You should hear them start popping as they seal up. If there are any that have not sealed, put them in the fridge and use them within in a week or so. My one 25 lb box this time yielded 9 pints, 4 quarts and 2 pints of pretty thick juice. Make sure you date them and use within 18-24 months.
Uses are endless…whatever you use canned tomatoes for you can use these for. Some of my favorites are chili, vegetable beef soup, spaghetti sauce, lasagna sauce, and so on. Enjoy !!
