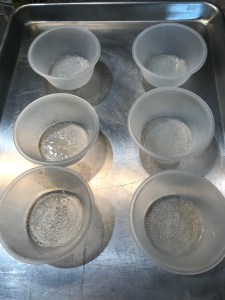

I bought these nonstick silicone cups a while back to make chocolate lava cakes – which are totally yummy but that’s for another post. I’ve been looking for another cute and fun way to use them. I considered breakfast omelet, but those aren’t as fun as a cake, right? I saw pineapple upside down cakes in a muffin pan and that’s what convinced me to try the silicon pans with it. They are perfect size for an individual cake, and I had hoped they would work as advertised and my cakes would flip right out.
Backgrond on my particular pans. I got them through King Arthur Flour in a kit, along with the chocolate lava cake mix. I had made the lava cake in a ramekin, but it was quite a pain to butter them and to get the cake back out once they were baked. The silicone pans worked great, so on to something new. I like their size (3 1/2″, hold 2/3 cup baking capacity), they can go right into the oven up to 500 degrees, or into the freezer, they are microwave safe and they can go in the dishwasher! Yes! I would recommend these for any small cakes, that you need/want to flip out to serve. They would also be great for individual breakfast casserole, veggie or potato gratins that you can flip out on a plate for a nice presentation, or to mound up rice just to make it look pretty on a plate. All together I’m happy to have them as another option for treats. Make sure you check the specifications on the ones you buy, if you chose to do so.
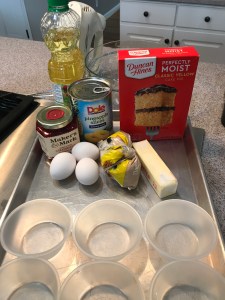
On to the recipe – it’s pretty easy and since I wasn’t sure how this would go, I used my quick cake version on this one – boxed cake mix. No need to spend a ton of time and energy on something I wasn’t going to like the results of. This recipe would work in these pans, a cupcake pan without the liners, in (2) round cake pans, or a 13 x 9″ baking pan. Just adjust your baking time up/down depending on your size. The cake comes out a little spongy too, which I really like.
- 1/4 stick of butter
- 1/2 cup of brown sugar
- 1 – 20 oz. can pineapple rings – fruit and the juice will be used. I will make a change on this after my experiment. Tidbit size will work a little better for the small pans,.
- 10-12 maraschino cherries – I used bourbon cherries because that’s what I had, why not?
- 1 Yellow cake mix – it’s ok to take some help from the store sometimes. It’s just premeasured dry ingredients, plus we are going to add to it. No guilt needed here. 🙂
- 3 whole eggs
- 1/3 cup vegetable oil
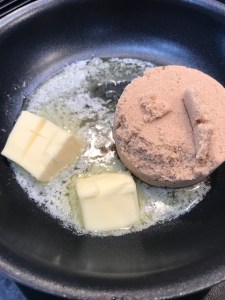
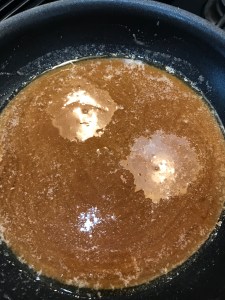
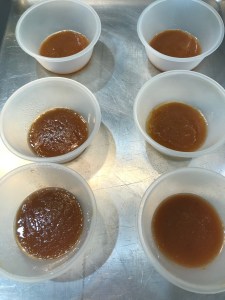
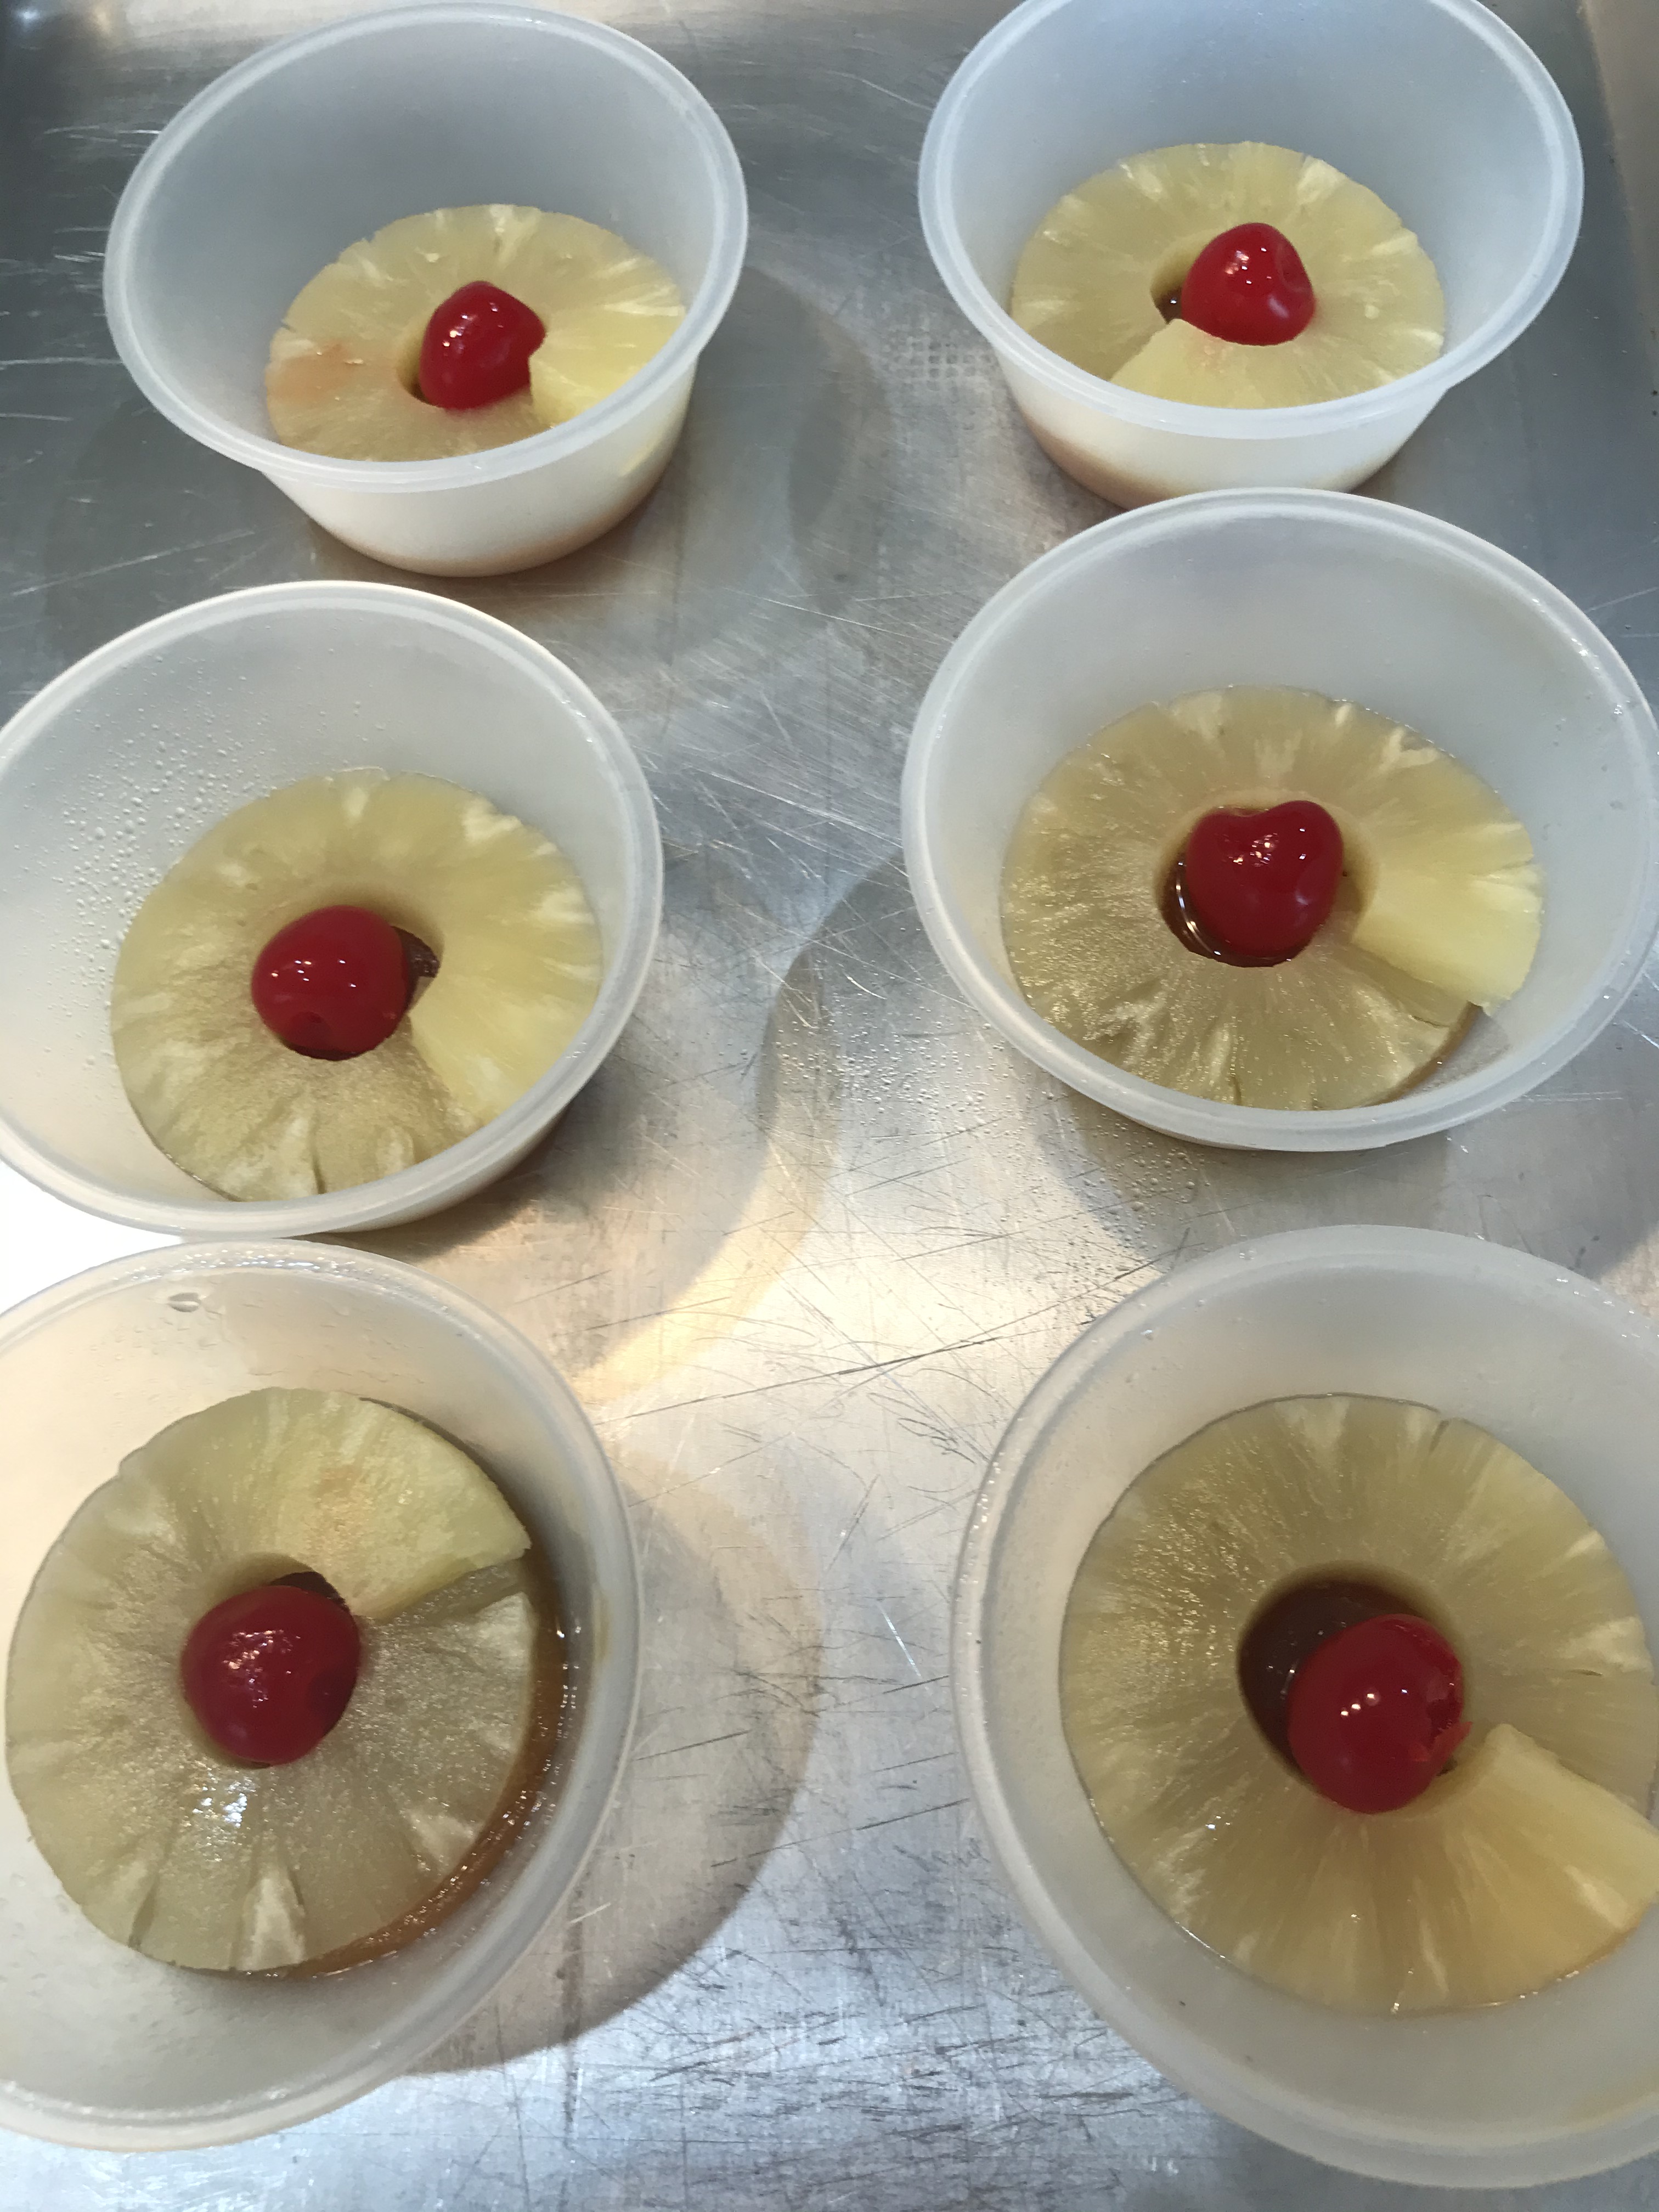
Heat the butter and brown sugar together in a small sauce pan over low heat, until the sugar is melted. Spoon a heaping tablespoon in the bottom of each pan, or the whole thing for a 13 x 9 pan.
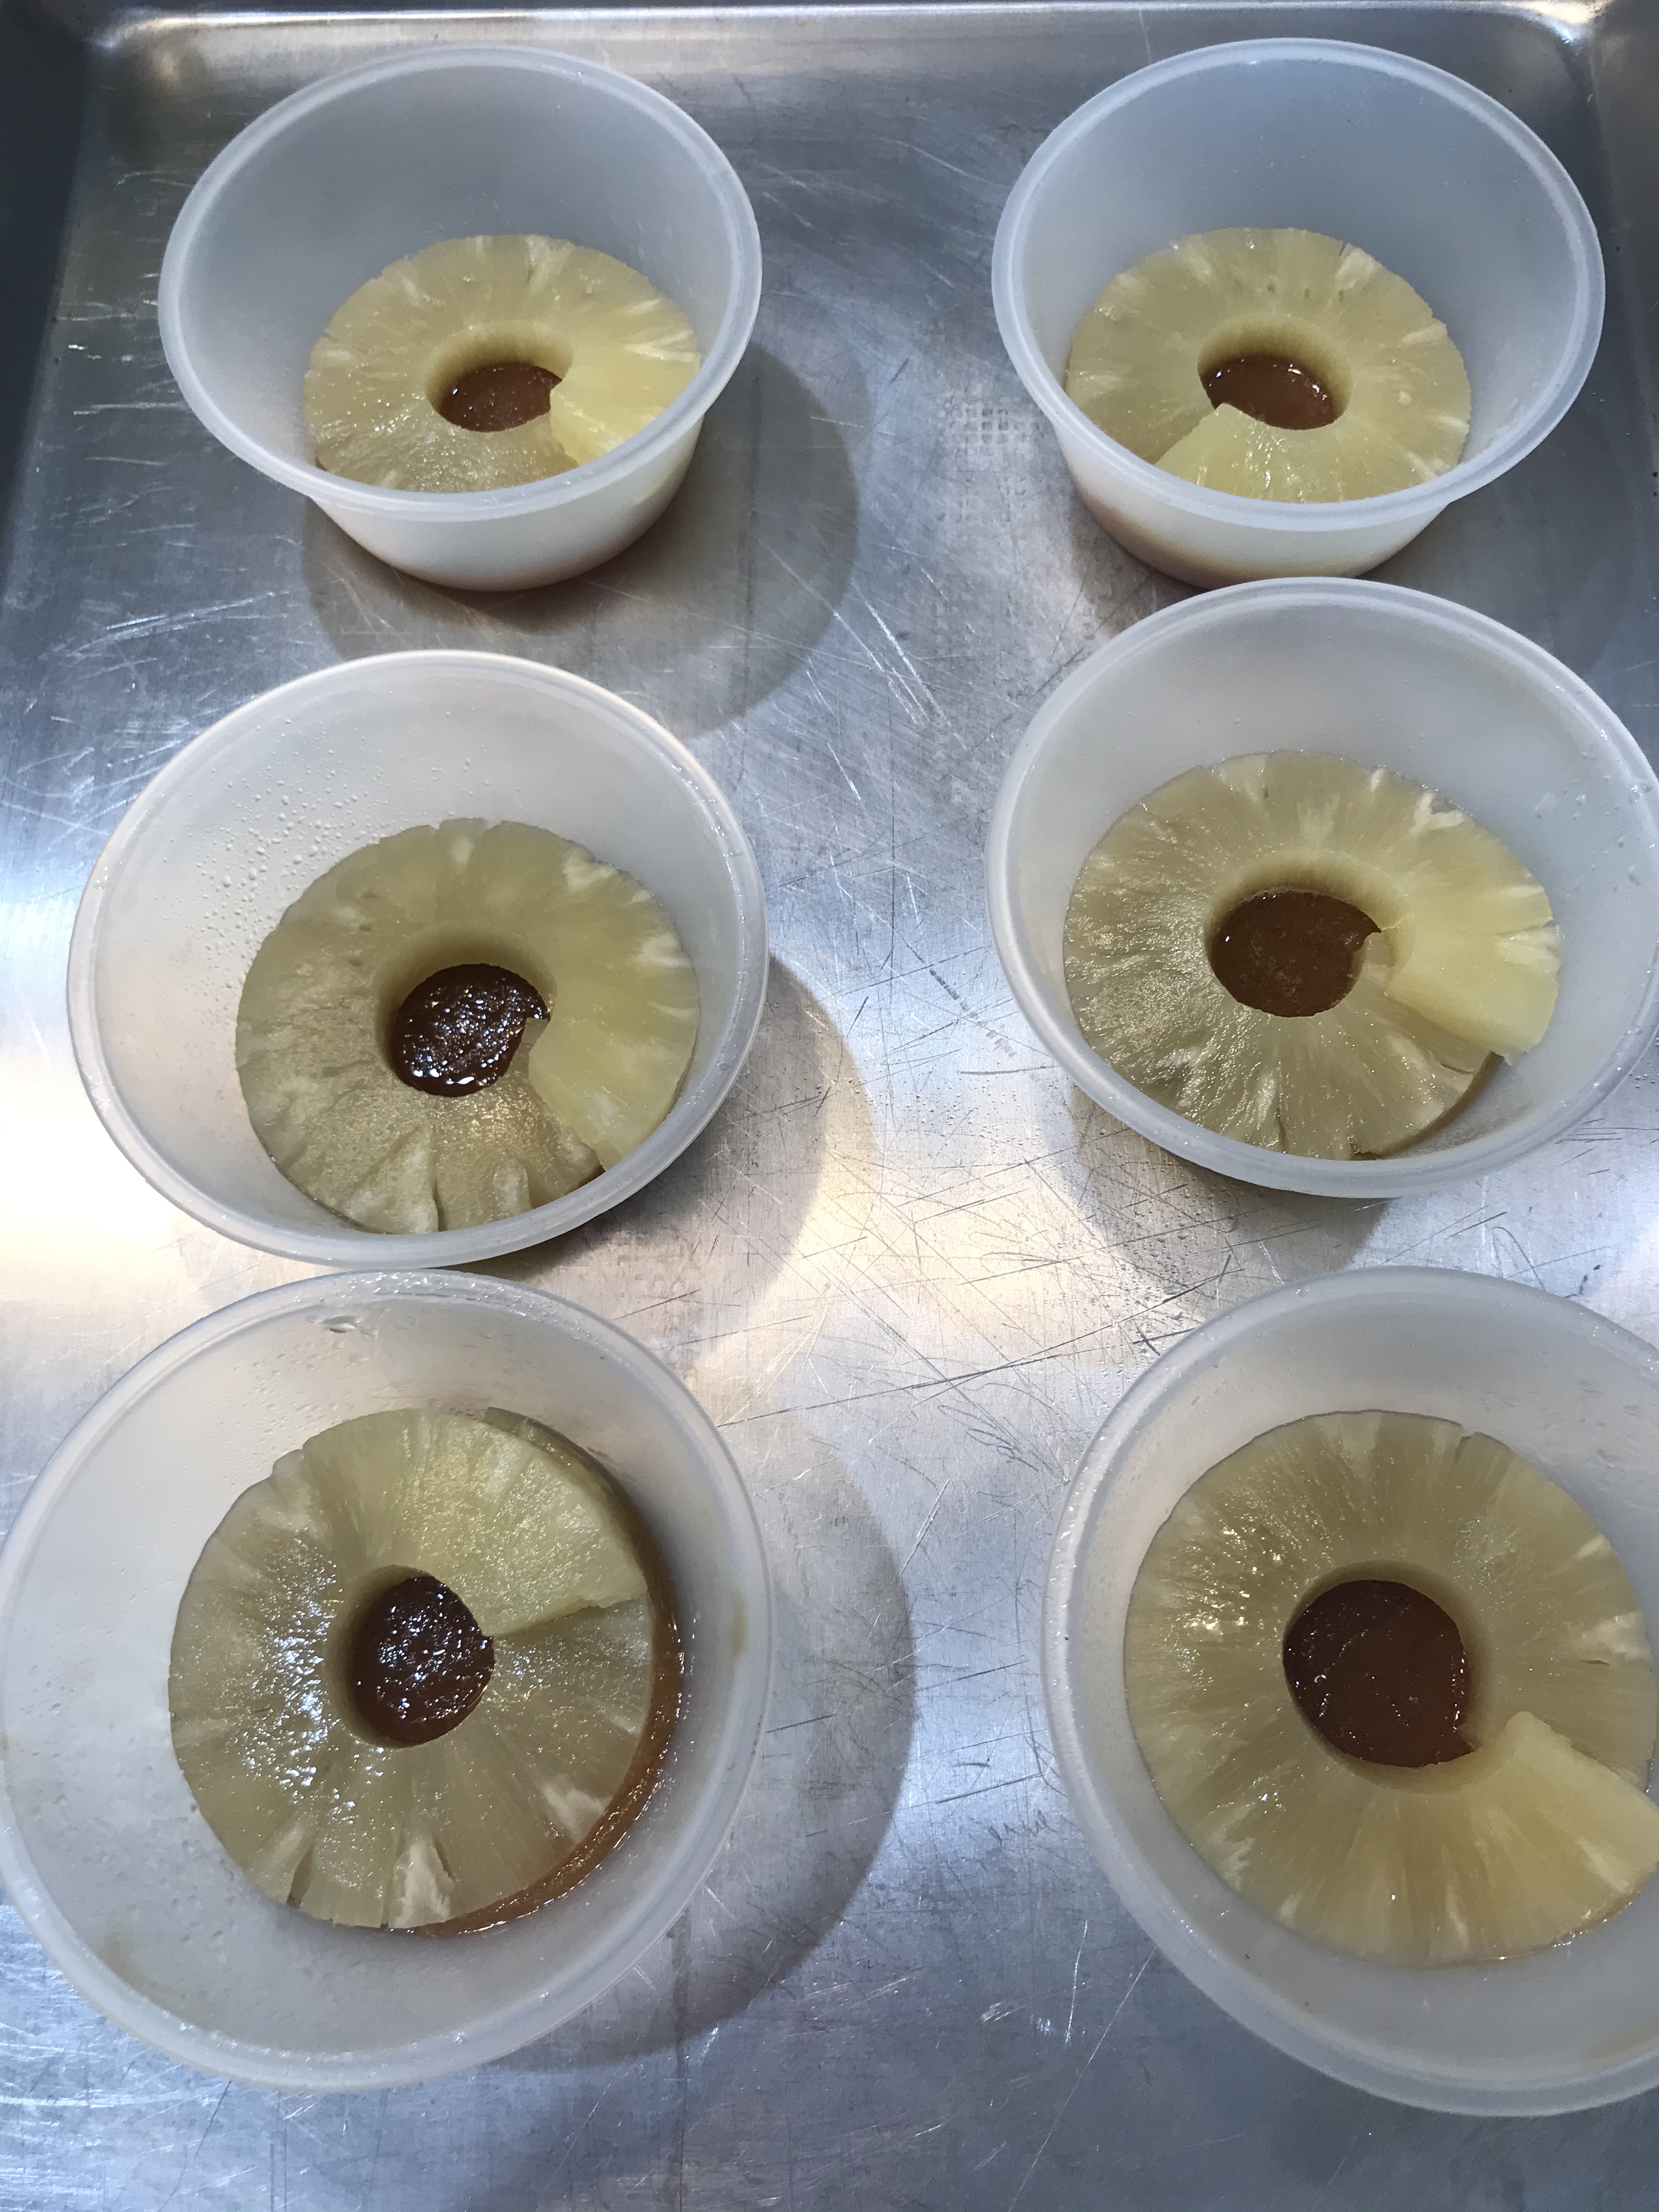
Now, here’s where I would change the shape of the pineapple. The rings were a little bit big for this size pan, so I make a slit in the side and just overlapped them a bit. Next time I would buy the tidbit size and cover the bottom with those. That way they would fit nicely, look better and would be much easier to eat. Lesson learned number one on this experiment. Lay the rings in the bottom and place a cherry in the middle. Make sure you save the juice from the pineapple.
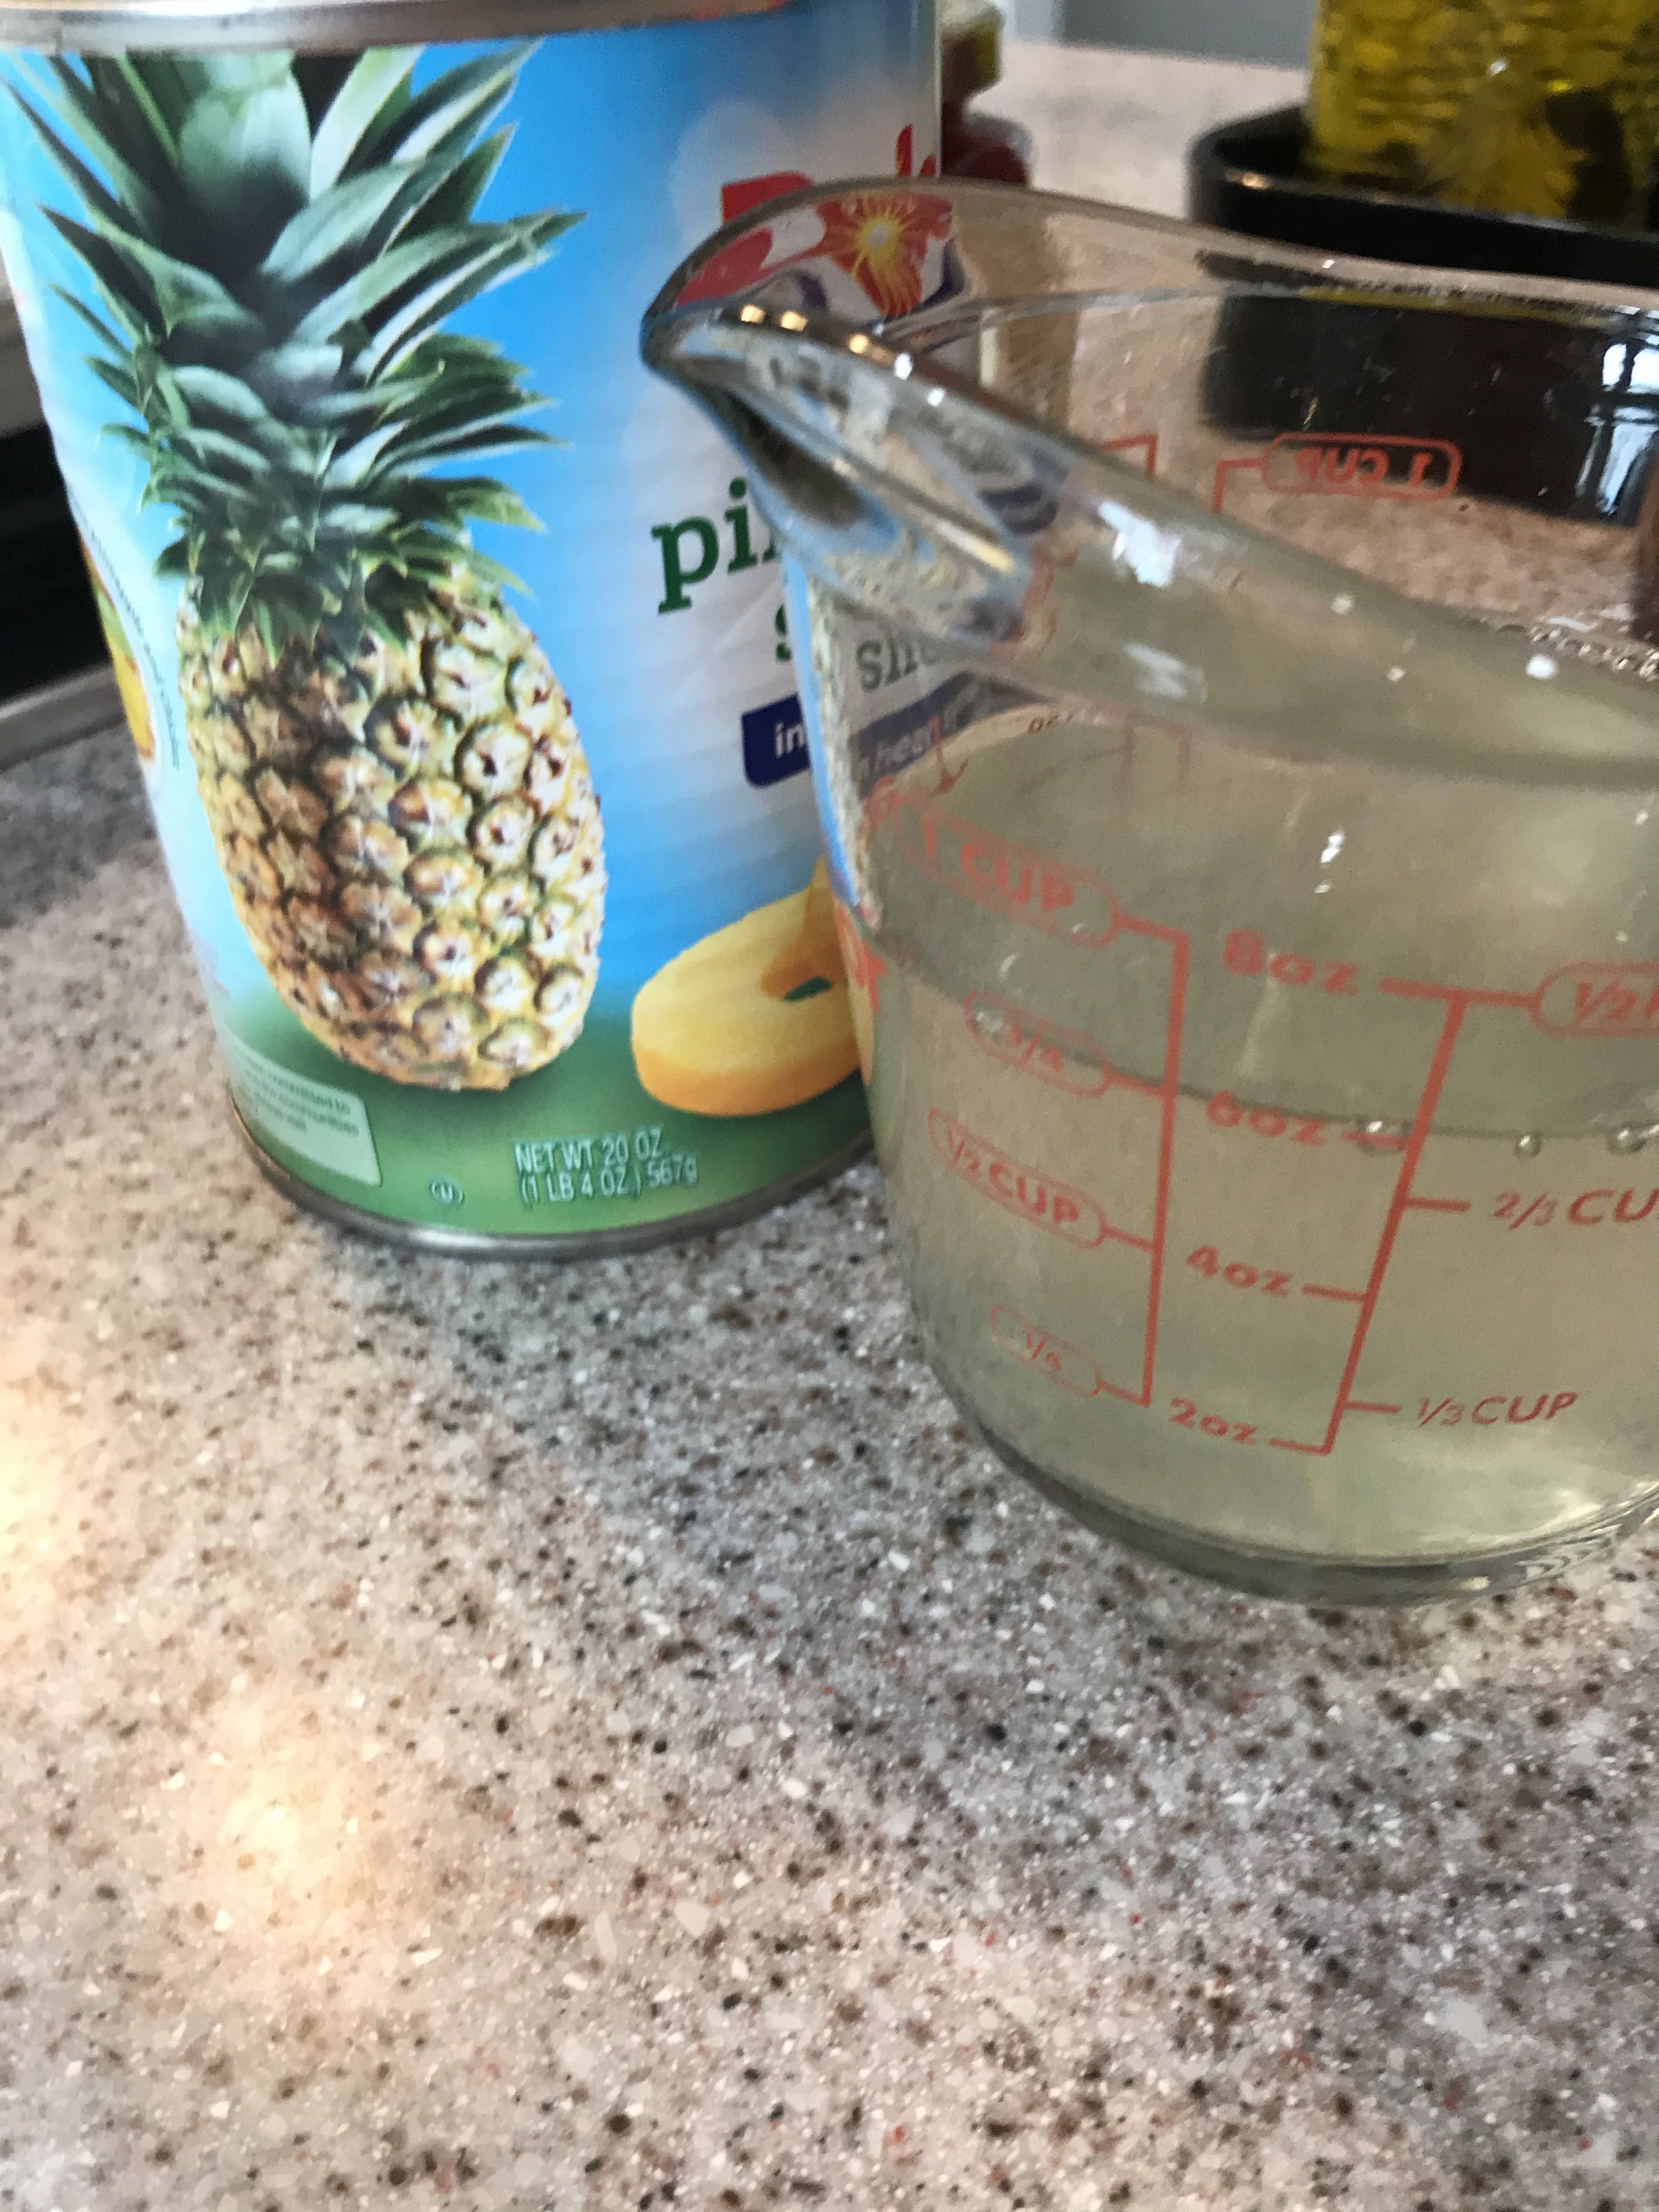
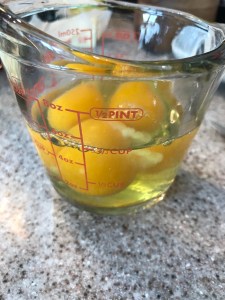
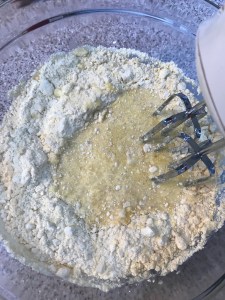
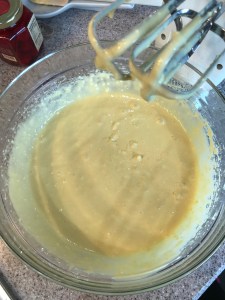
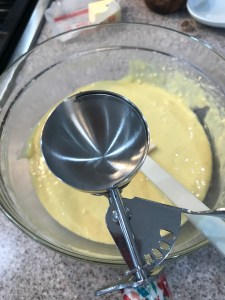
For the batter – The cake mix calls for 1 cup of water, 3 eggs and 1/3 cup of vegetable oil. That would all be just fine to use here, but since there’s all this nice juice left, I use that in place of the water. I got 3/4 a cup to start, then I rinsed out the can to get the last 1/4 cup. Add the juice along with the eggs and oil and mix on medium high for about 3 minutes until well mixed. Use an ice cream scoop (or pour into a measuring cup to make it easier) to fill the pans 2/3 of the way full. I did a little testing and did 2/3 then a little more, then filled them up. The 2/3 full option turned out the best, and they were all good, but didn’t cook together. Plus one ran over that I got REALLY full….ugh.
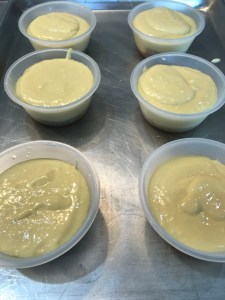
Front row 2/3 full, middle a little more, back almost full 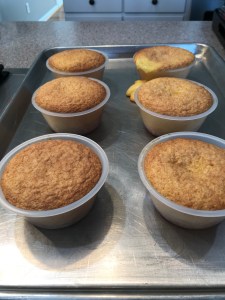
That full one in the back got a little messy!
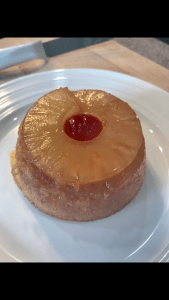
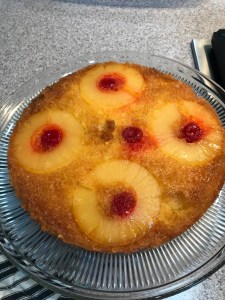
Bake at 350 degrees for 12-15 minutes or until a cake tester comes out clean. Remove them from the oven and let them sit for 3-5 minutes to cool off. Use a silicone spatula to loosen the sides, then turn the cakes out onto a storage container or right to a serving plate. Be careful because they will still be hot. Let them cool slightly and serve, maybe with some whipped cream or nice vanilla ice cream. Why not? This recipe made 6 individual cakes and one 8″ round cake pan. I would think it would make about 10 of the individual size or a 13 x 9 pan. Enjoy!
Leftover experiment can’t be bad 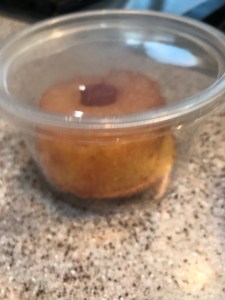
To go cake for a friend 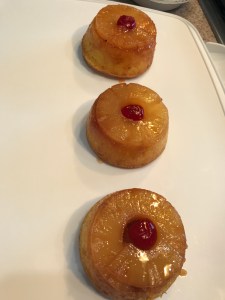
How cute are these?? 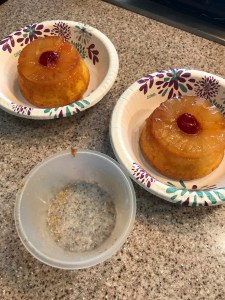
Pans come out pretty clean
