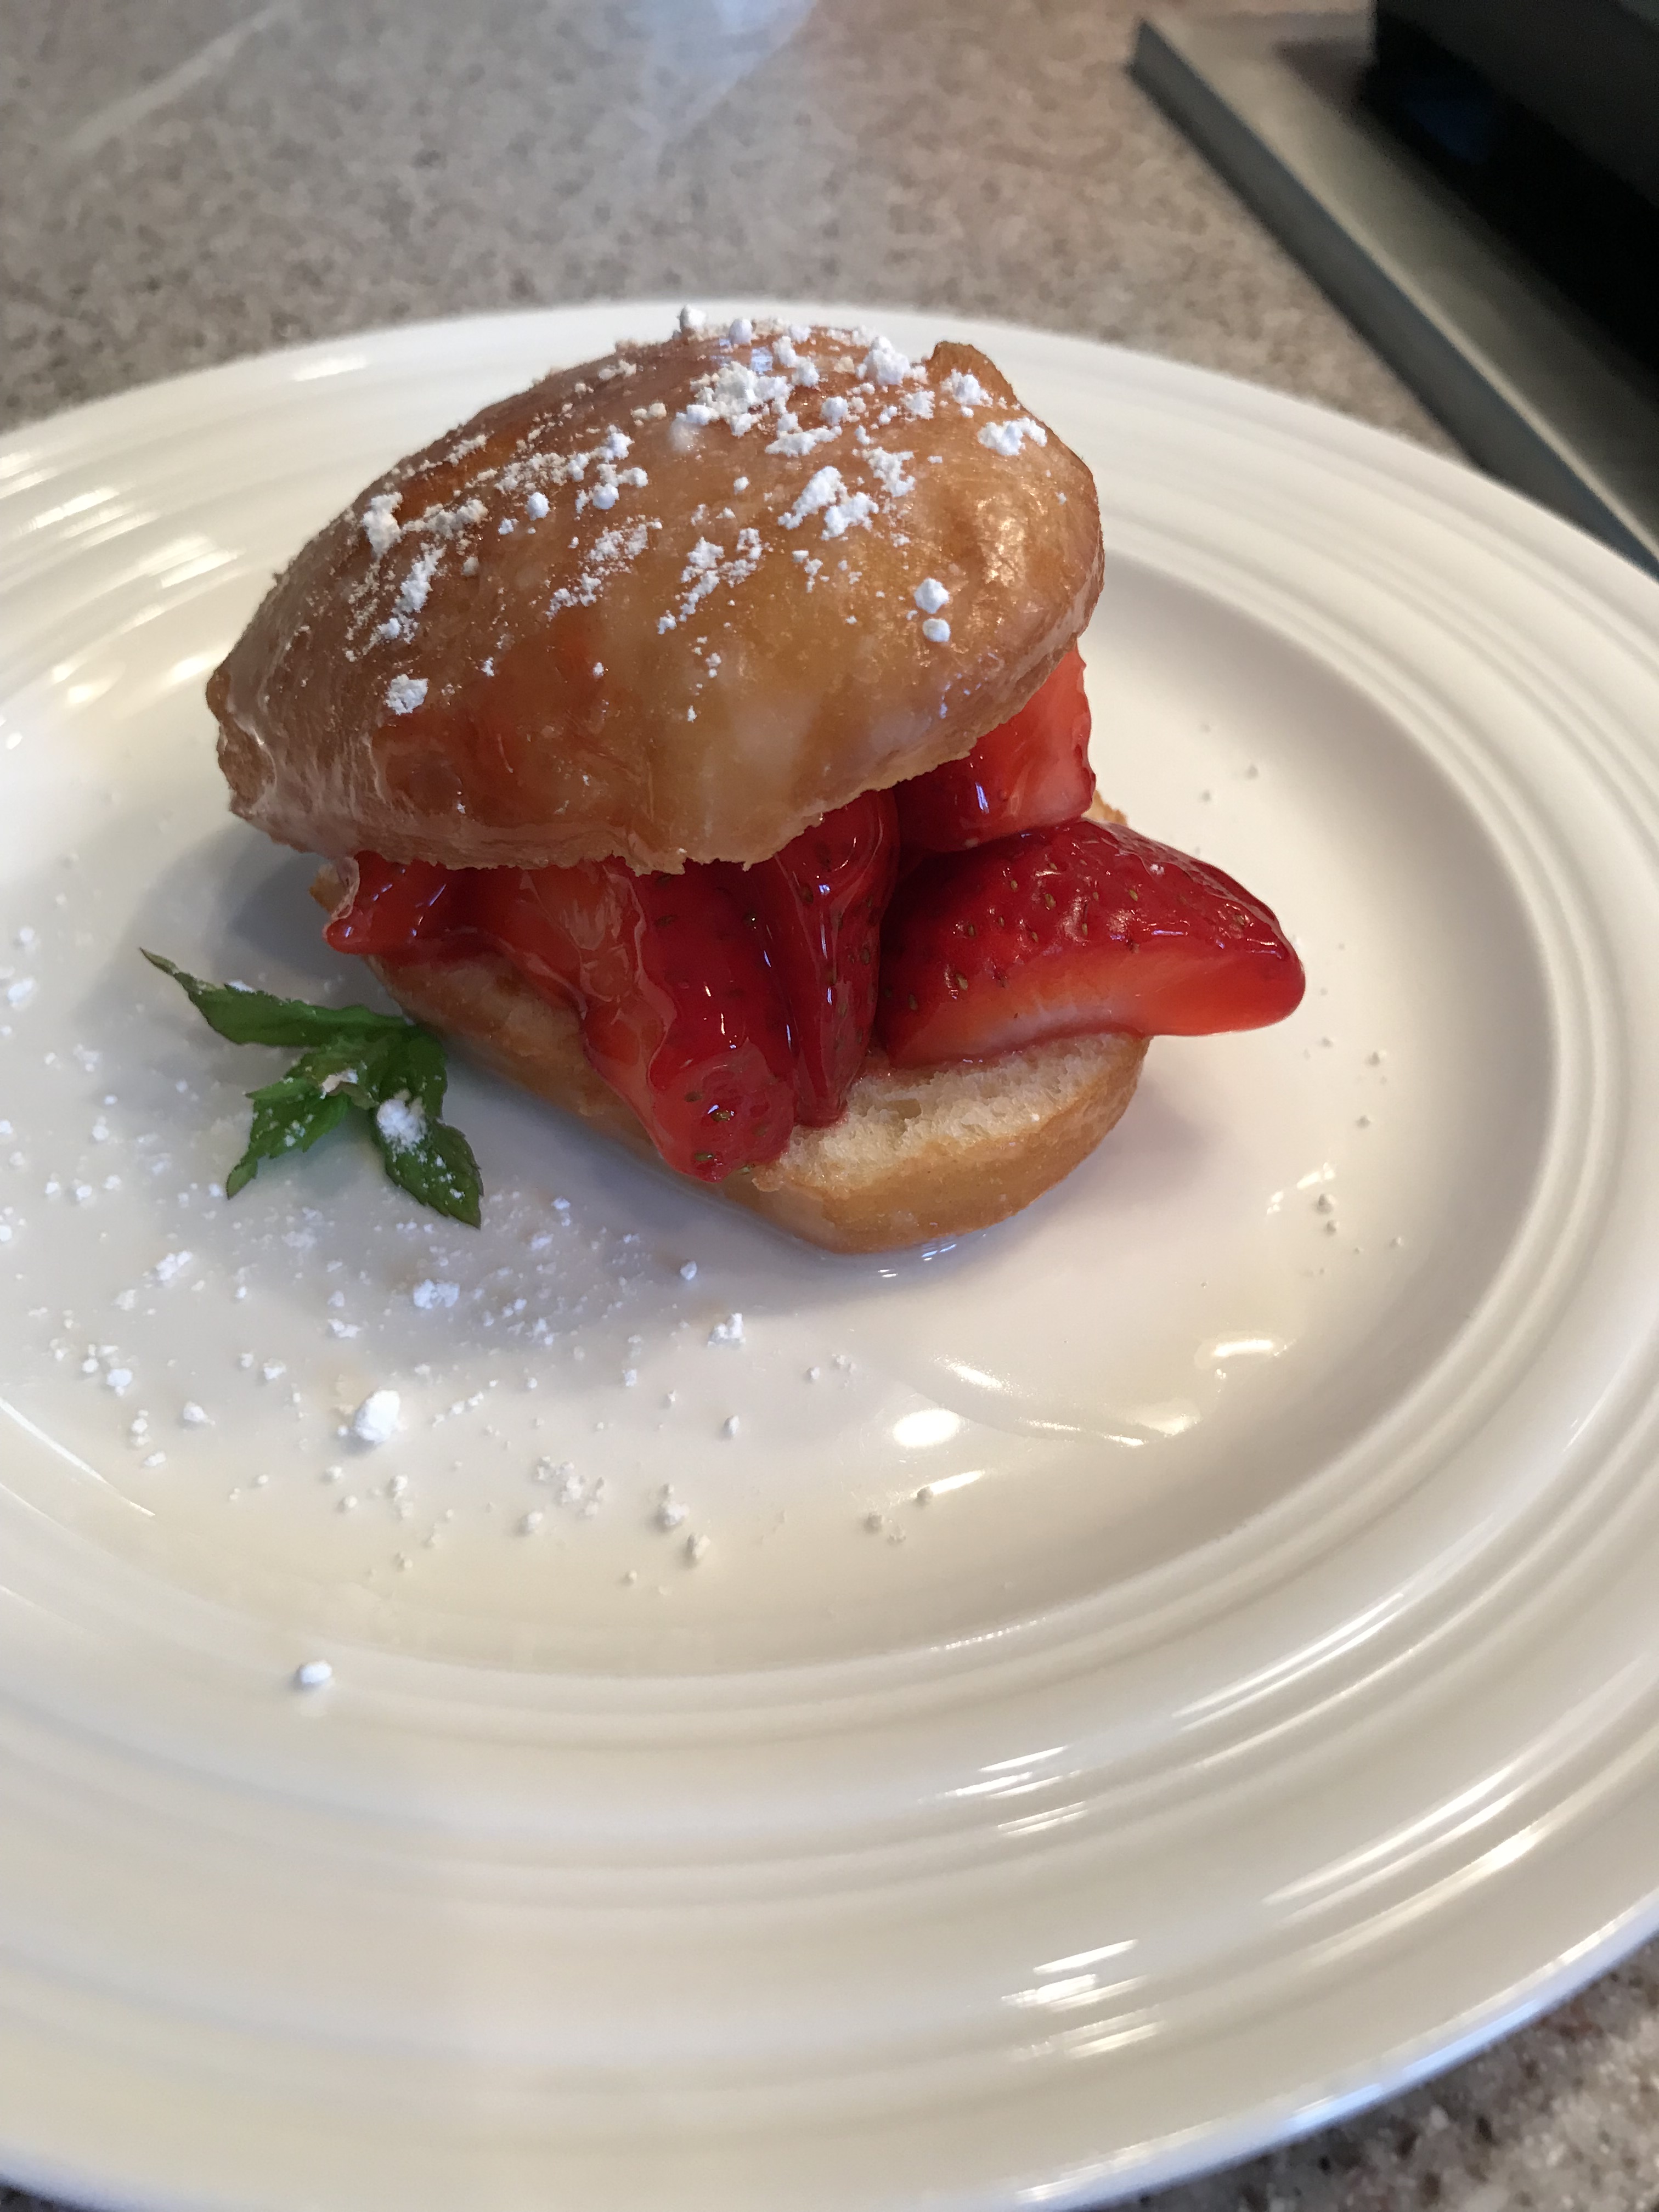
I’m beginning to think maybe I need to find some new shows to watch. This little creation was a result of me seeing a version of it on one of the “Best Thing I Ever…” shows. I do not have the time or the motivation to run to California where the original is from, so I set off to create a version for myself after I could not get this thing off my mind. These are a little time consuming and probably a lot of calories, but there is fruit in them, so that’s a positive, right? I used the base for the glazed donut from The Pioneer Woman Cooks- Food from My Frontier and just didn’t cut the middle out like traditional glazed donuts, so they would be great to load up with fruit. Here is the recipe with my pics of the process. They are more like a good weekend food project, but totally worth it.
PW’s ingredient list for Glazed Donuts:
- 1/4 cup granulated sugar
- 1 1/2 cups whole milk, very warm
- 3 teaspoons instant yeast
- 2 large eggs
- 1 1/4 sticks unsalted butter, melted
- 4 cups all-purpose flour
- 1/4 teaspoon salt
- 4 cups vegetable shortening for frying
Glaze:
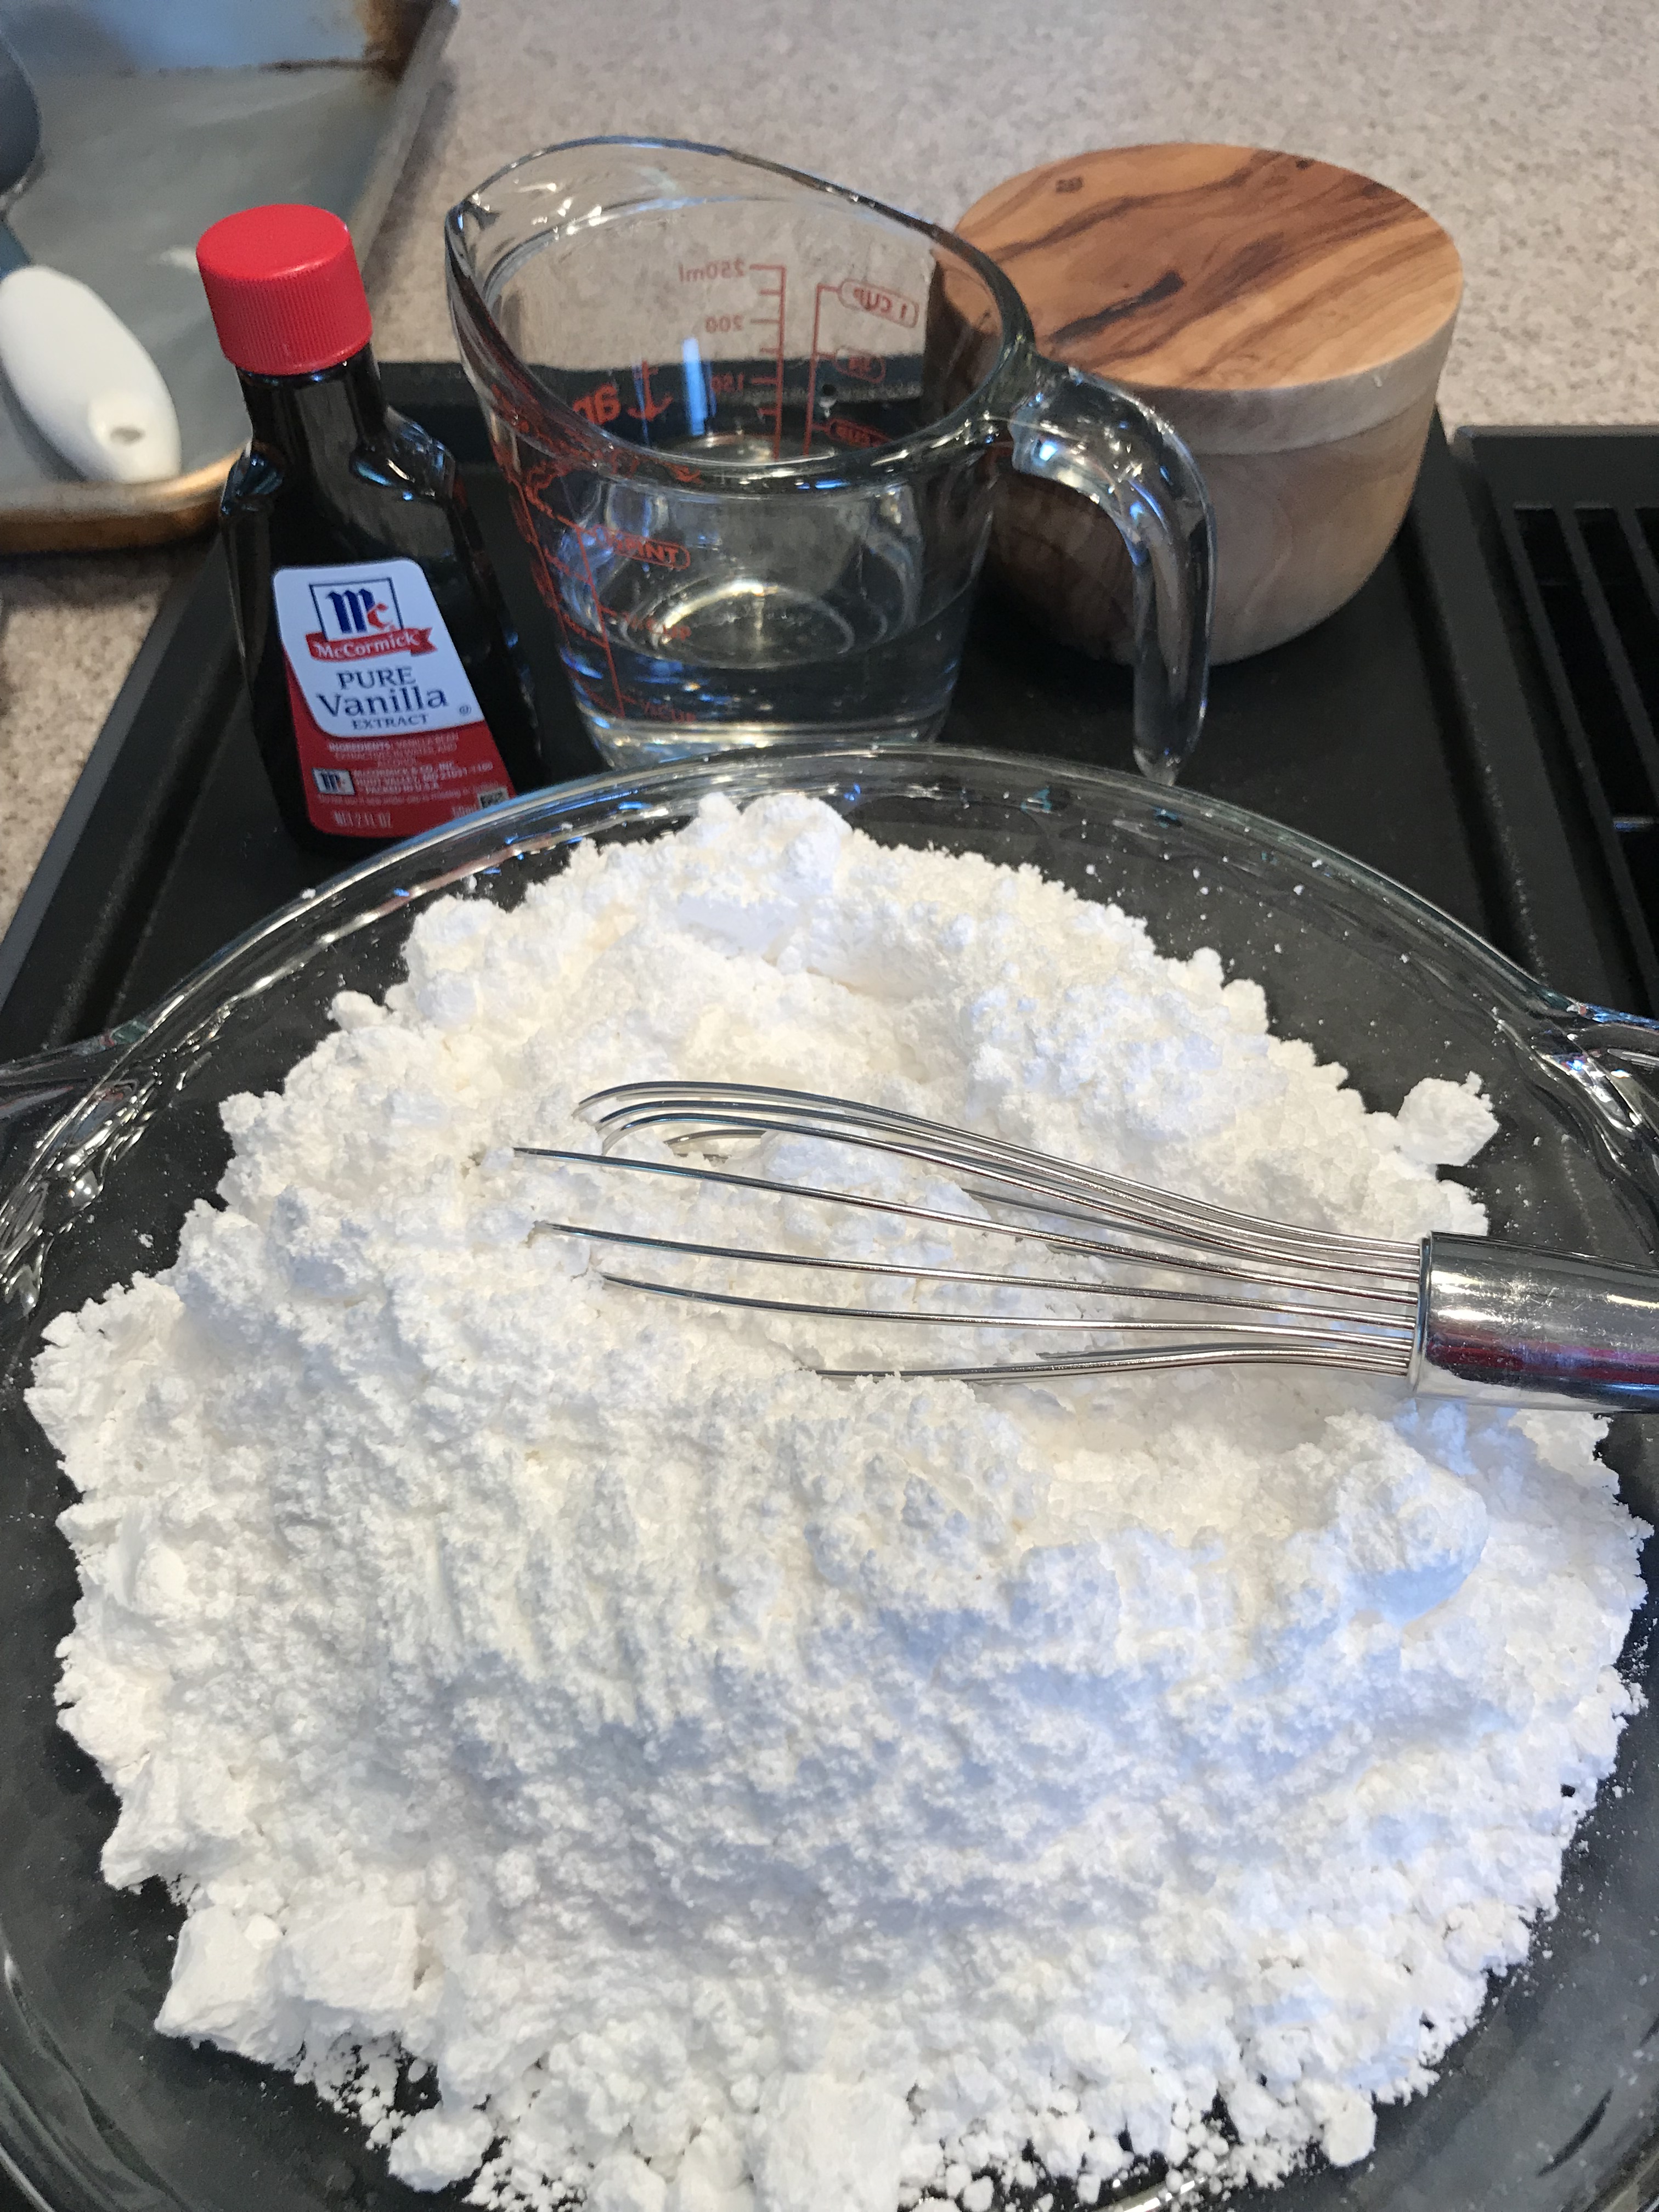
- 3 cups powdered sugar
- 1/2 teaspoon salt
- 1/2 teaspoon vanilla extract
- 1/2 cup cold water
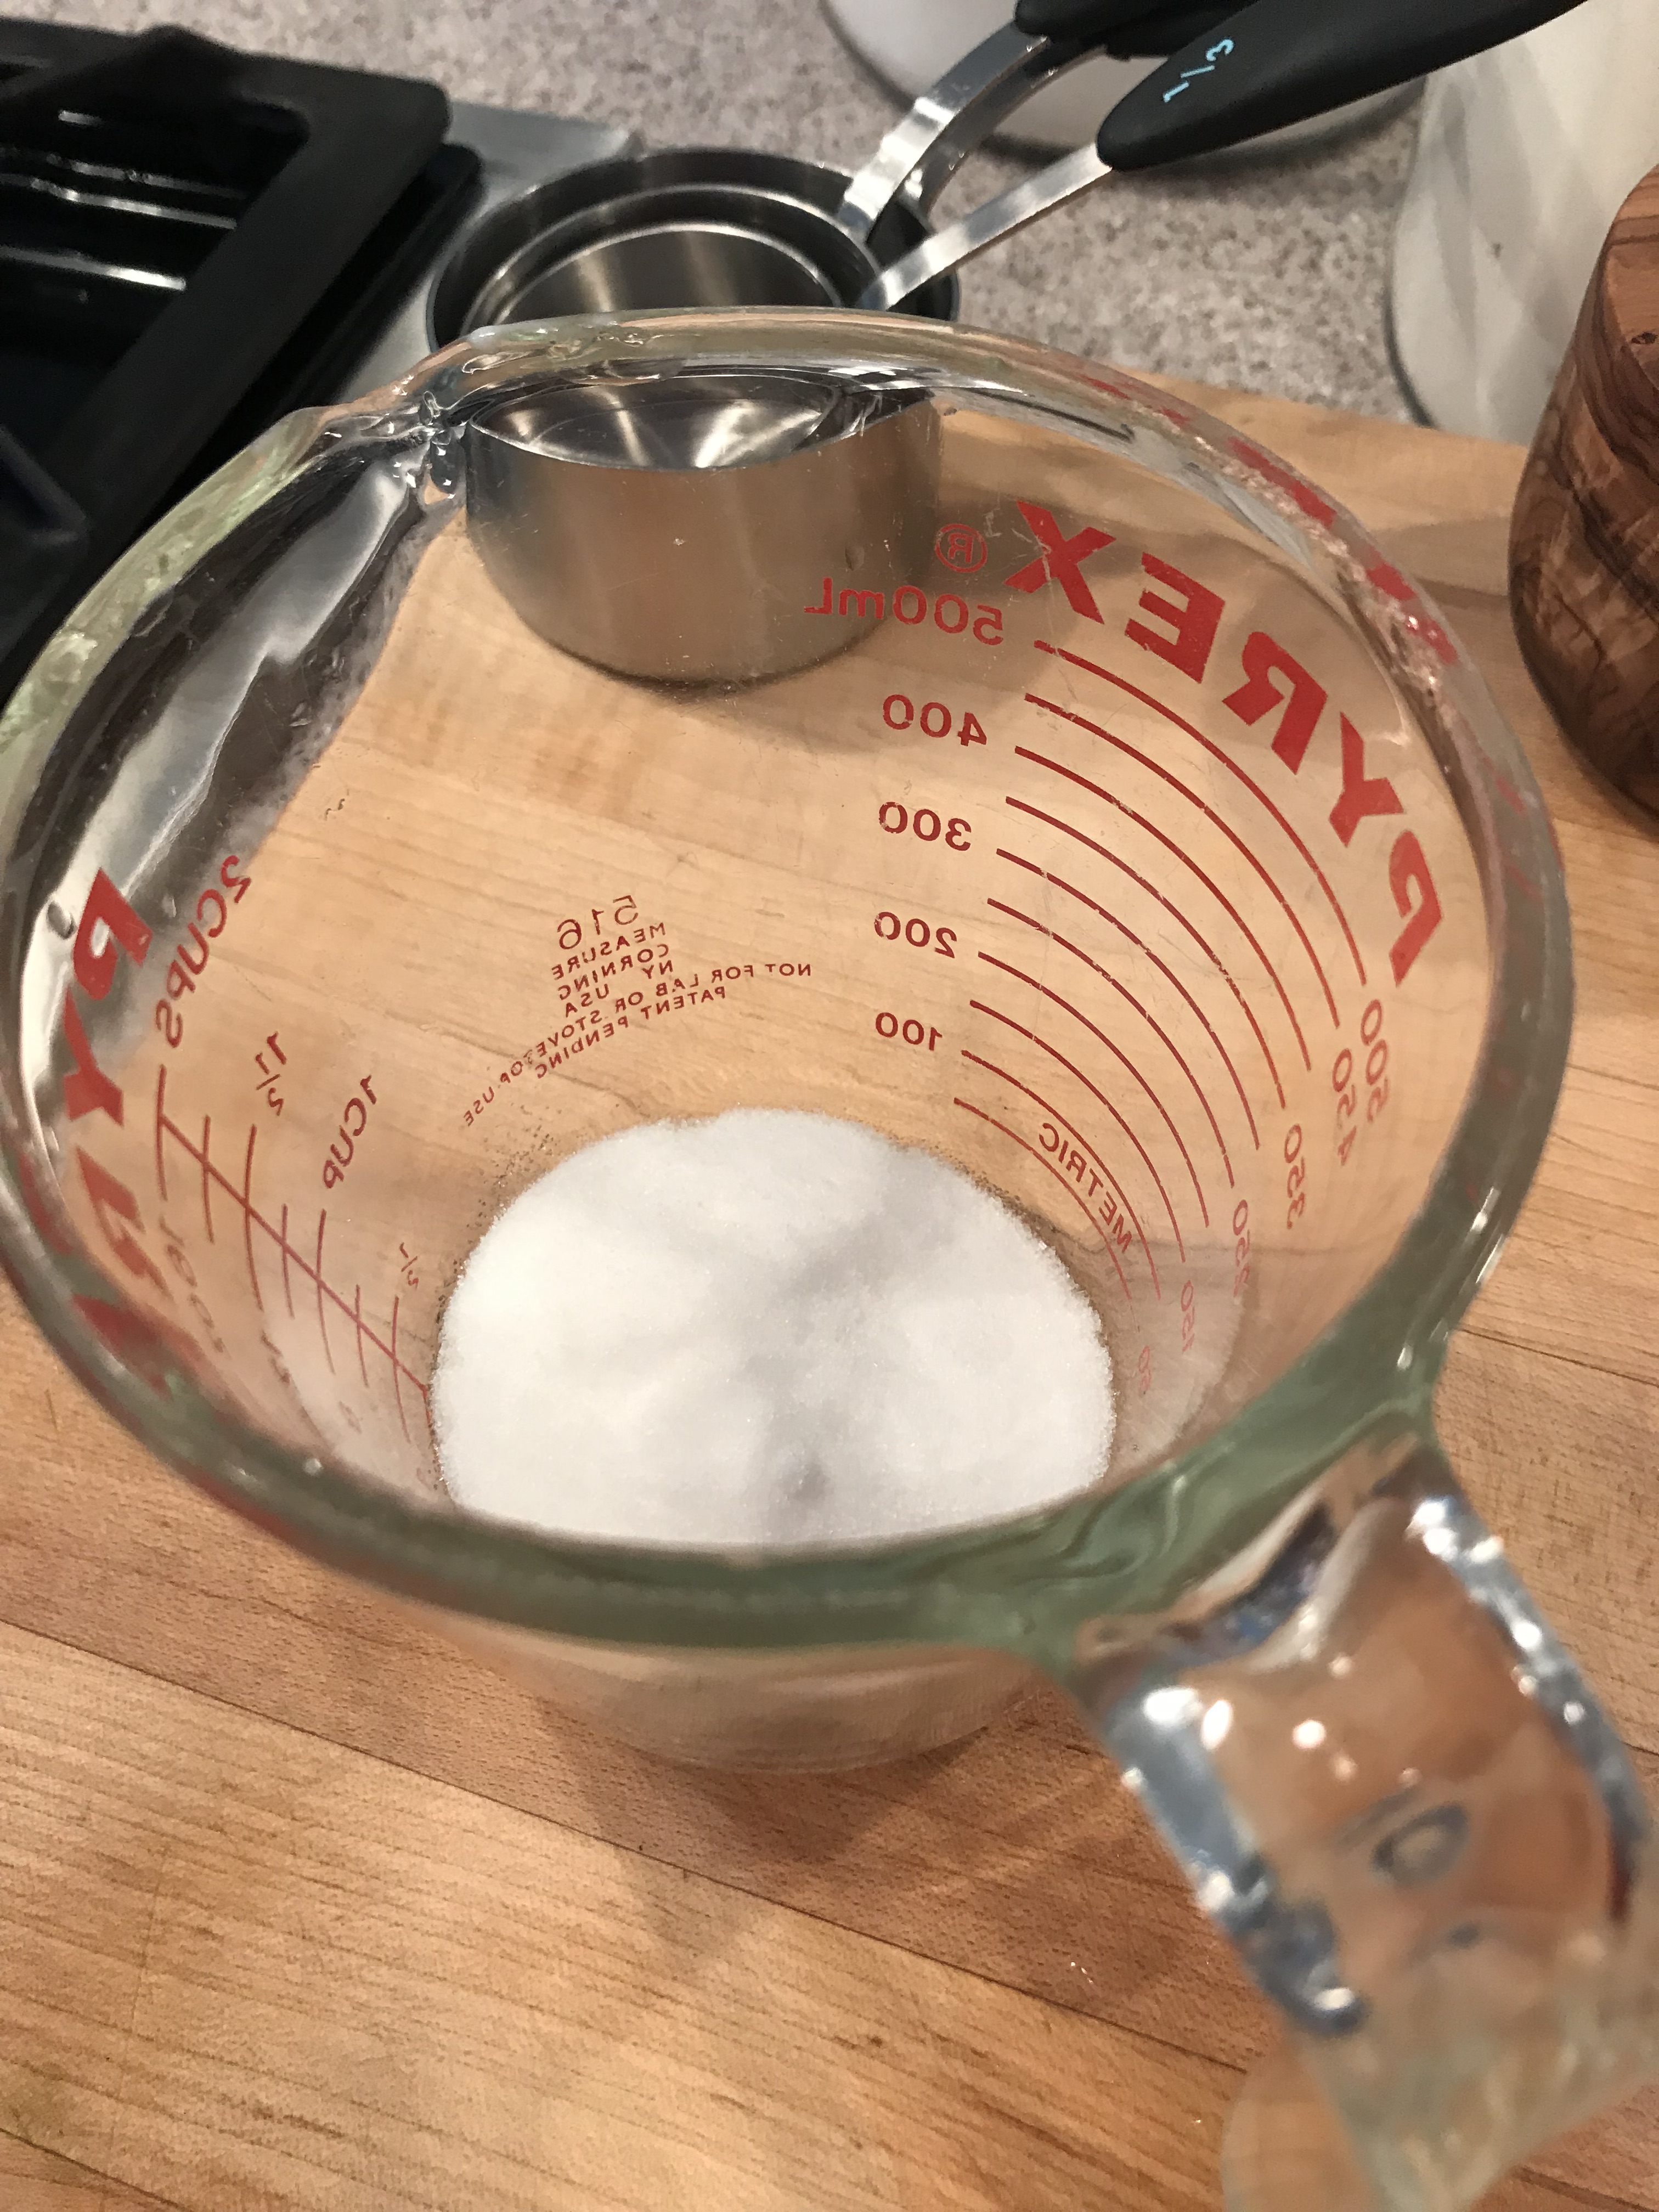
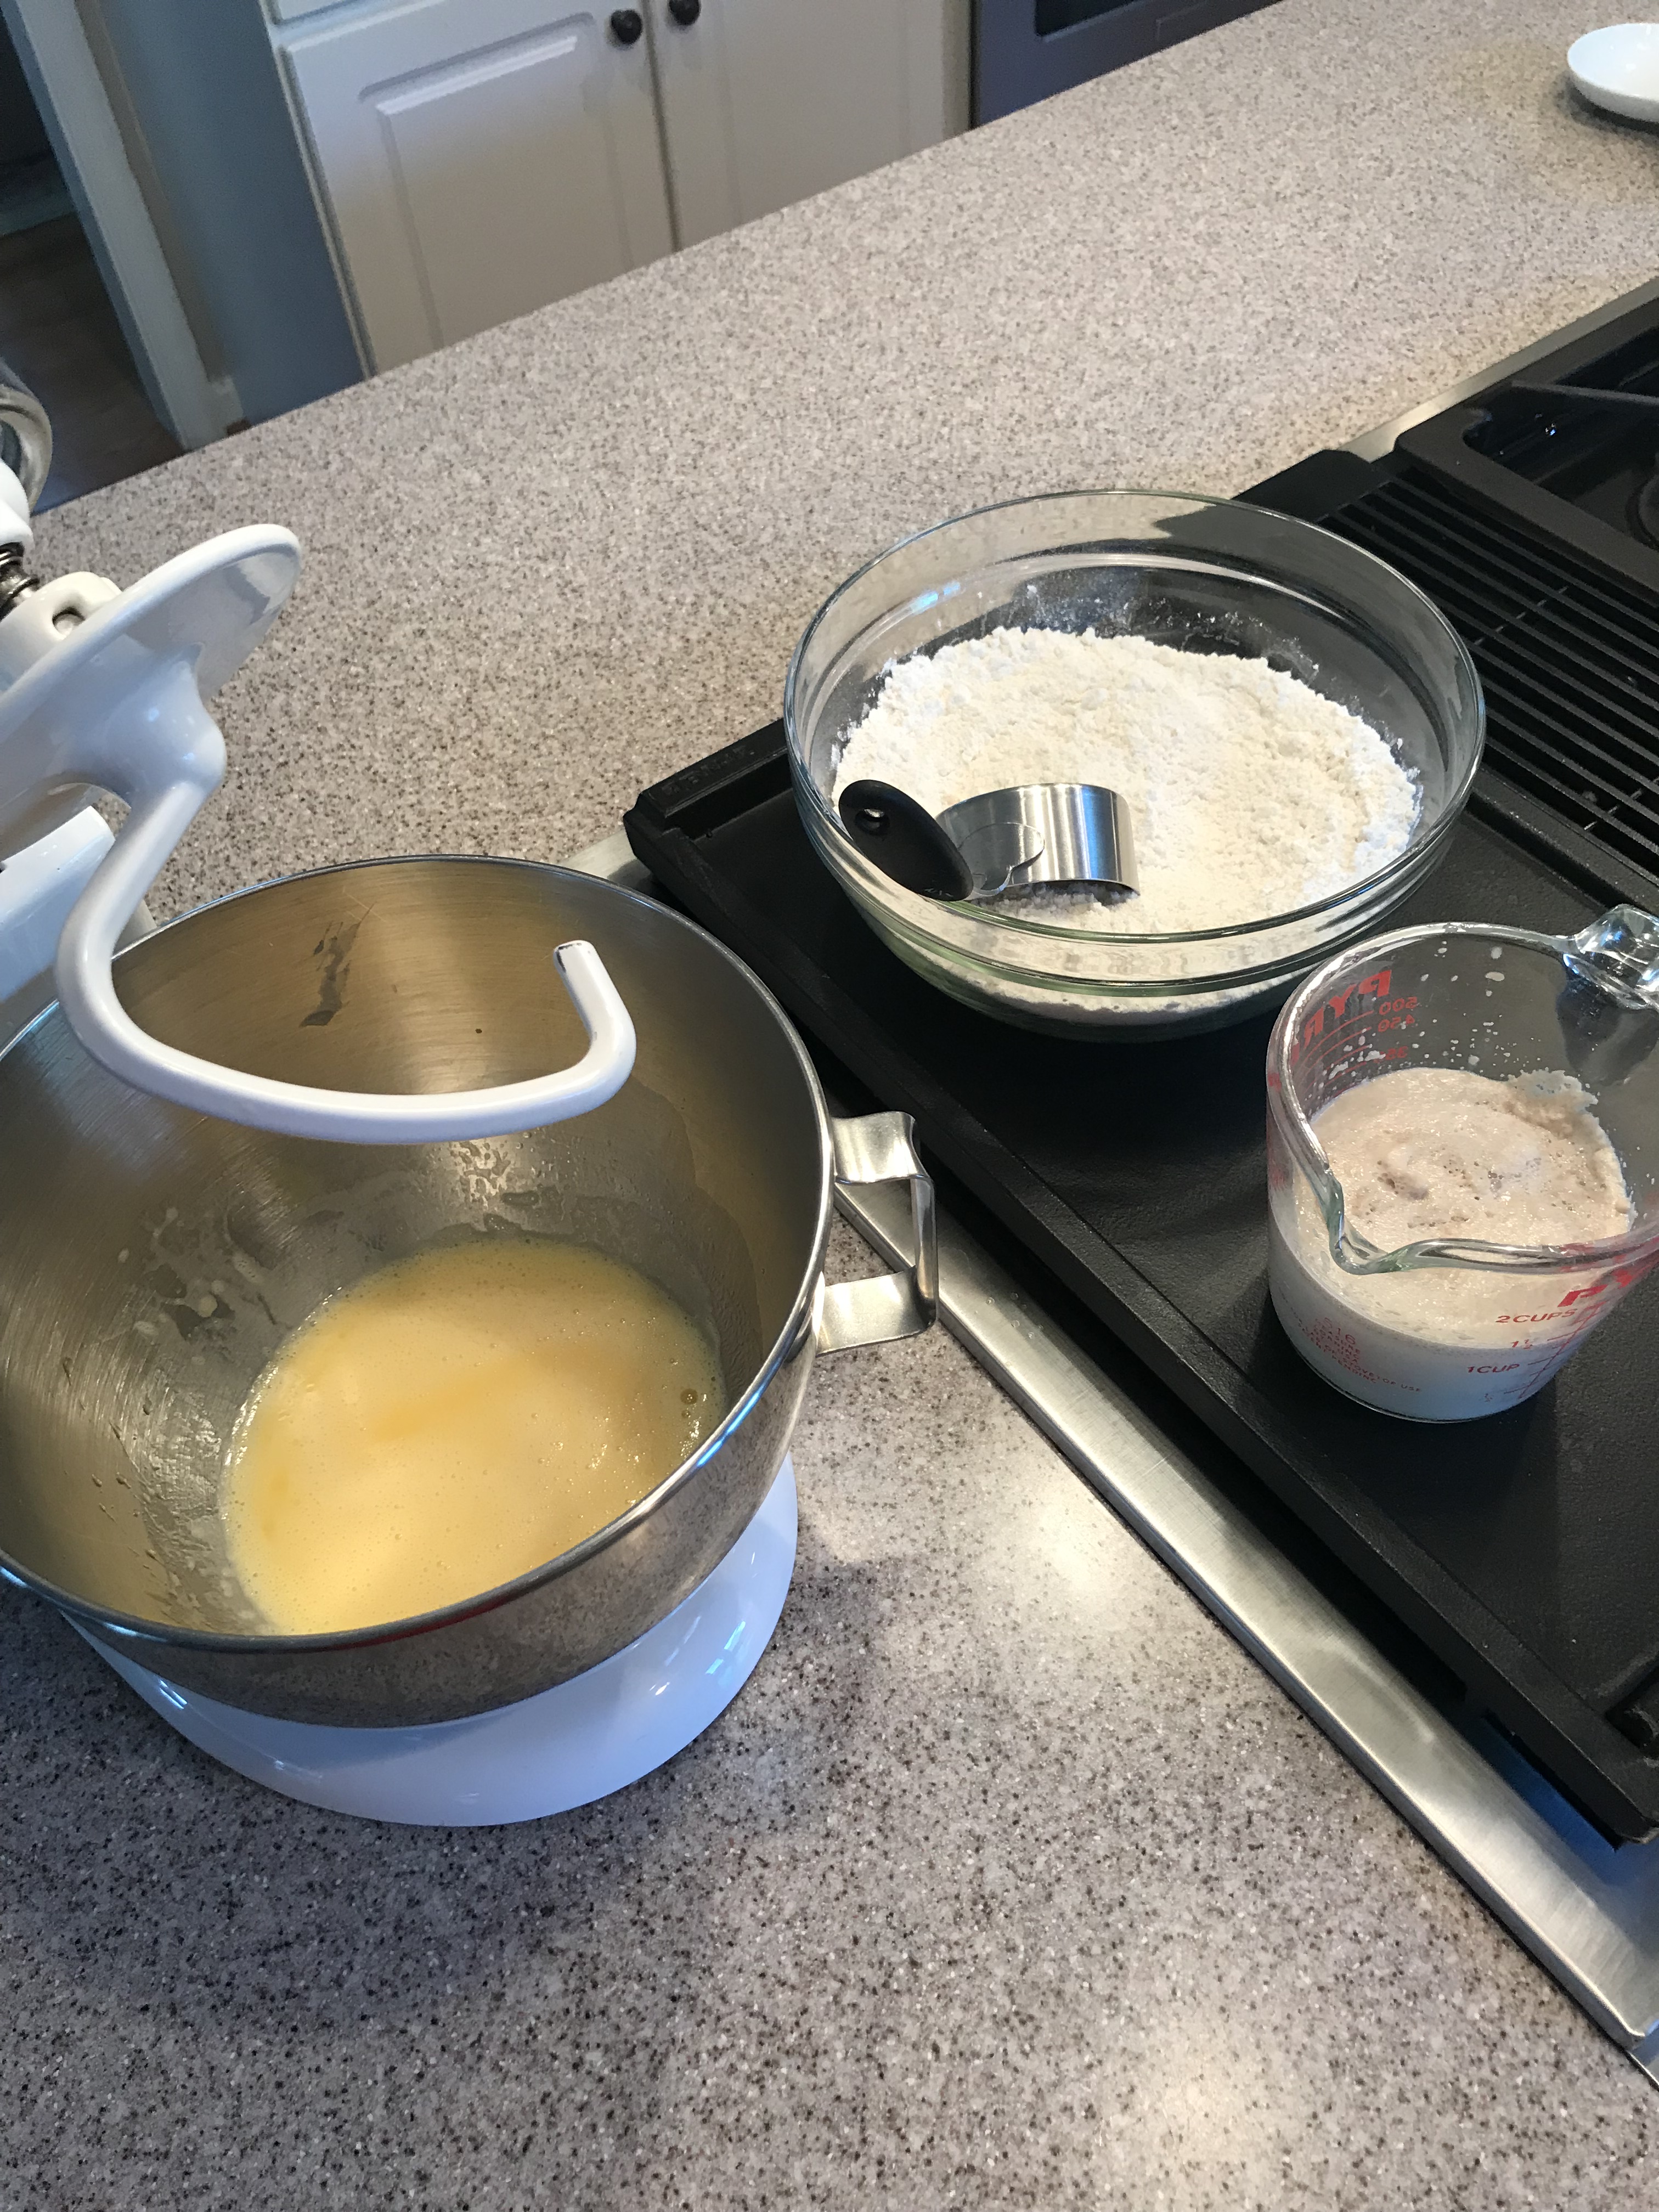
I started by warming up the milk in a small saucepan and melting the butter in a small skillet. I put the sugar in the measuring cup (because I don’t like doing dishes) and beat the eggs in the bowl to my stand mixer. You can probably do this with a hand held mixer up to a point but then you will probably have to mix by hand once you get the flour added. I did all of this on my stand mixer.


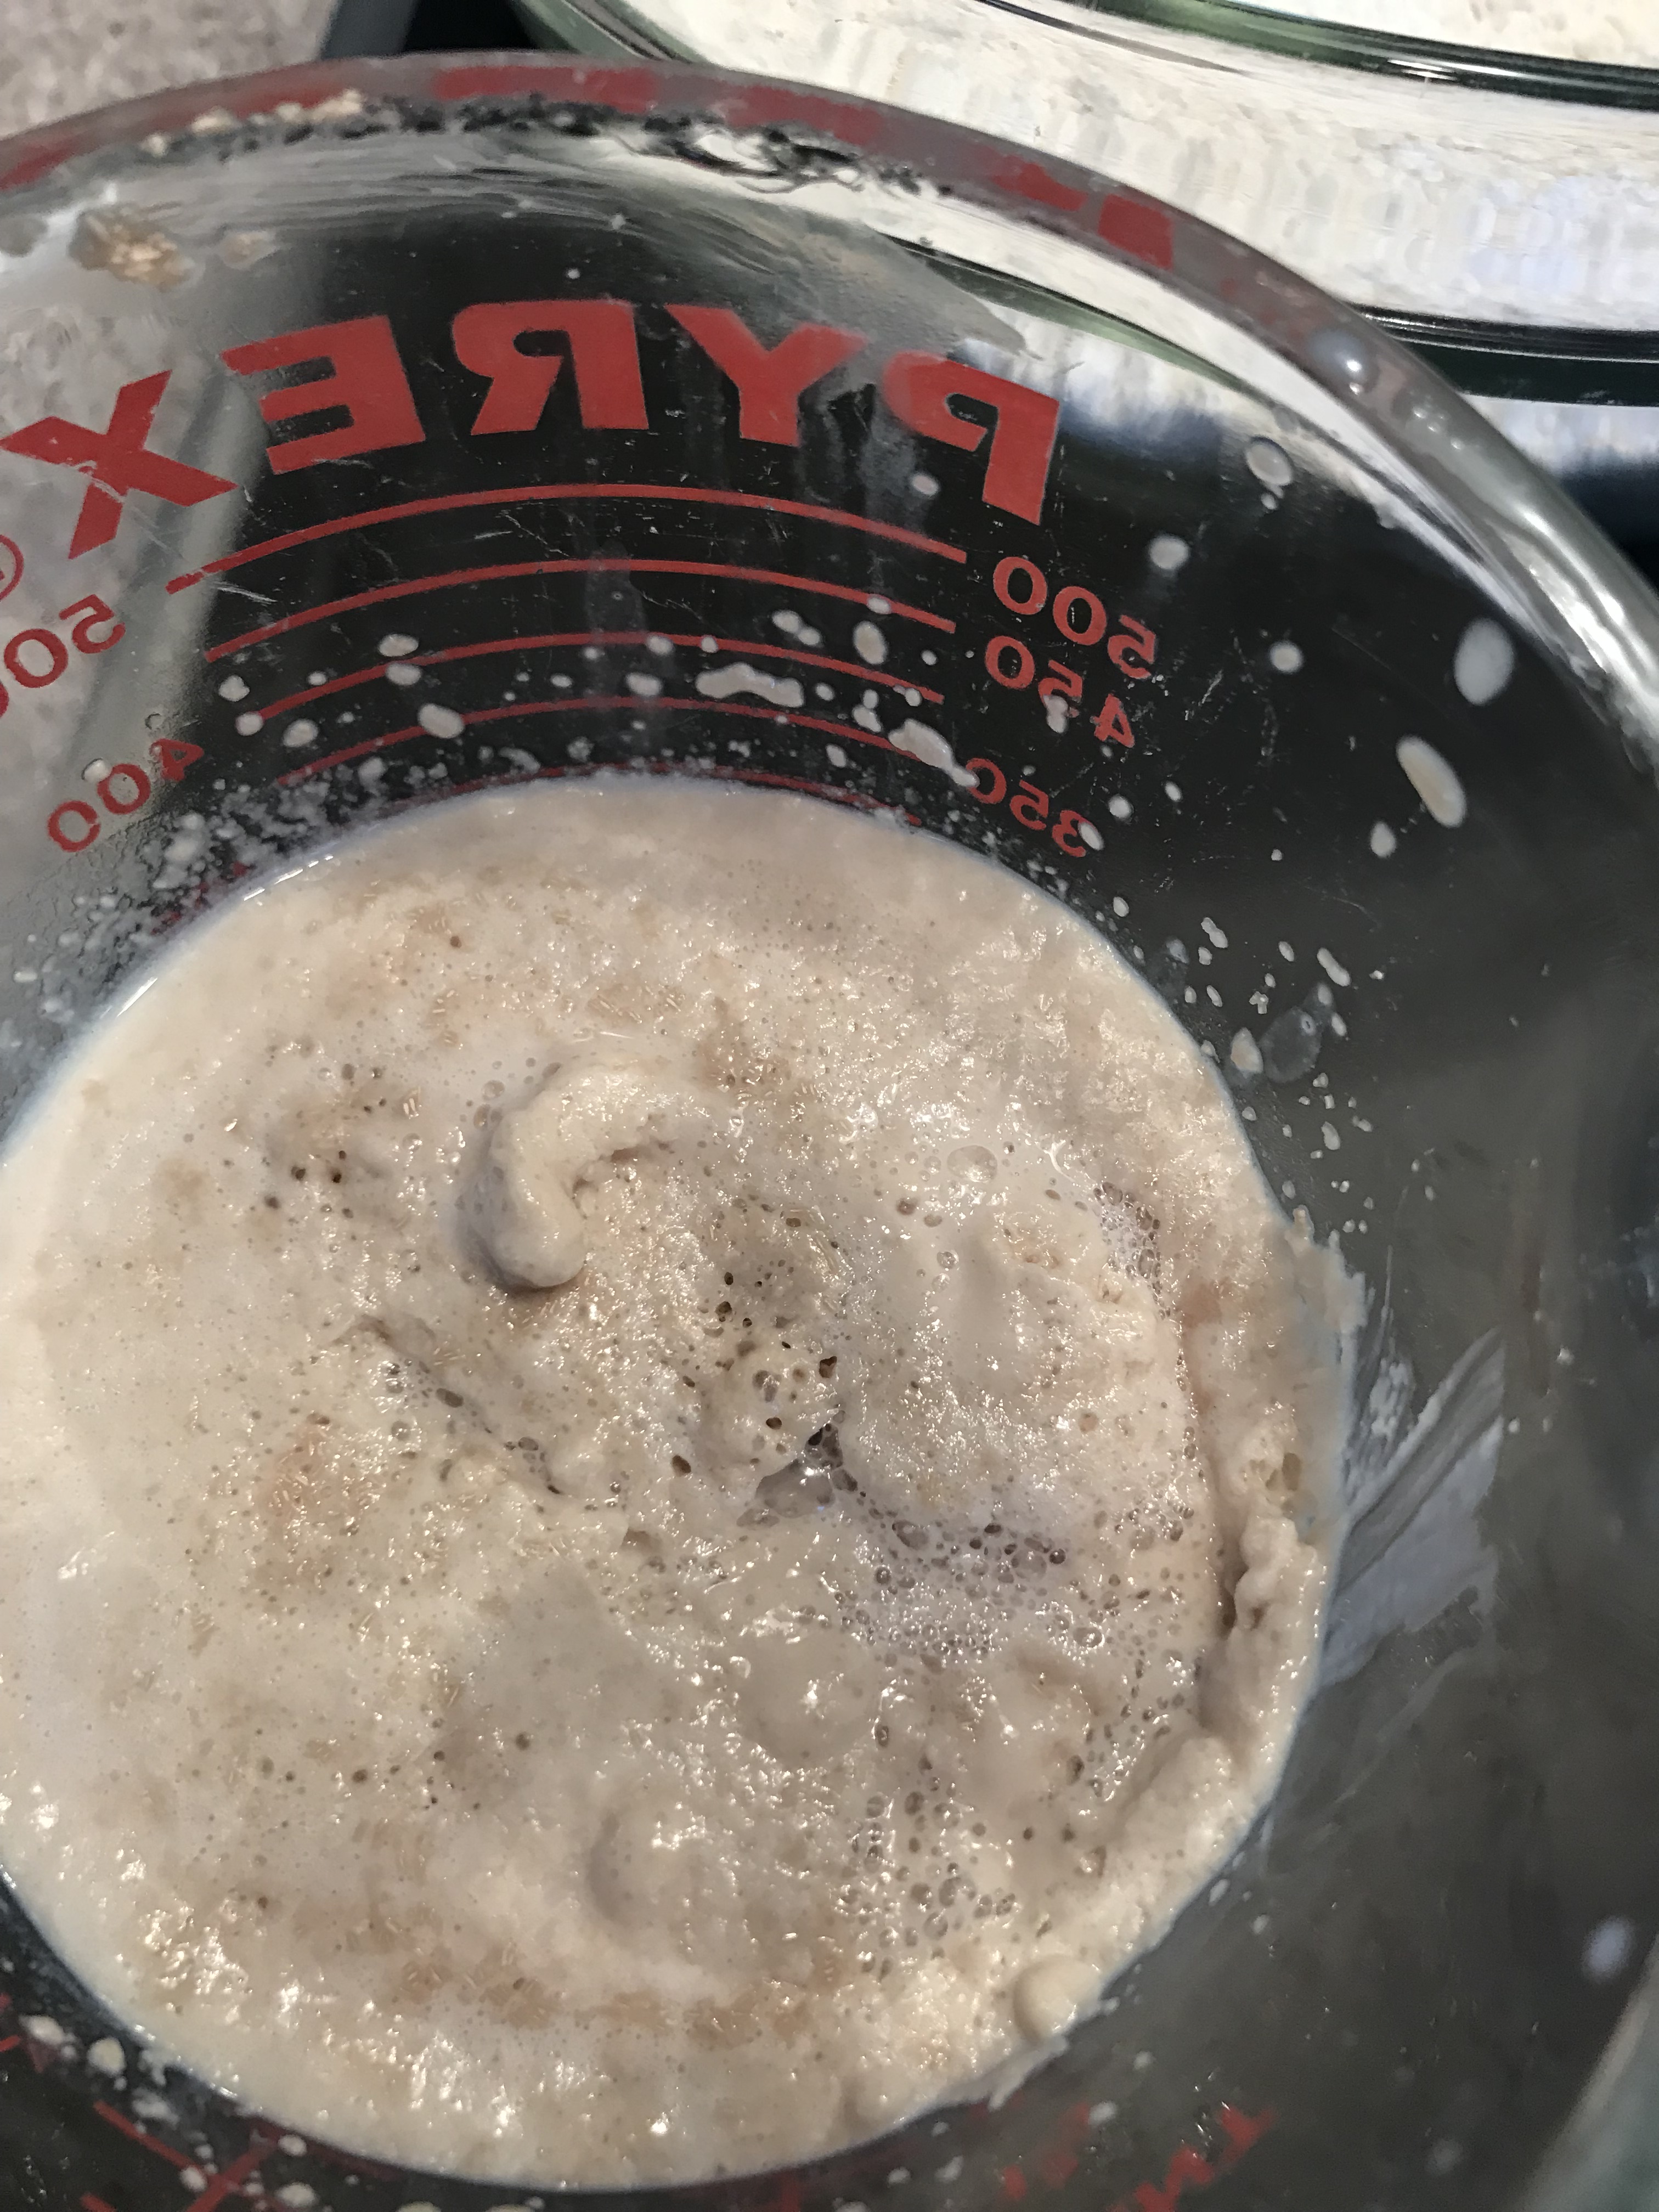
Once the milk is very warm, add it to the measuring cup with the sugar, stir it together and then stir in the yeast. Leave it alone while you work on the butter/eggs. Add the melted butter to the eggs, slowly, whisking the whole time just to make sure you don’t scramble the eggs. Back to the yeast/milk/sugar mixture…once the yeast has started bubbling up (and you will be able to smell it) add that to the egg/butter mixture. Mix on low speed until that is all incorporated.
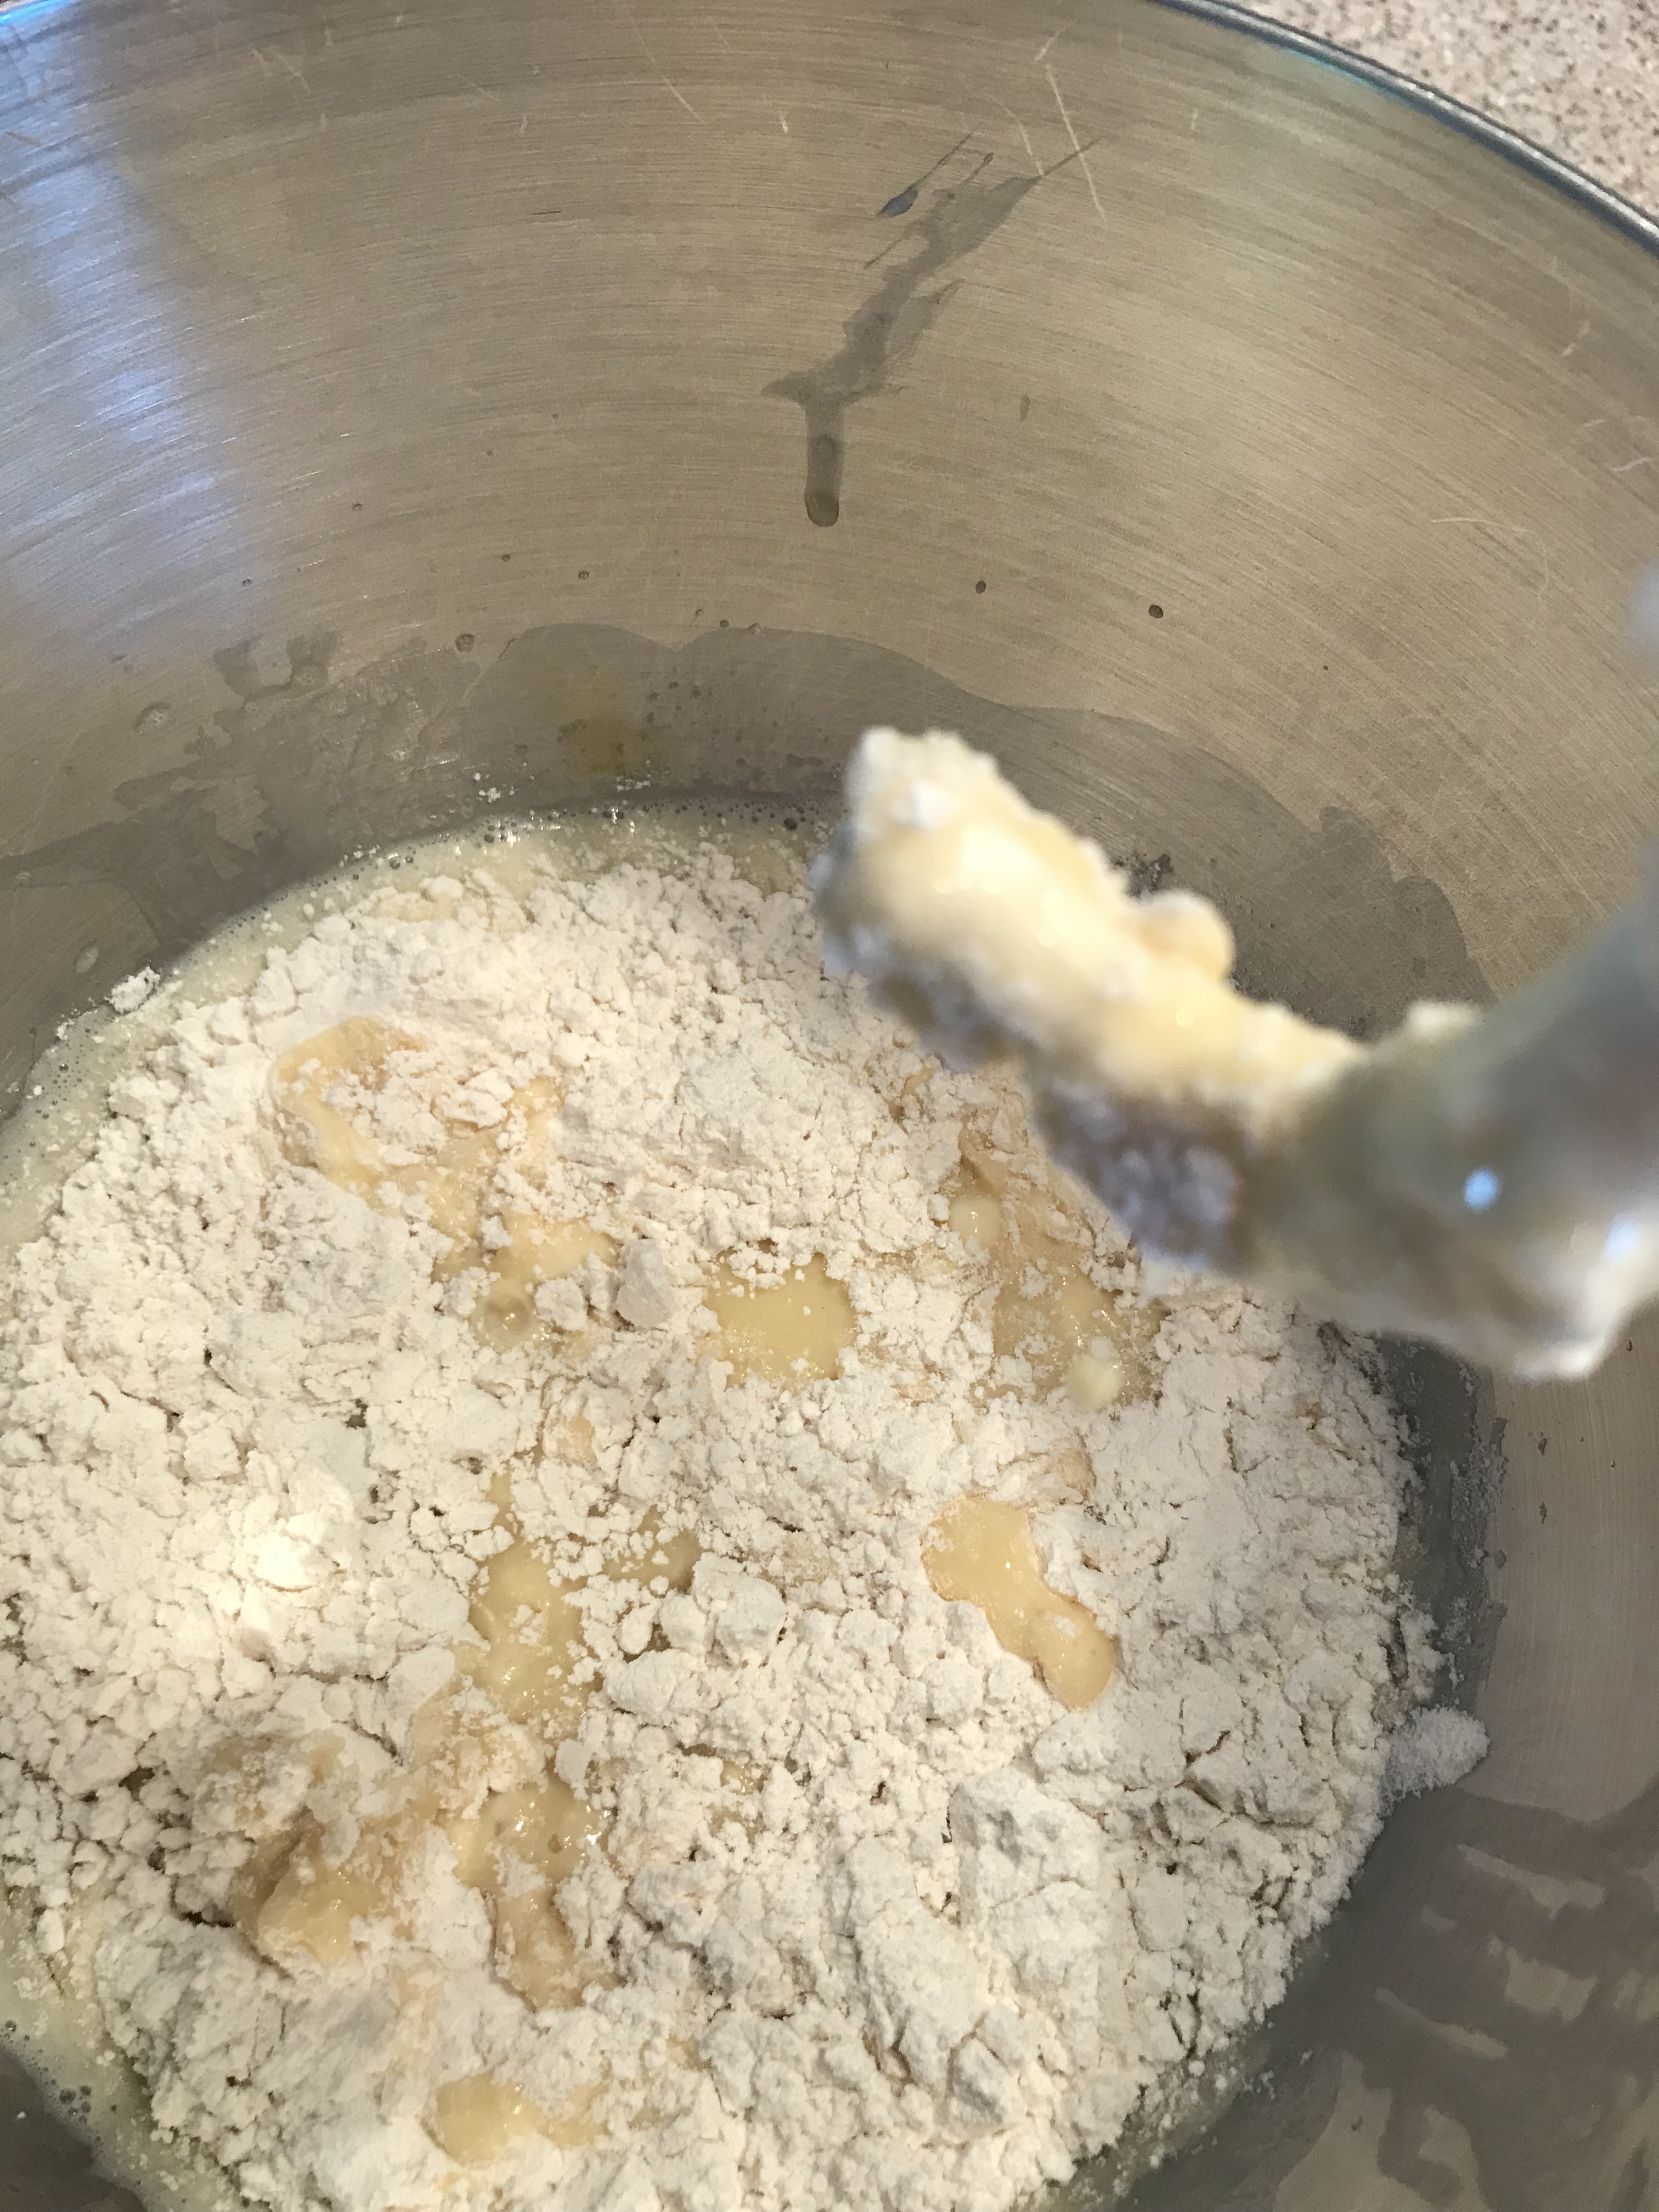
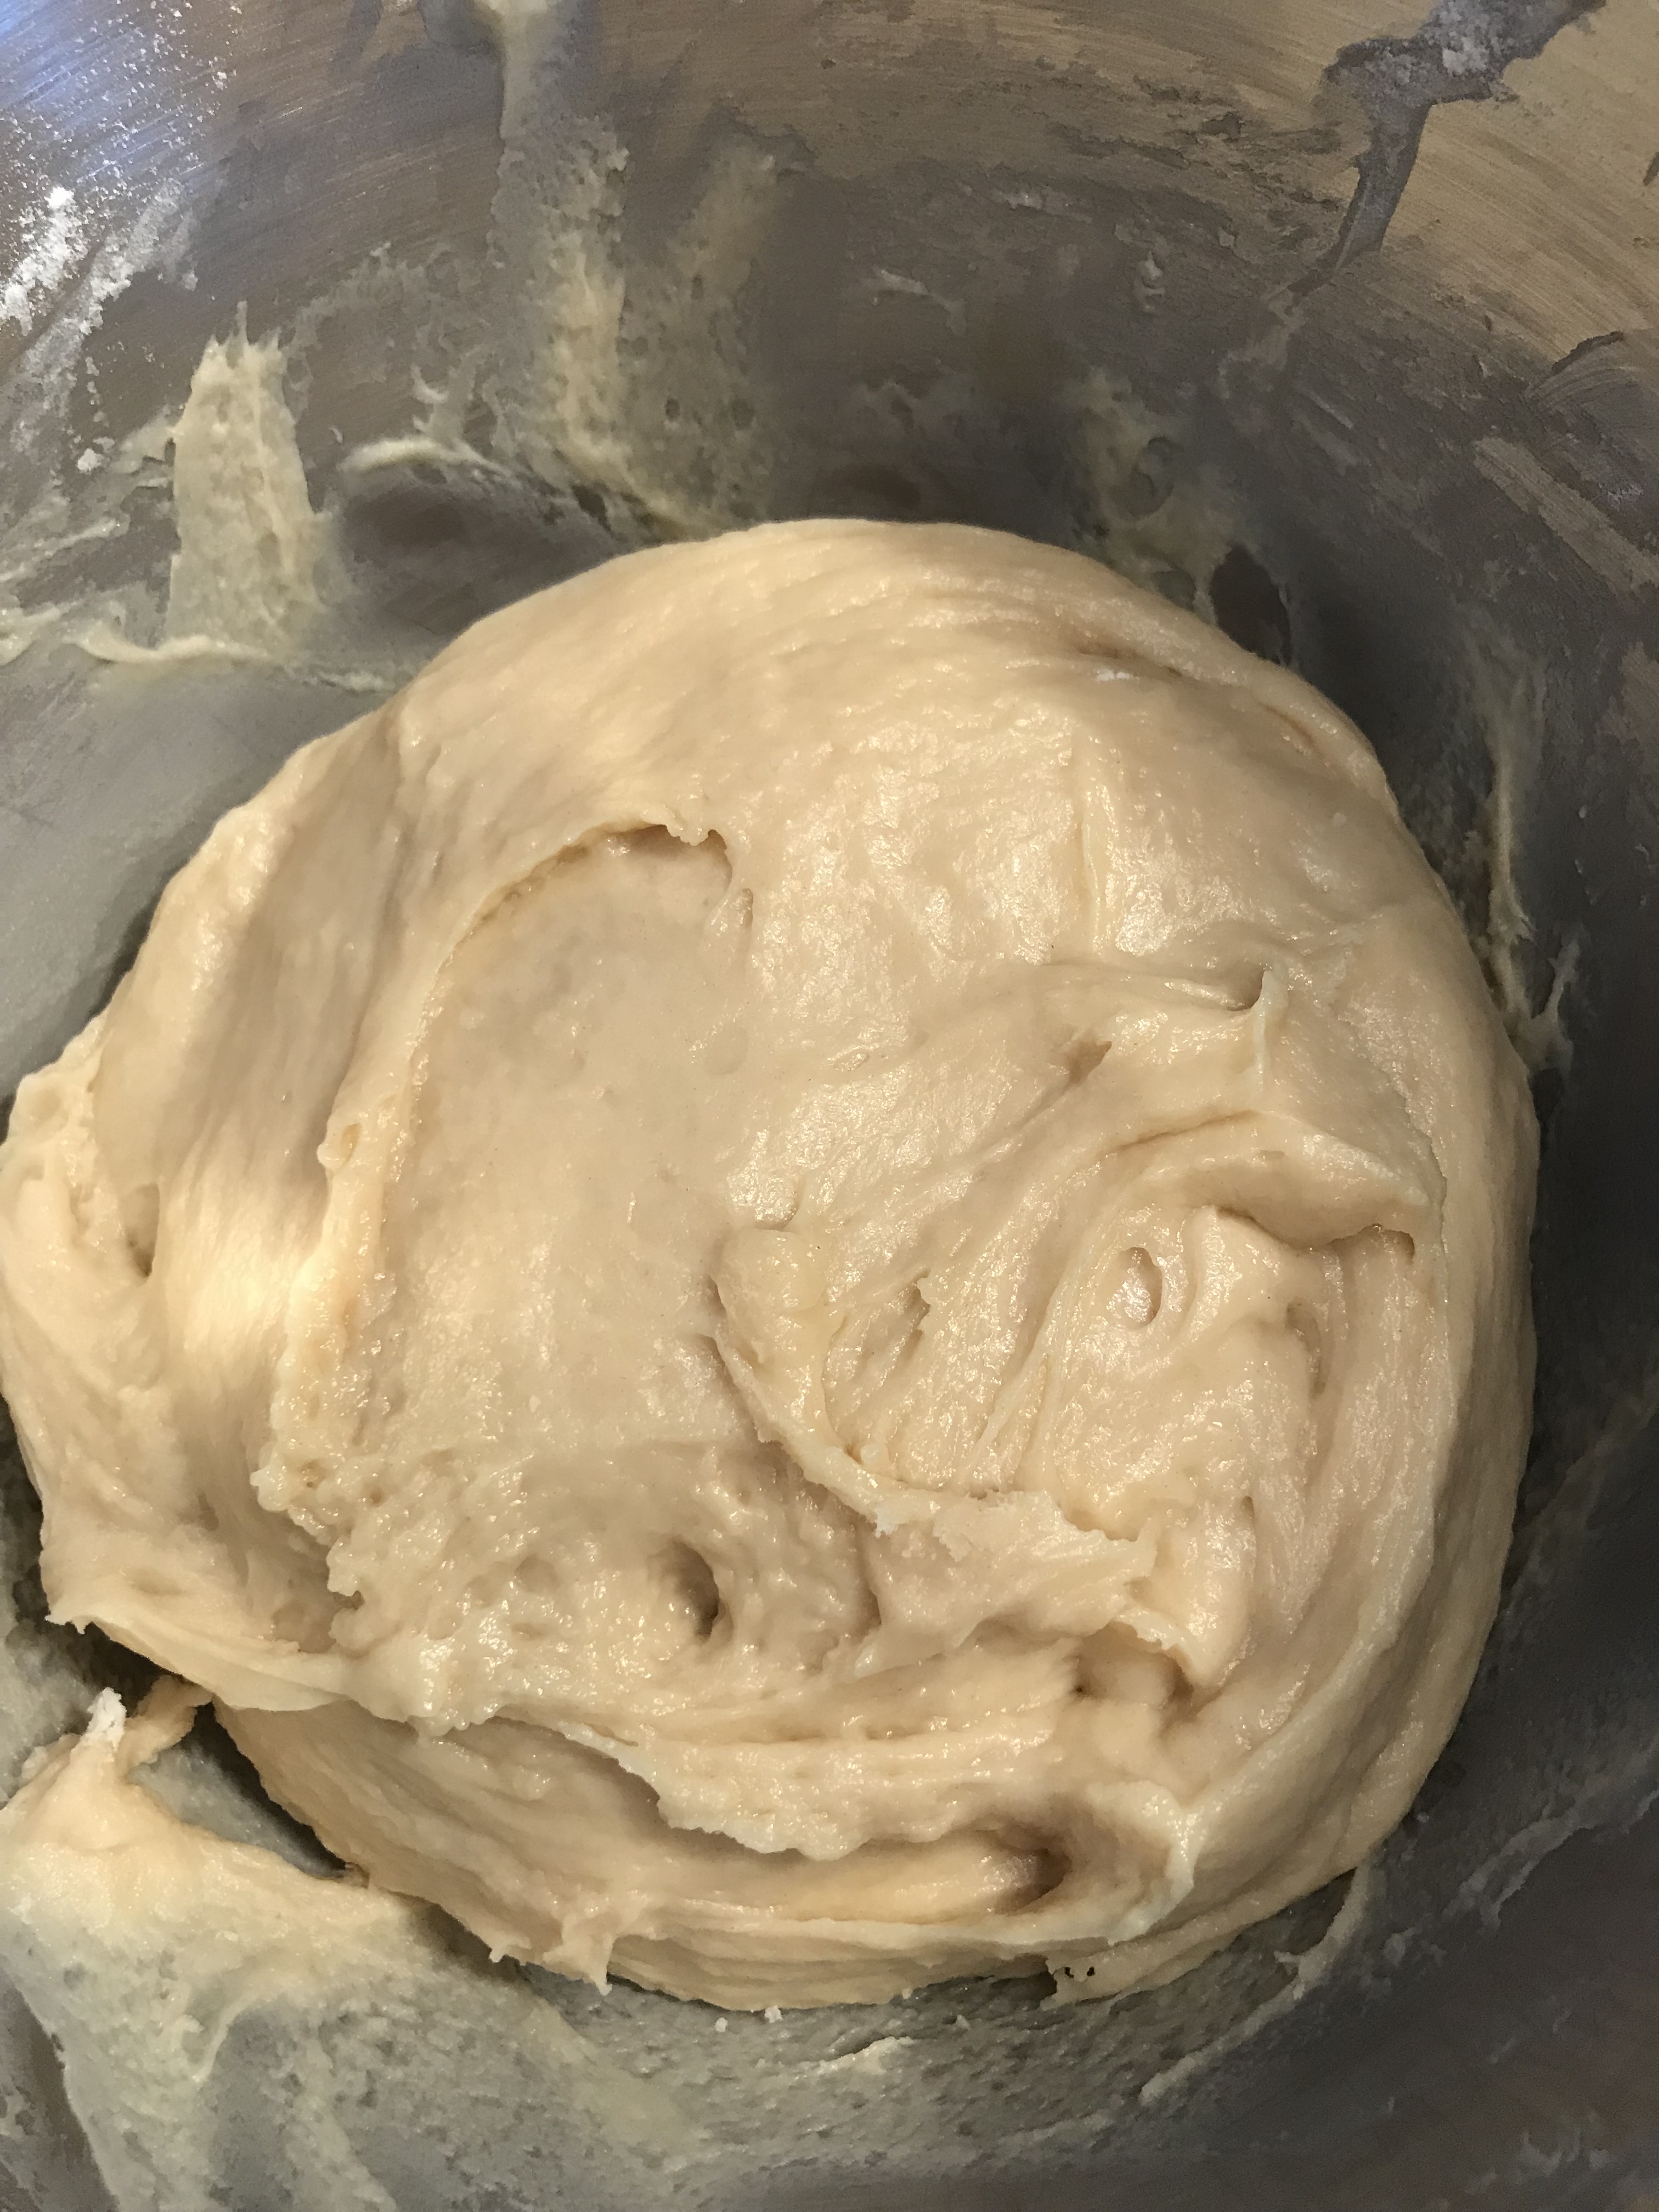
For the dry ingredients, mix the flour and salt together. With the mixer on low, add the flour in 1/2 cup intervals, letting the flour get incorporated before adding more flour. I had to scrape the sides of the blow down quite a bit between adding flour. Once all the flour was added, let the mixer go for 5 minutes. Stop the mixer and scrape the bowl down really good and run for another 30 seconds or so. The dough will still seem sticky…if you make bread or pizza dough it’s definitely much sticker than those are. I just trusted the process since this was all new to me. I used vegetable oil to grease a large glass bowl to rest the dough in. Then cover it up with plastic wrap and stash it in the fridge for an 8-12 hour chill out session. My dough actually went like 16 hours, but it seemed to be fine.
On to day TWO of this process….At this point I was thinking, I just need a good donut people….these better be good.
Day 2 is the roll, rise, fry day. First, you need to let the dough sit out of the fridge for about 2 hours to let it get to room temp and relax a bit, and do whatever else it needs to do. Next, get at least 2 sheet pans ready to receive your cutout donuts. You can use a Silpat or parchment paper, but I just sprayed them really good with non-stick spray and that worked just fine. Finally it’s time to make the donuts! Roll the dough out on a floured surface, with a floured rolling pin, with flour on your hands – it’s still a bit sticky at this point so keep the flour close by. By the time I got the dough turned out and rolled it was much easier to handle. About 1/4 inch thick seemed to work just fine. Then there are decisions to make…what size, what shape, with a hole or without…what kind of fluffy goodness do you want to create here? It’s perfectly fine to use one large, one small biscuit cutters on this to make traditional round ones. I did a 3″ biscuit cutter with no holes so that I could fill them. You can probably even cut them in squares with a knife. Just make sure they aren’t too big. I’d say 3″ is a good size because they are going to rise again (yeah, more waiting) and you don’t want them to take up too much room in your frying pan.
Start cutting these babies out. Once you cut all you can out of the first layer, roll the leftover dough back out and cut some more. I got about 20 good whole donuts out of my batch. I did leave the end strips to use as “test subjects” for checking the temp on my oil and how long I had to fry them. Just a thought, if you aren’t used to frying dough either, like me. They are also a good way to snack on these without leaving any evidence. Just sayin’. They don’t all look pretty, but that’s OK. They are made from scratch after all.
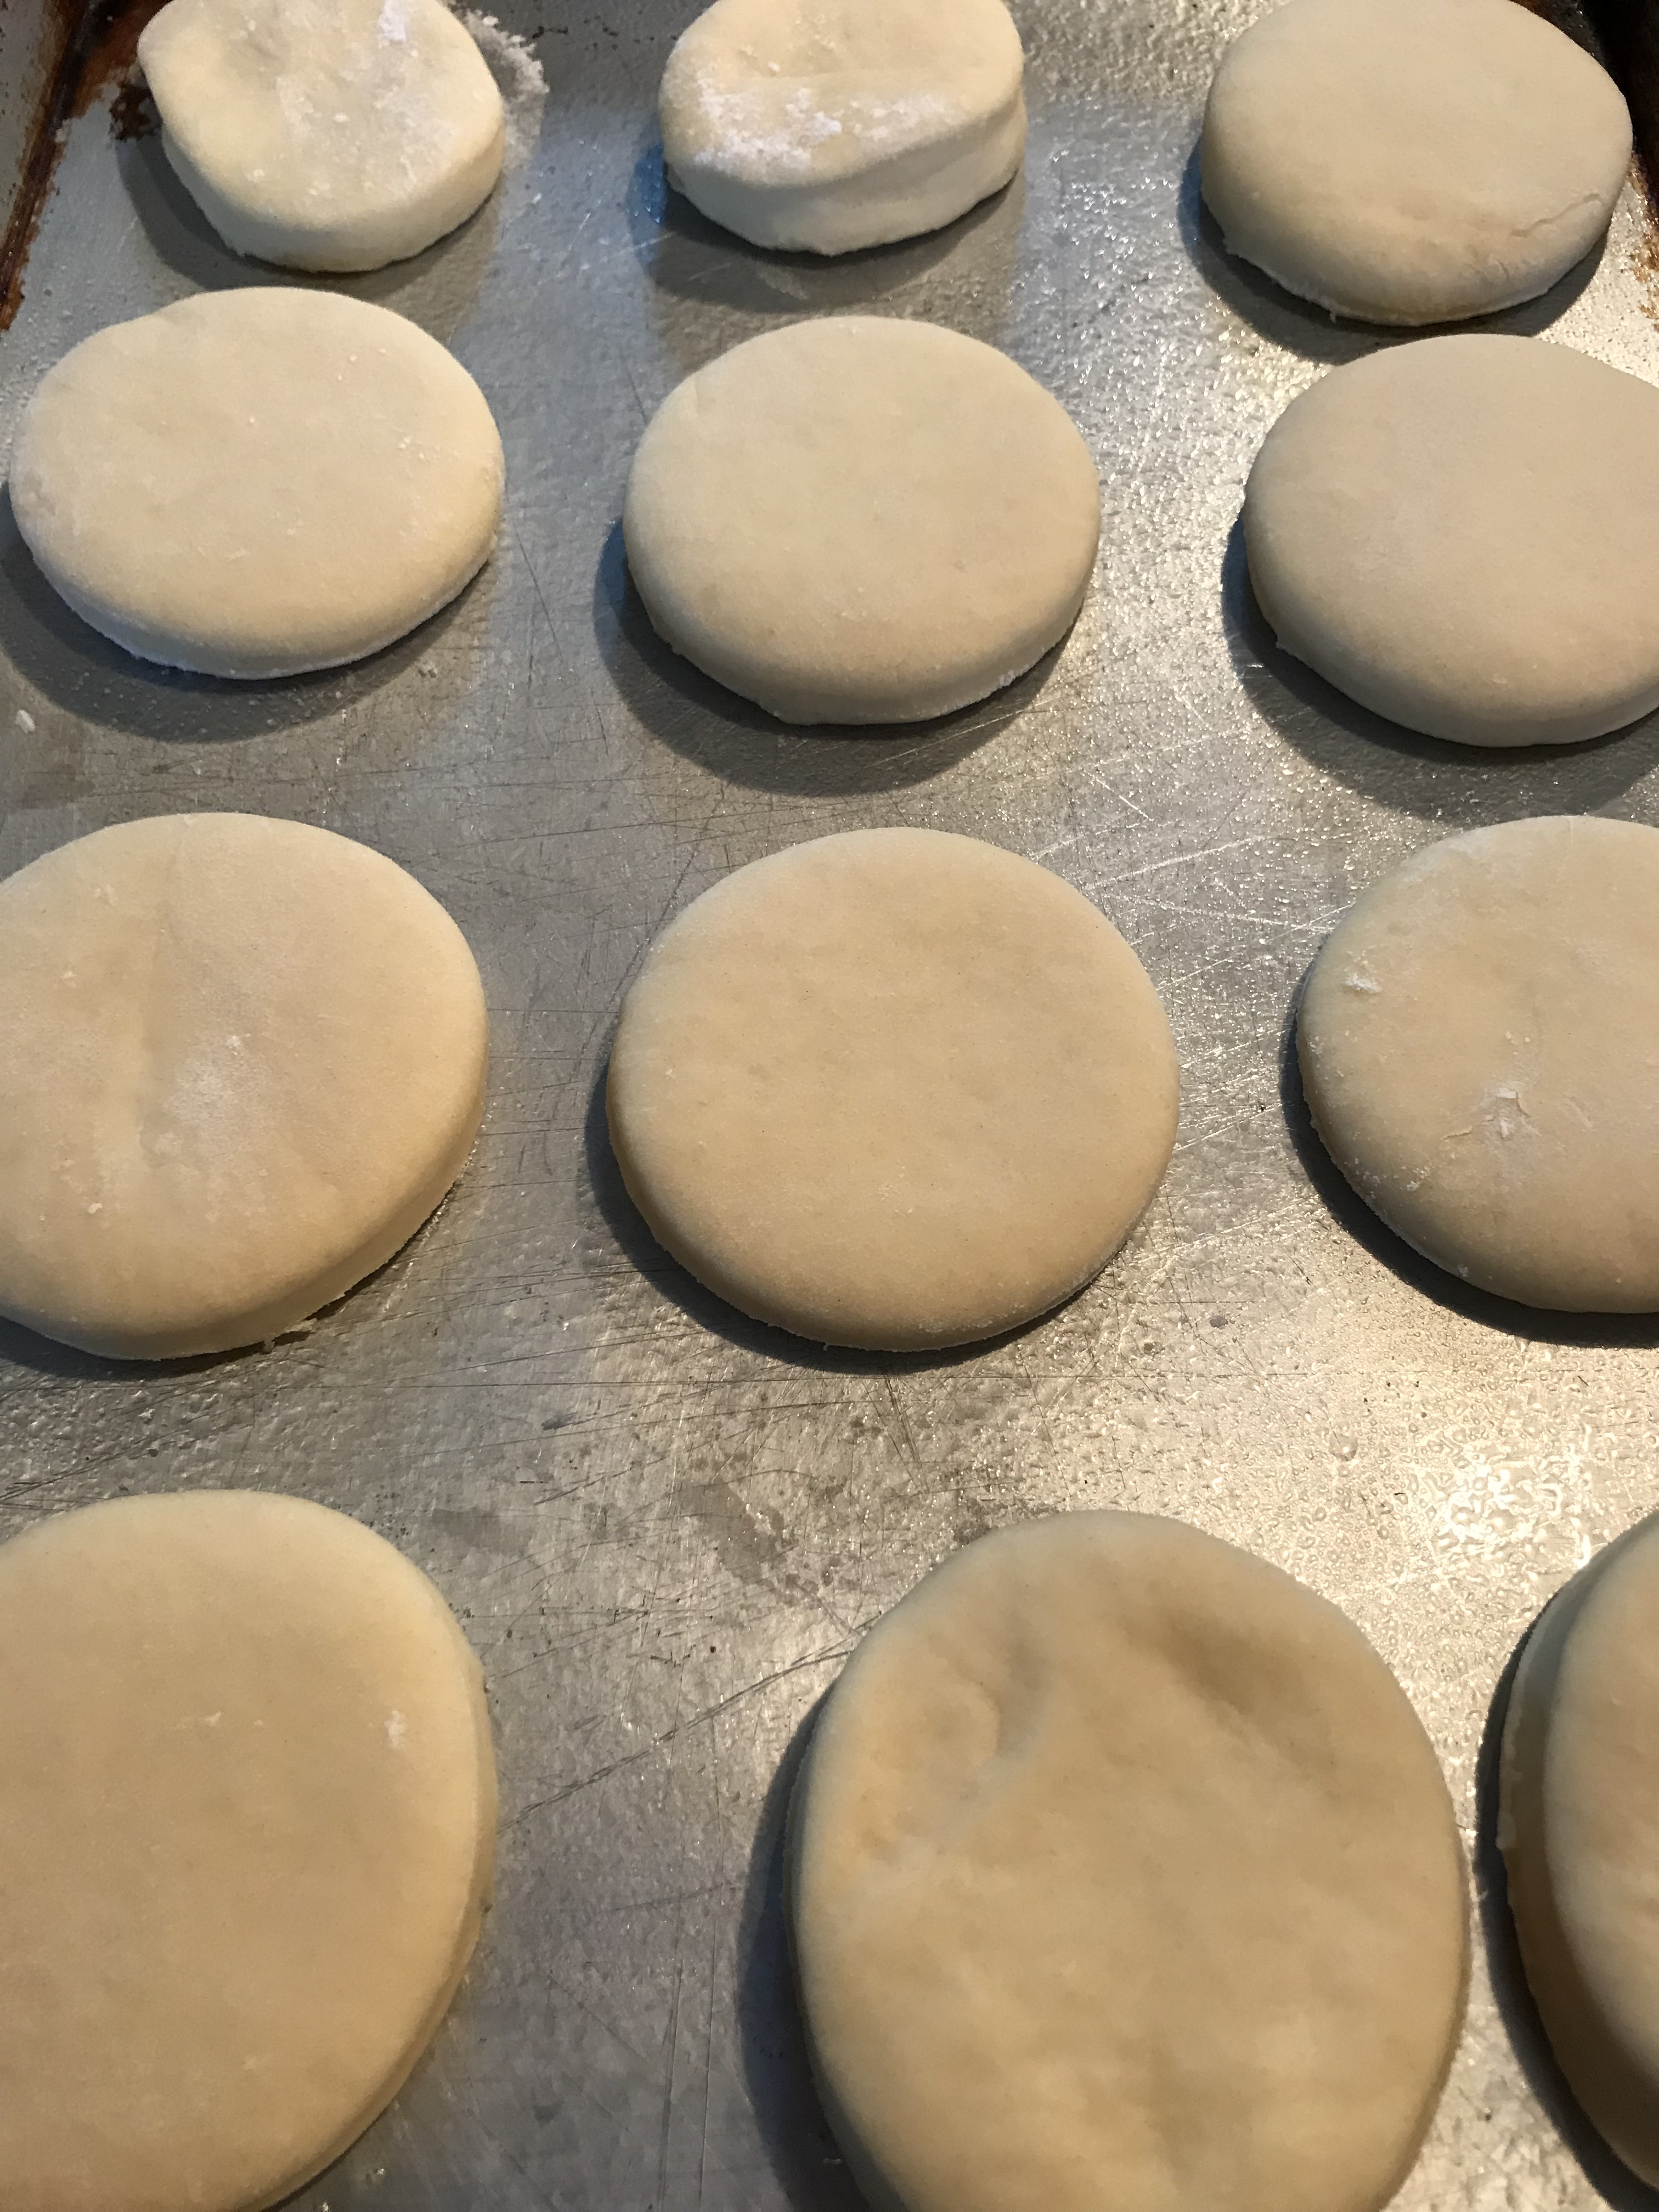
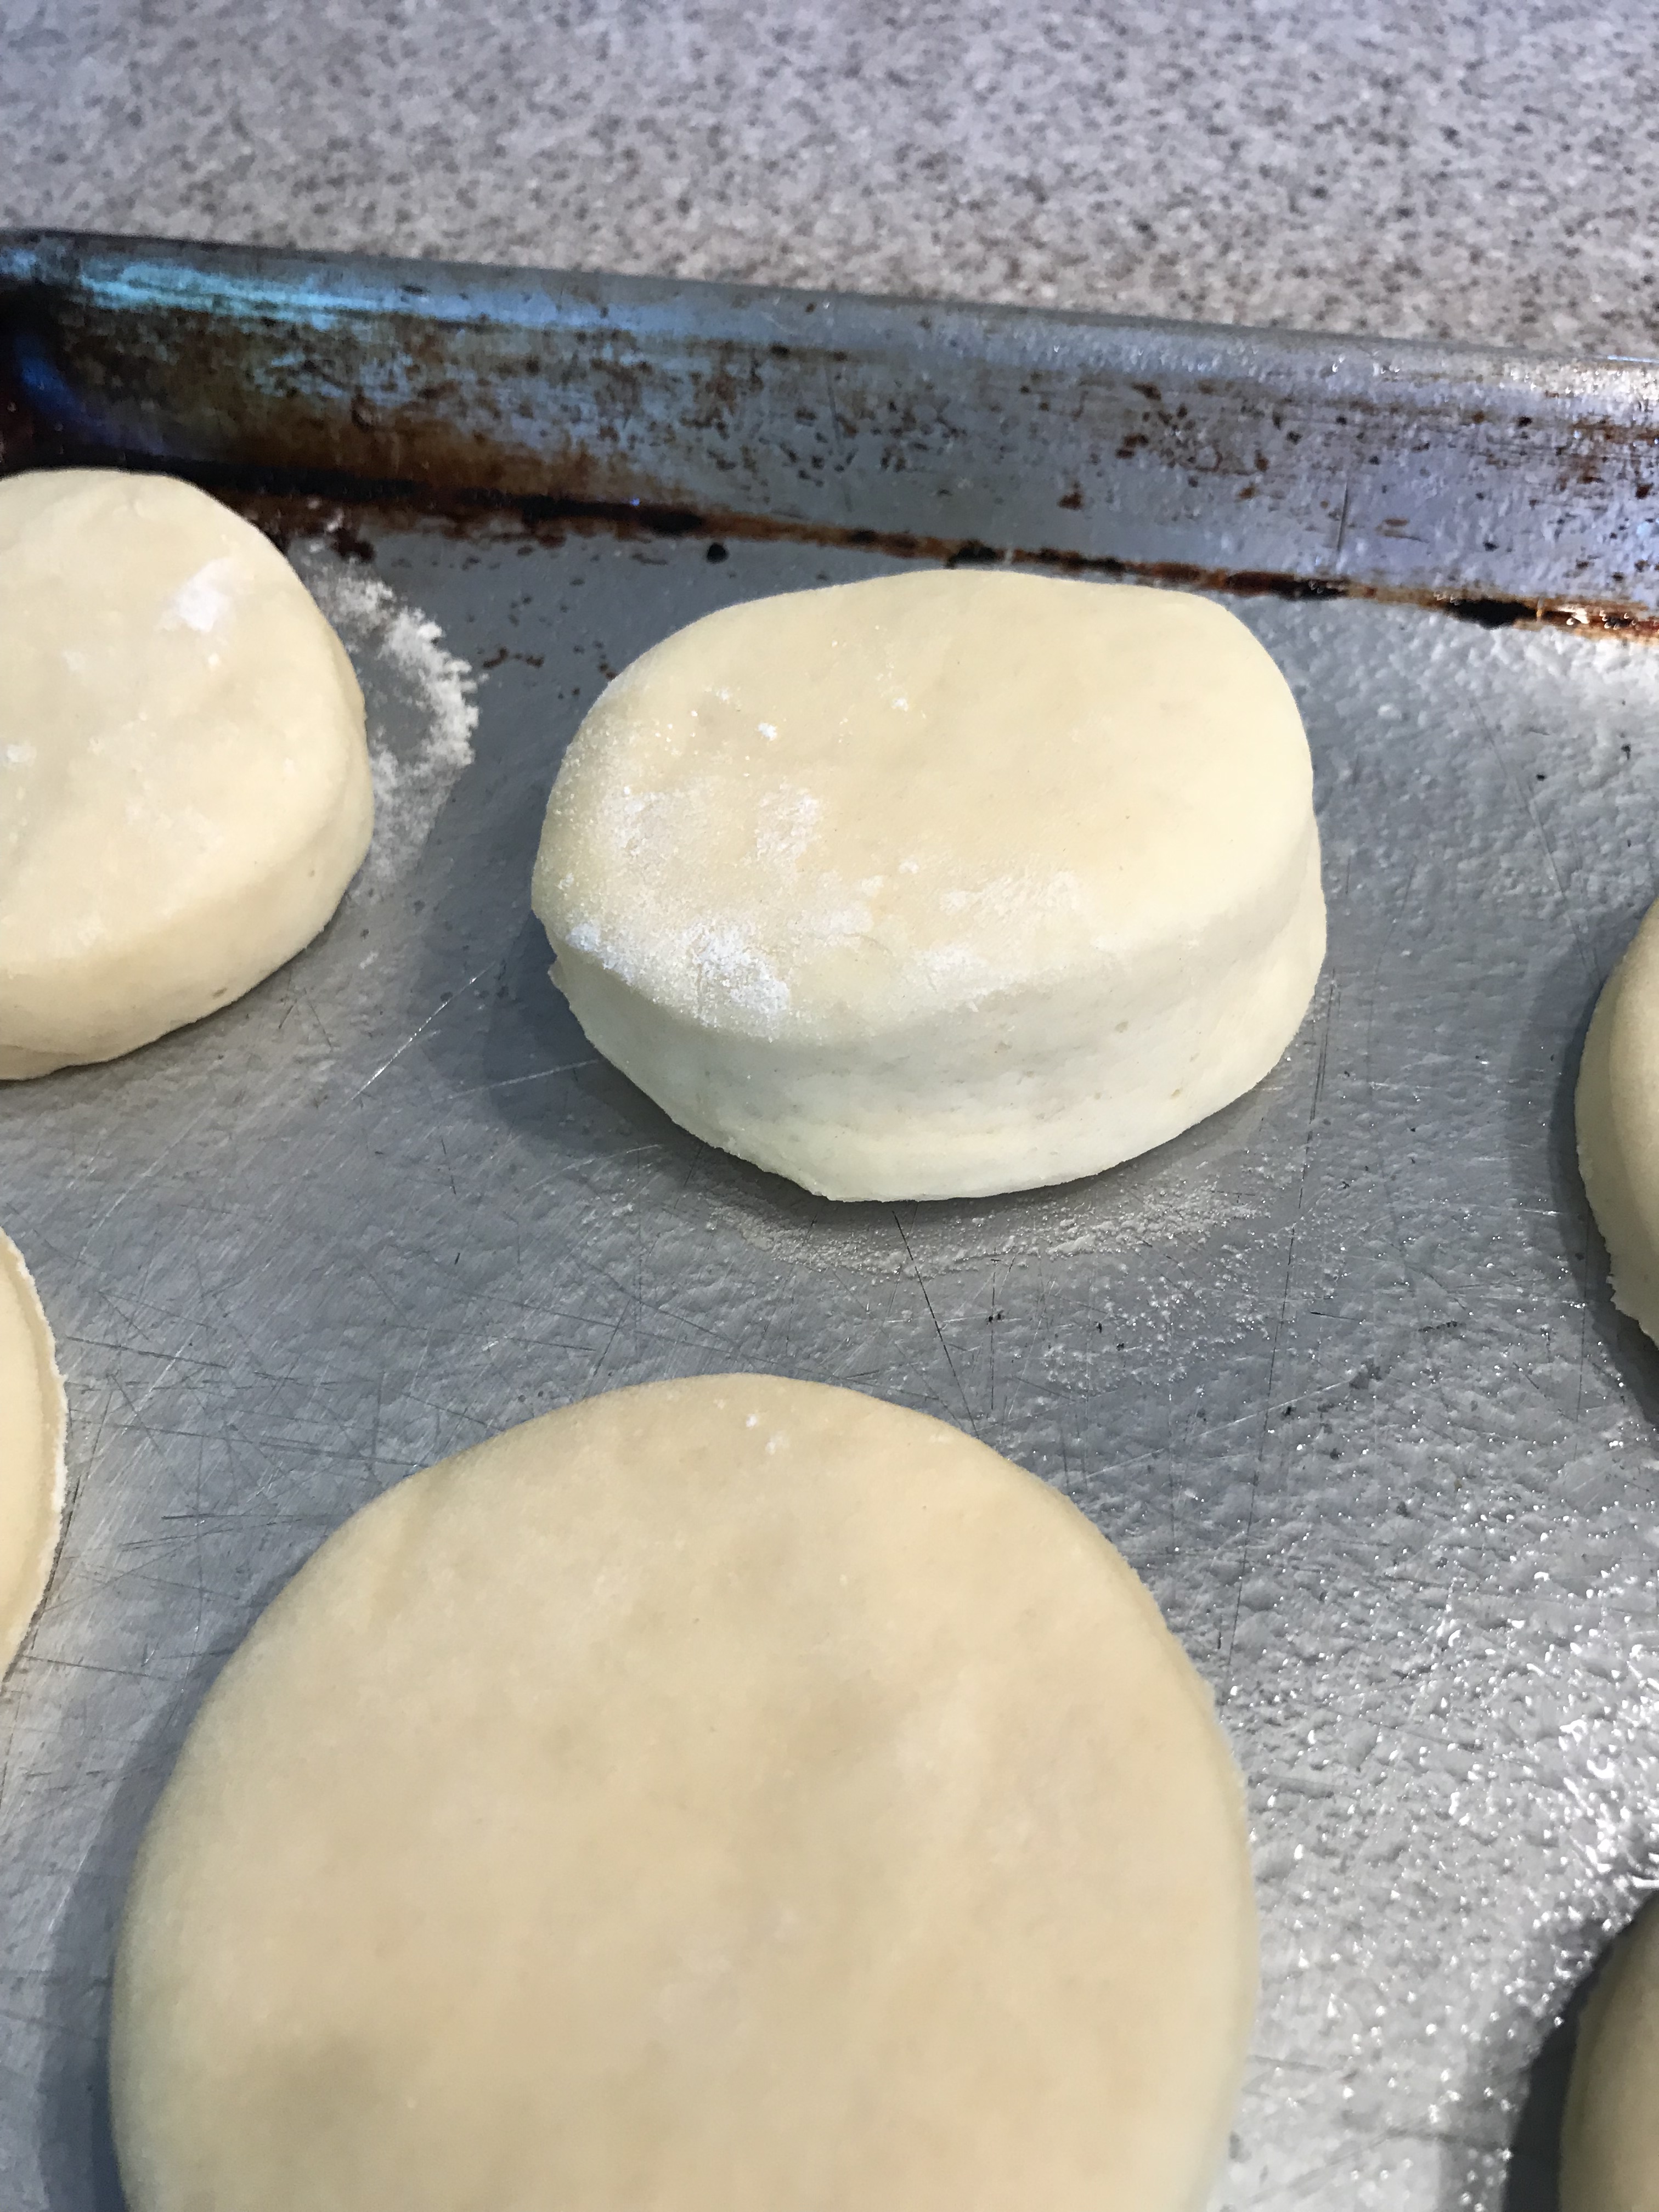
See the difference between right after I cut them out and 2 hour later? Yes there’s 2 more hours you have to wait…cover them up with a tea towel, stash them in a warn spot, and go find something to do while you wait for fry time. I recommend a nice nap. 🙂
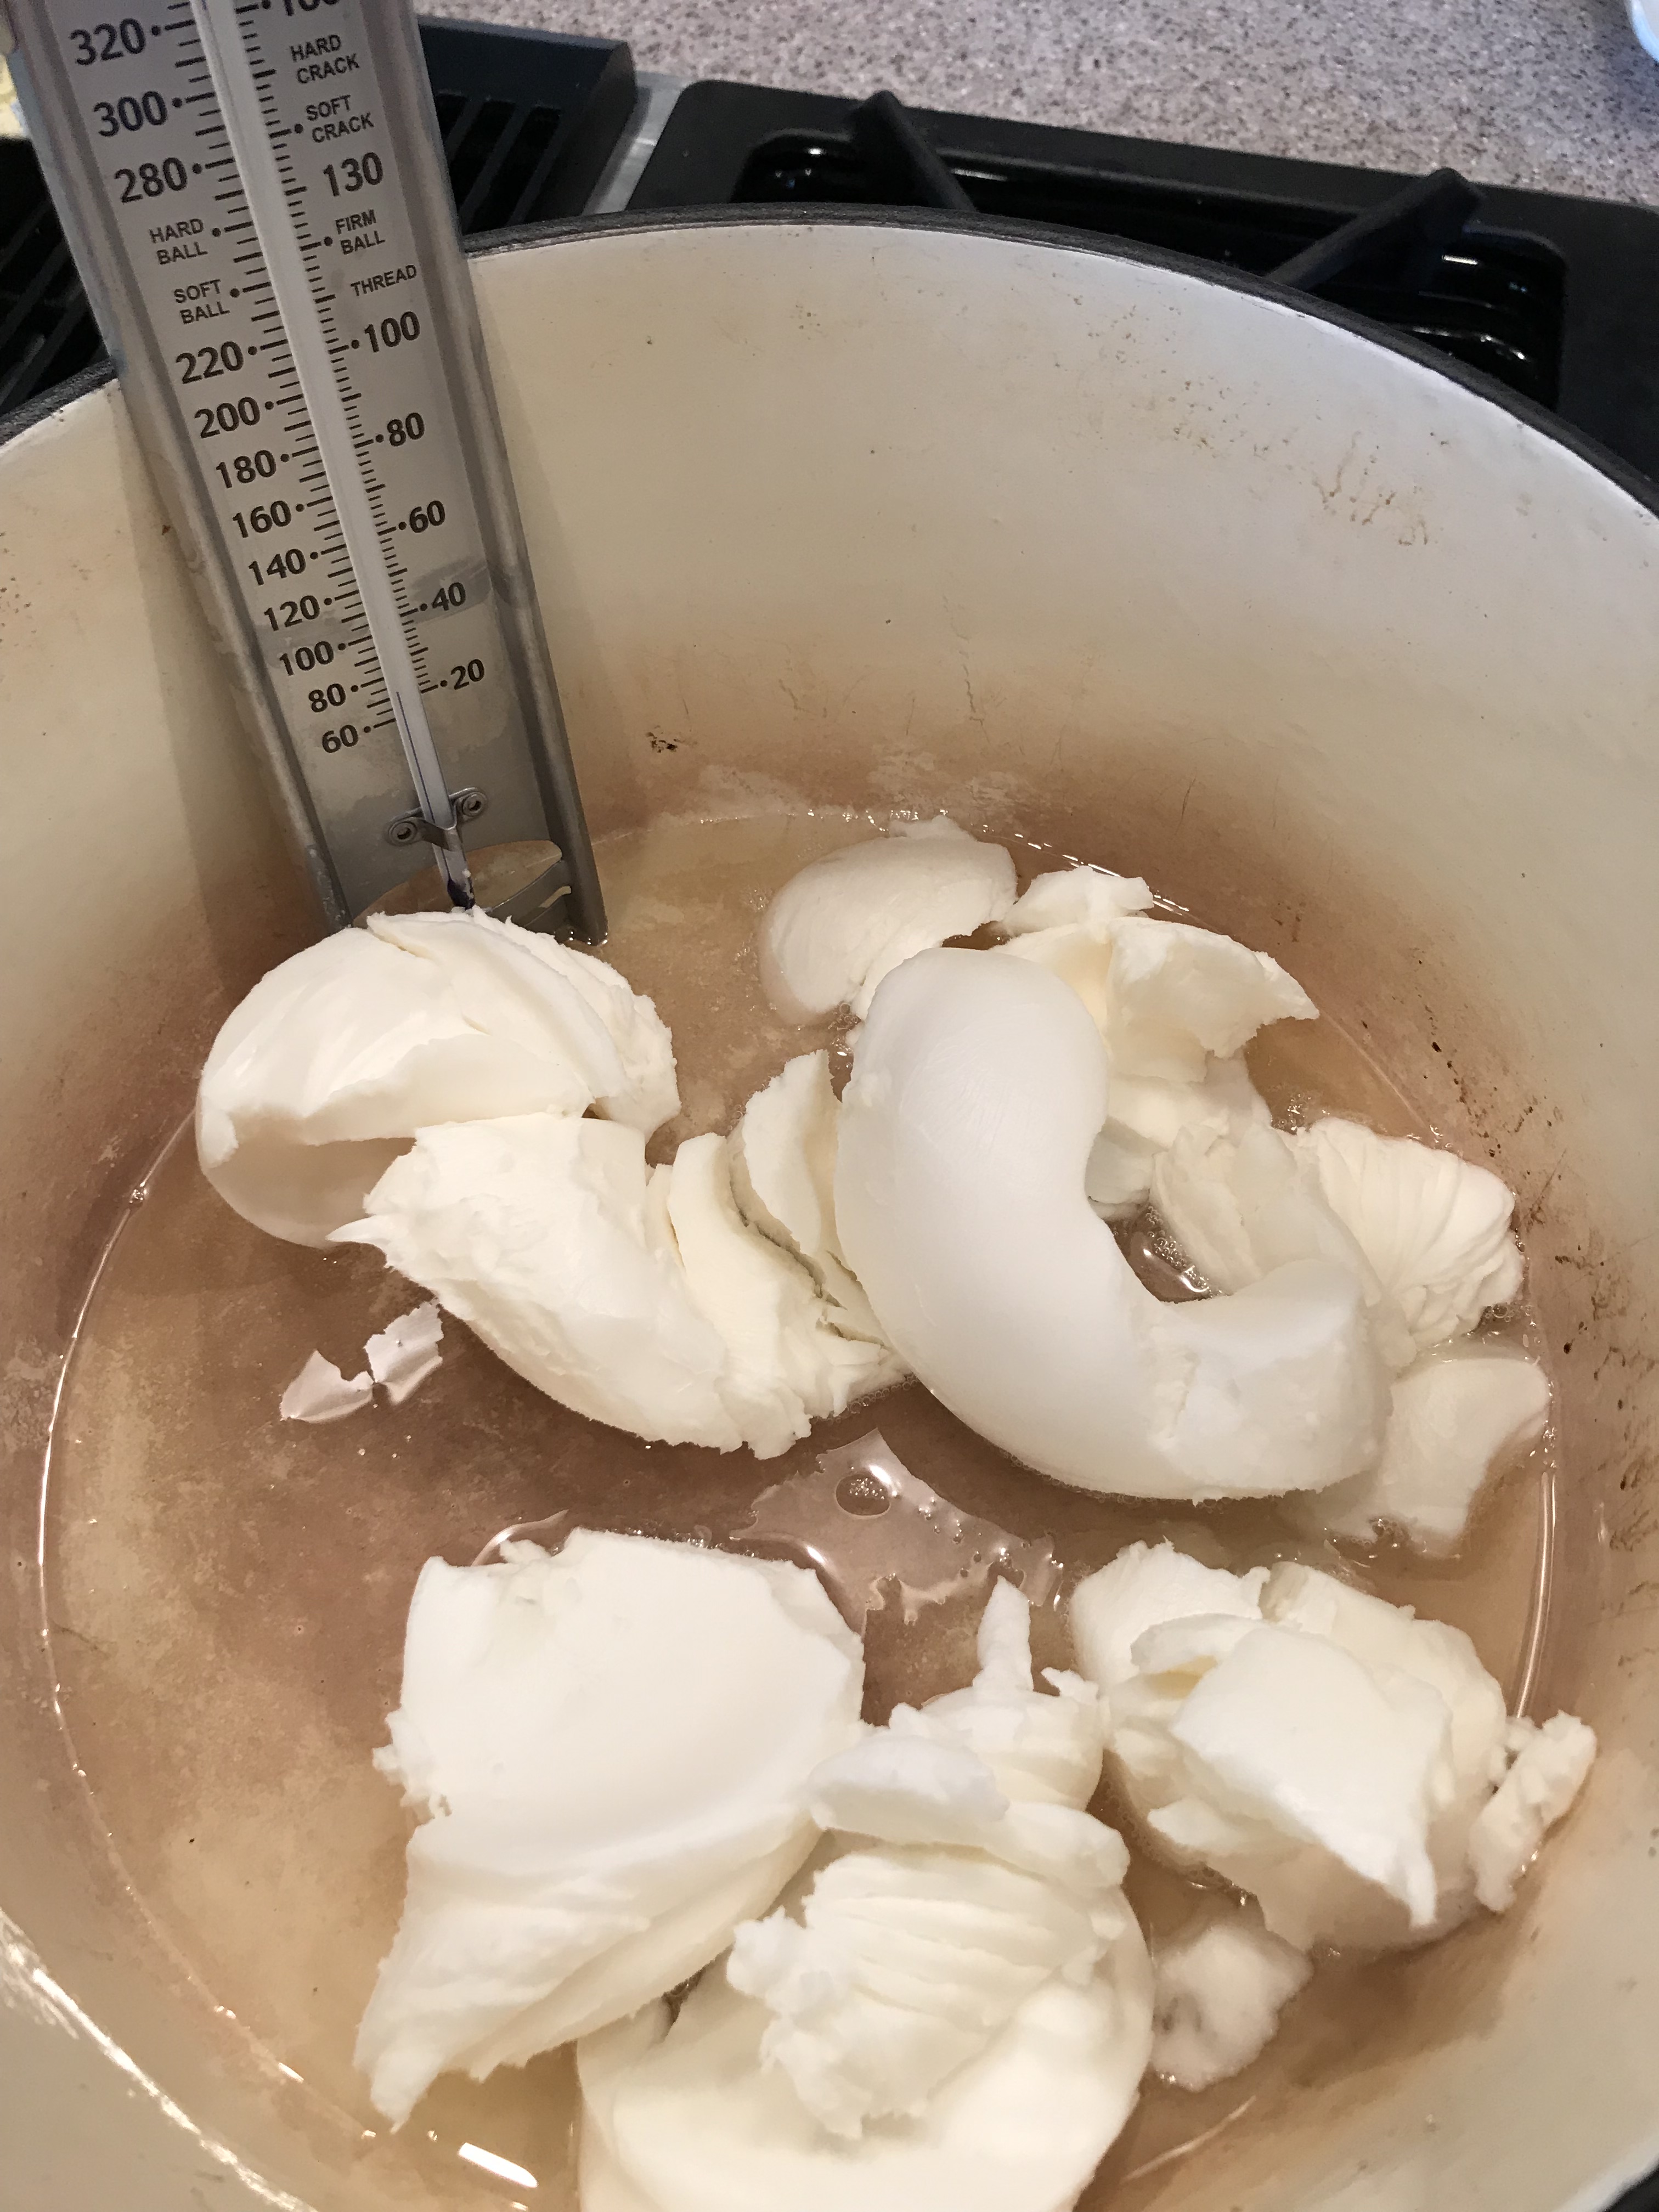
This recipe calls for vegetable shortening so I got the solid stuff in the can and started melting it in my dedicated frying pot. This pot (below) looks like it’s been overused because it has. I finally retired it to just being a fry pot and letting bread rise in it. It works for me, but just make sure your pot is the deep enough so that the hot oil will not pop out as you add your donuts and you can get a candy thermometer in the oil and clipped onto the side. Safety first! This one is about 6 quarts in size.
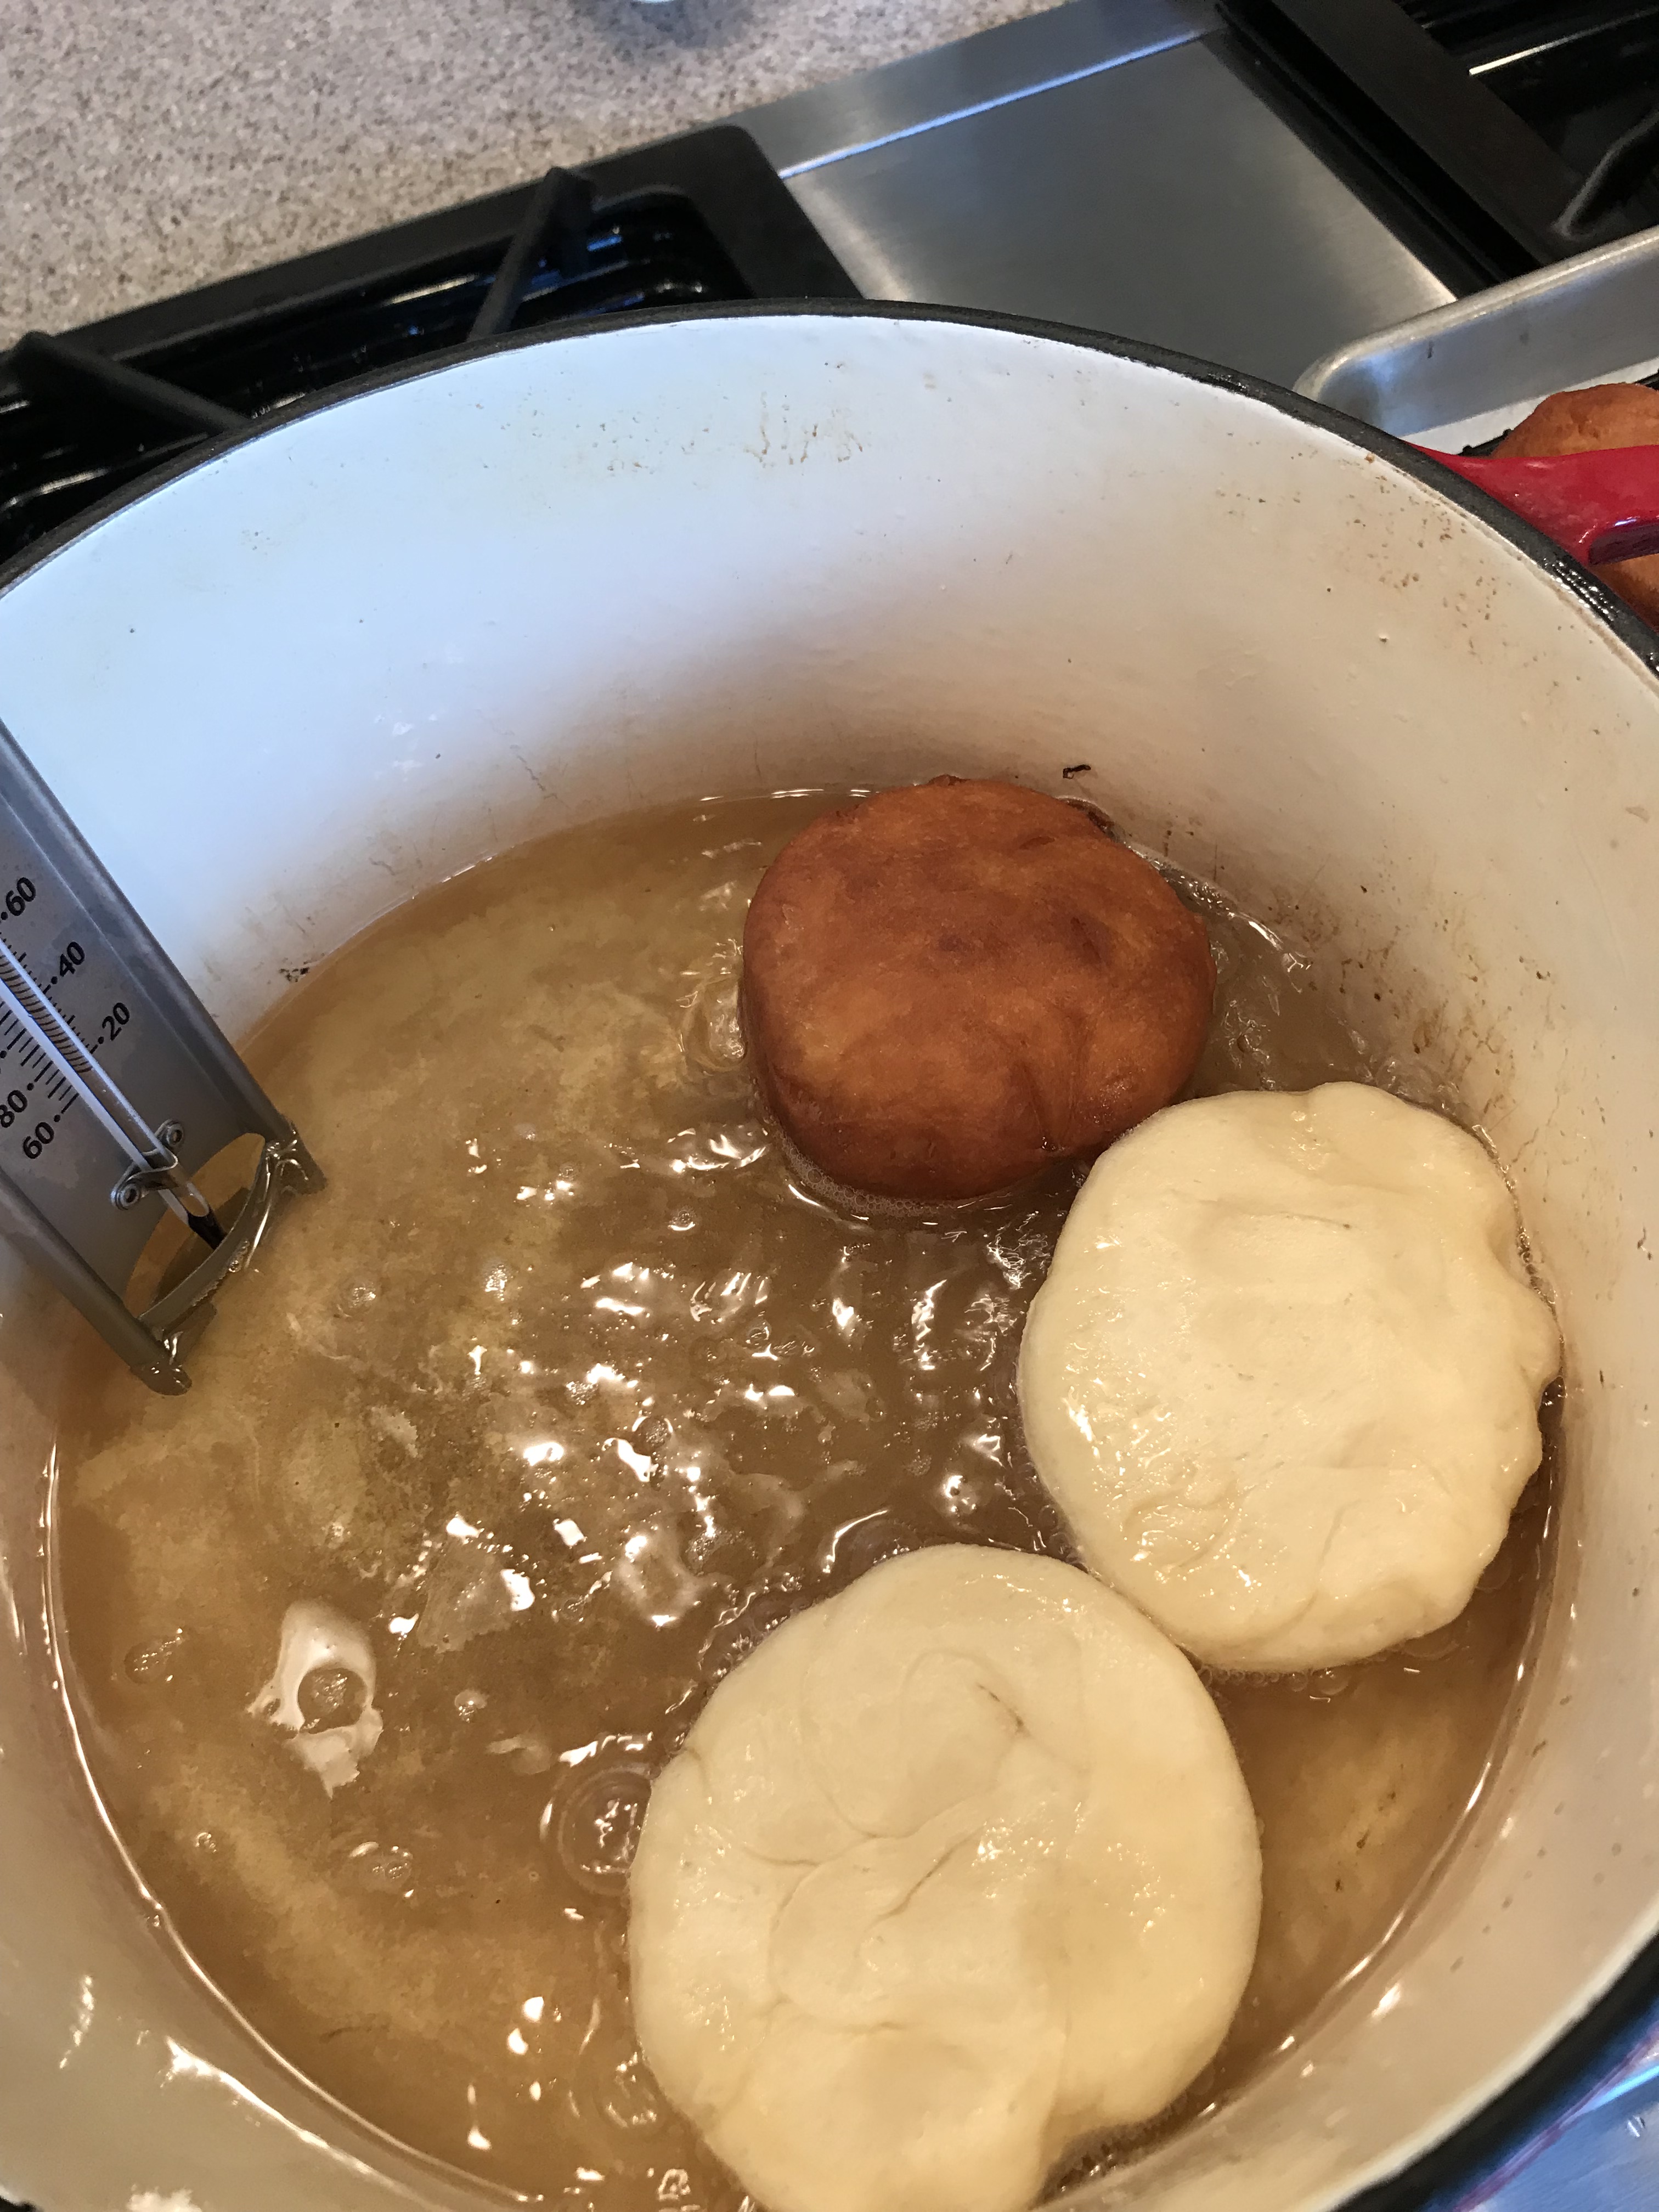
Put your vegetable shortening in your frying pot and get a drain rack set up so you have someplace to put your donuts to cool off. The oil needs to heat to 350 degrees. Once you get there, use your test pieces to make sure it’s hot enough and to see how long it will take for them to brown on one side. It does NOT take long for them to turn a nice golden brown…I’d say about a minute or less total for my 3″ donuts. Frying is the fastest part of this whole thing. Thanks Goodness! Fry them in batches of 3-4 depending on your frying vessel and the size of your donuts . Use a slotted spoon to flip them and remove them from the oil.
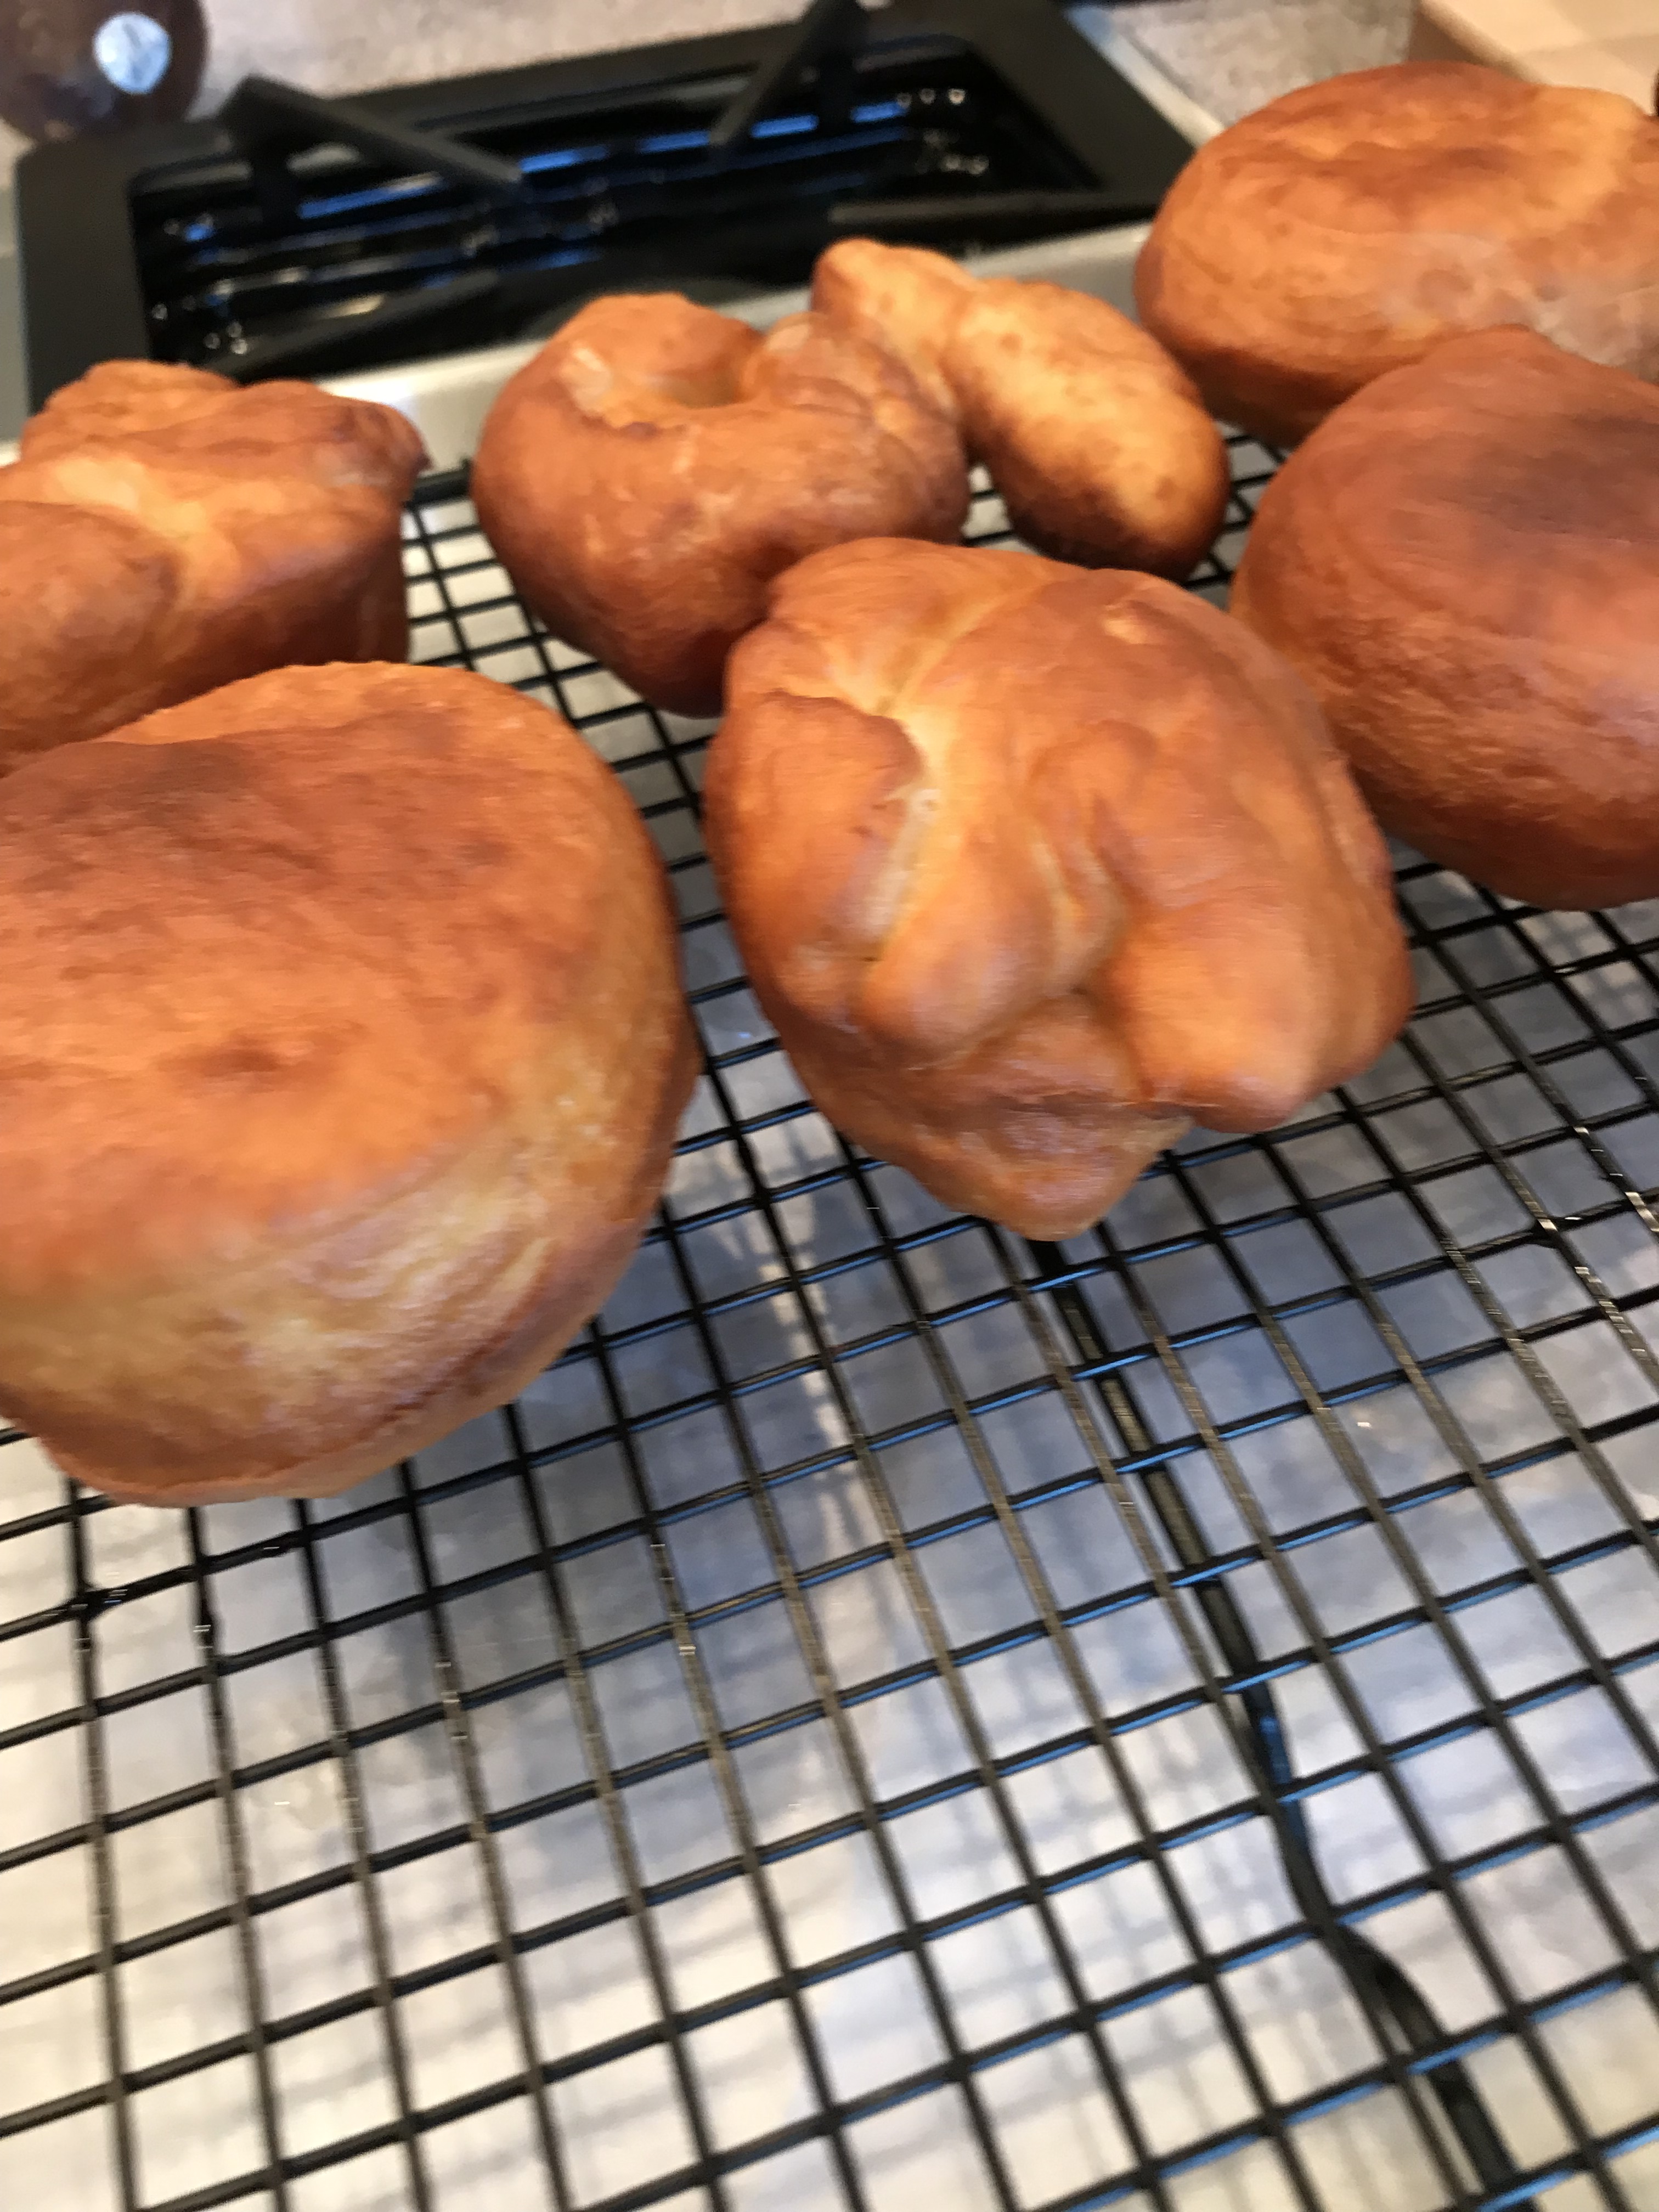
You could stop right here….dust these babies with some powered sugar, or roll them in some cinnamon sugar, or maybe some jelly and you are all set. However, you’ve done this much work you might as well glaze them am I right? Once they are cool enough to handle, just stir the powered sugar, vanilla, pinch of salt and water together in a pie plate to make it easer to turn them around a bunch. I like my glaze a little thicker so I added more powdered sugar to my glaze. Dunk them in and flip them over and put them back on the rack to let the glaze dry.
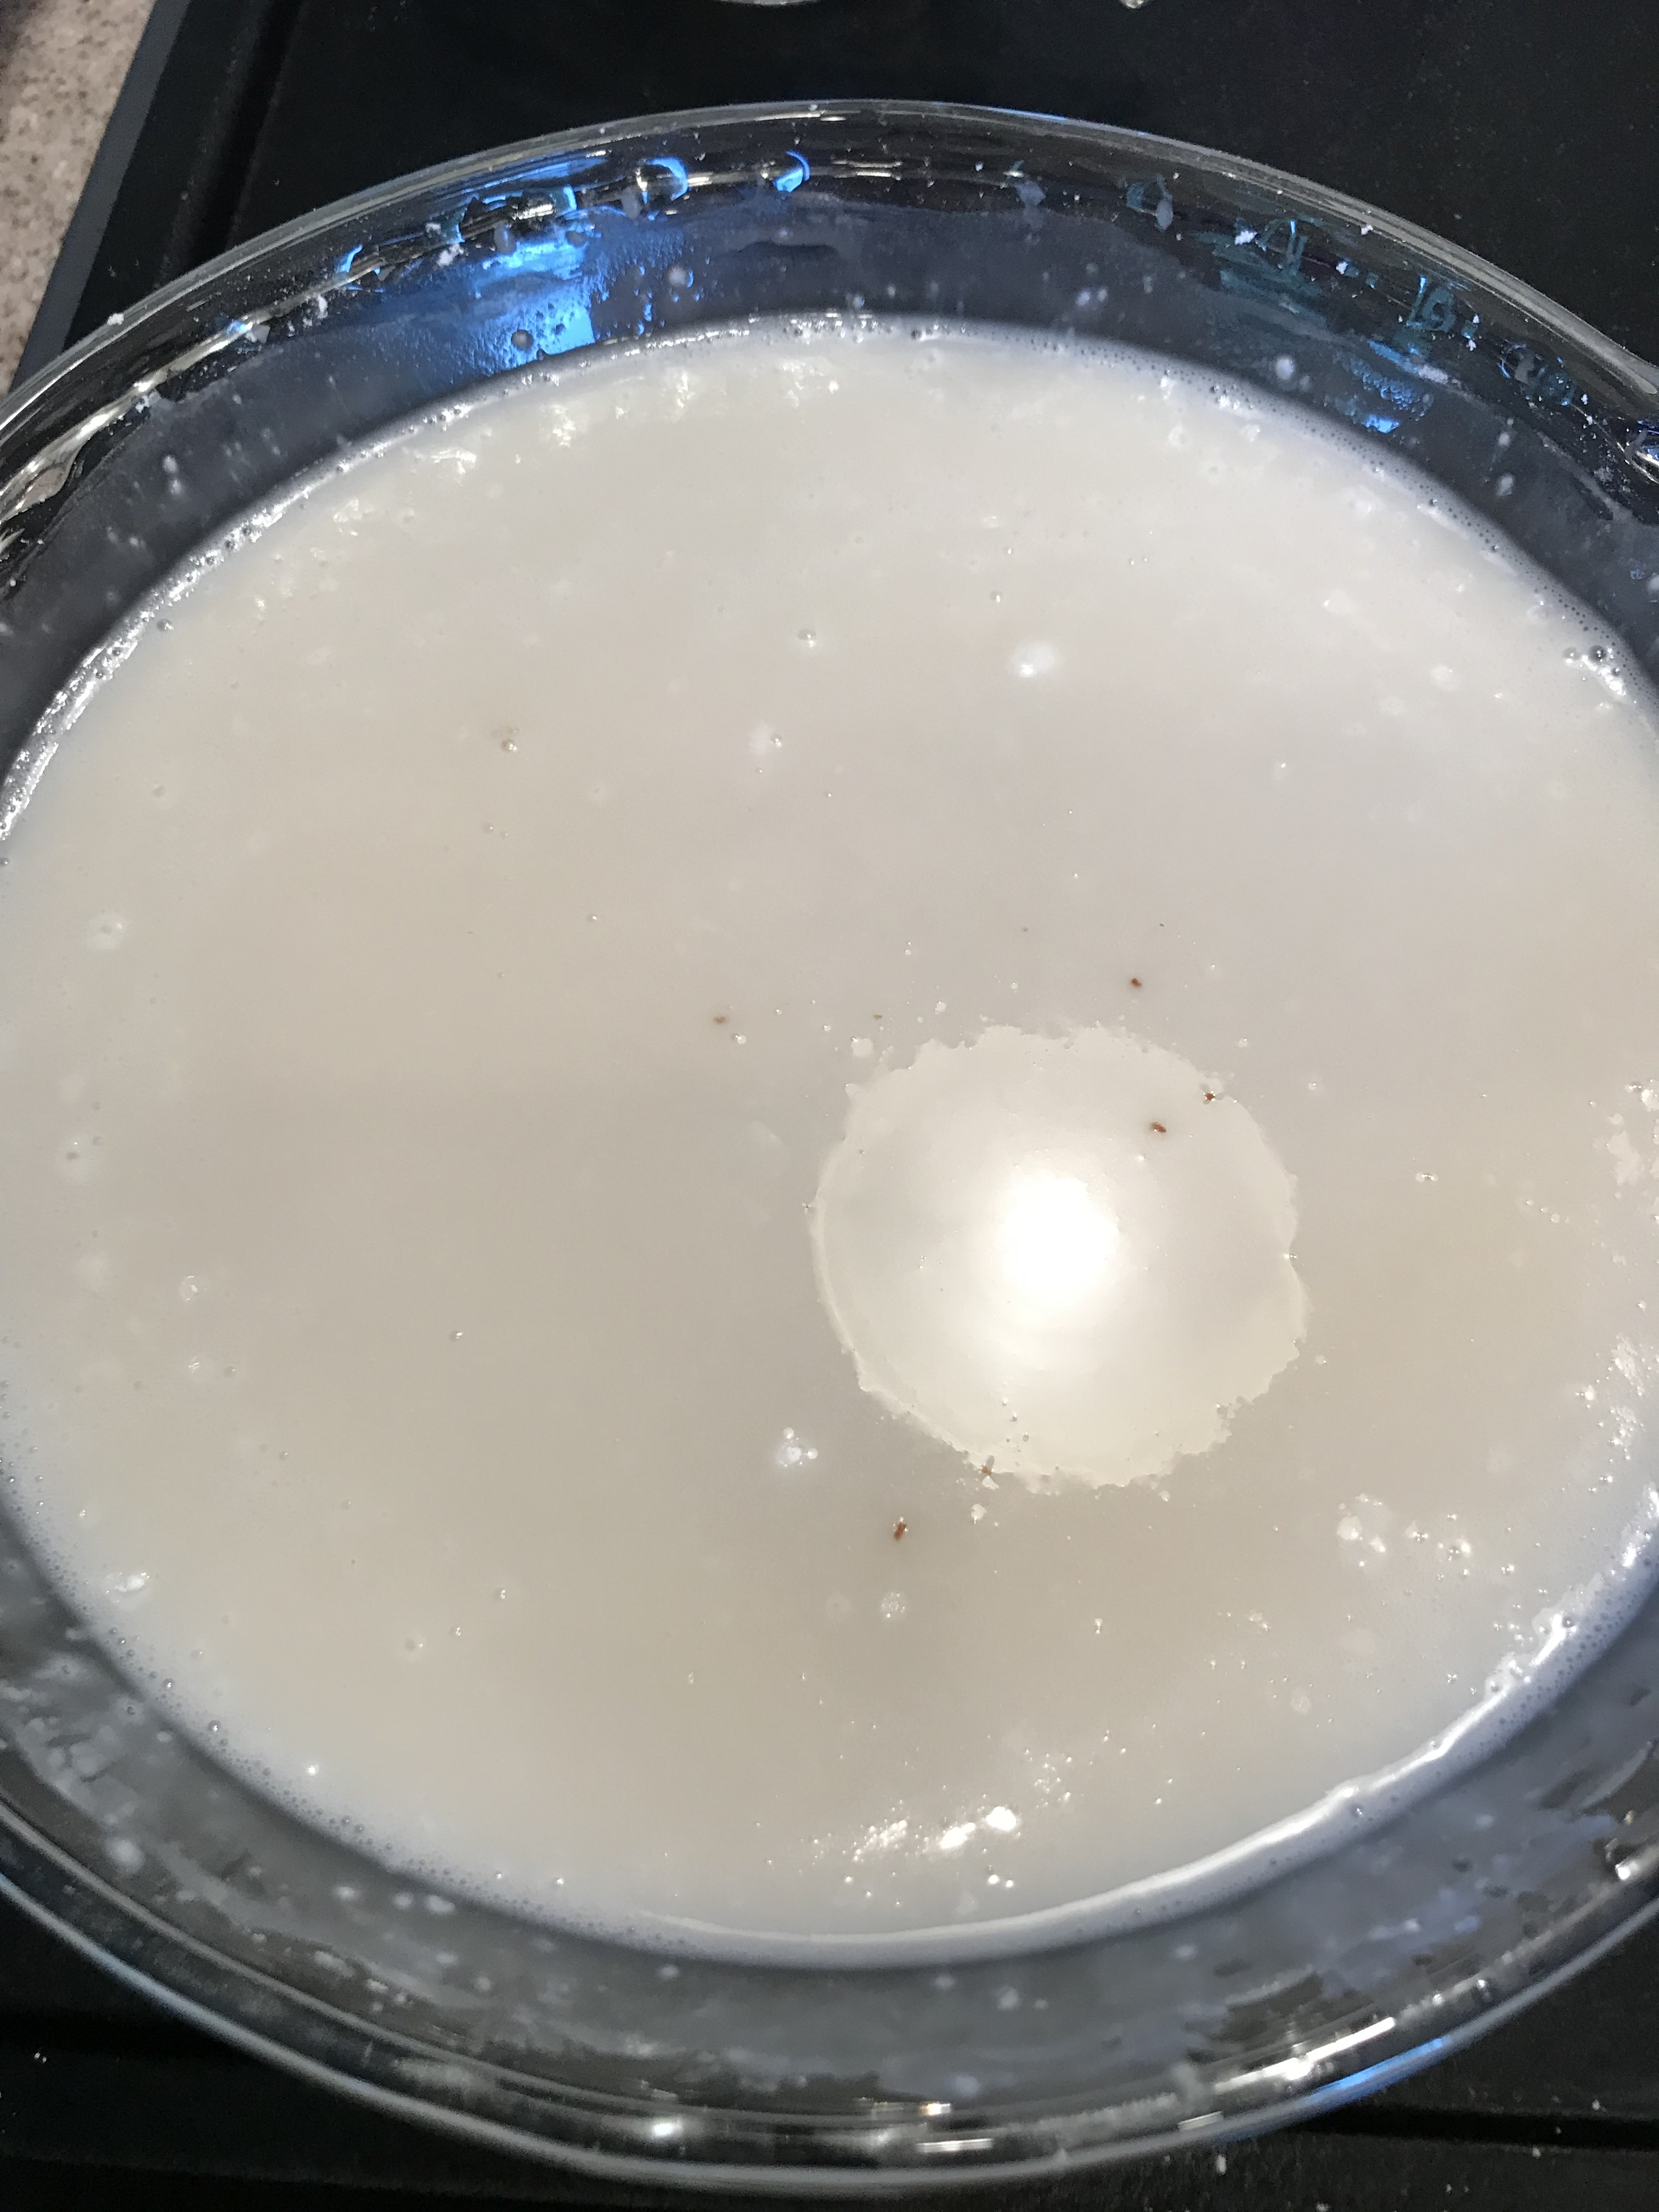

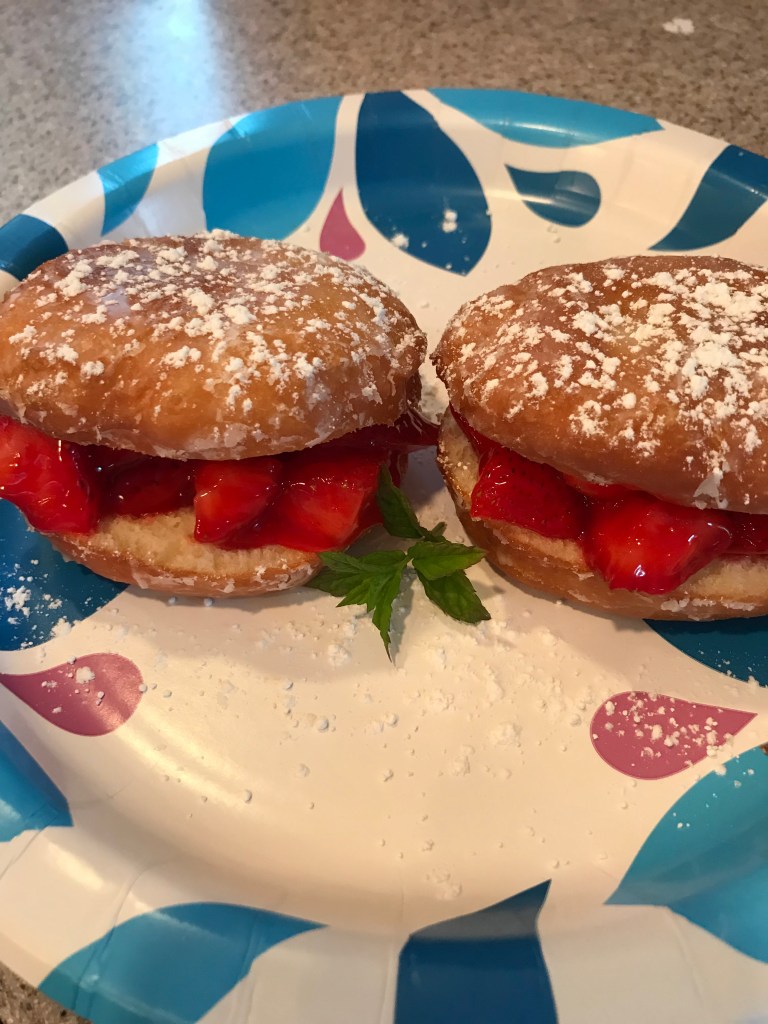
Here comes the part I added. I sliced up some strawberries and put them in a bowl. I added that strawberry glaze stuff you can buy in a bag from the produce department. I figured I’d done enough work for one treat, so I took some help here. The better way to go would be to make your own jelly and put strawberry slices in it. Whatever you like is how you should roll…blueberry, apple or cherry pie filling would work too. I’m also considering some chocolate or vanilla pudding in my future, but I’ll keep you posted on what I try next. Garnish these guys with some mint and dust with powdered sugar. Enjoy !

Great job describing this! I could easily follow along! Can’t wait to try them ❤️
LikeLiked by 1 person